How to Reinstall an Operating System on Your Dedicated Server
Reinstalling the operating system (OS) on your dedicated server from QuickServers.net can help resolve issues or provide a fresh start. Follow the steps below to reinstall the OS on your server through the QuickServers.net portal.
Step 1: Backup Your Data
Before proceeding, ensure all important data is backed up, as reinstalling the OS will erase all data on the system partition.
- Create backups of files, databases, and configurations: Store backups on an external drive or cloud service to prevent data loss.
- Verify backups: Check that your backups are complete and accessible before continuing.
Step 2: Access the QuickServers.net Customer Portal
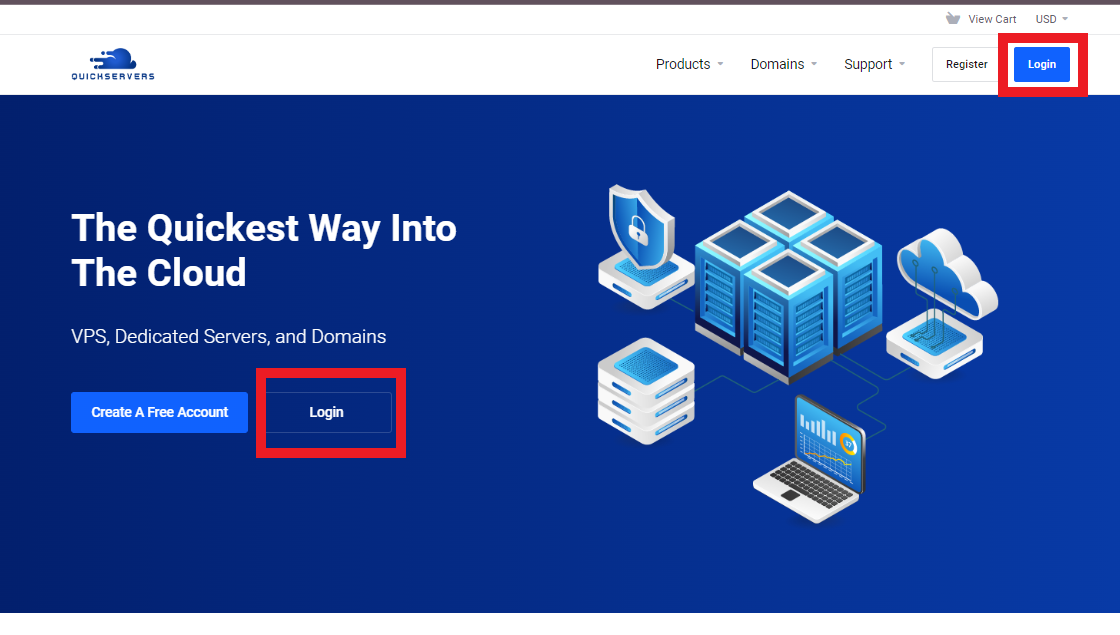
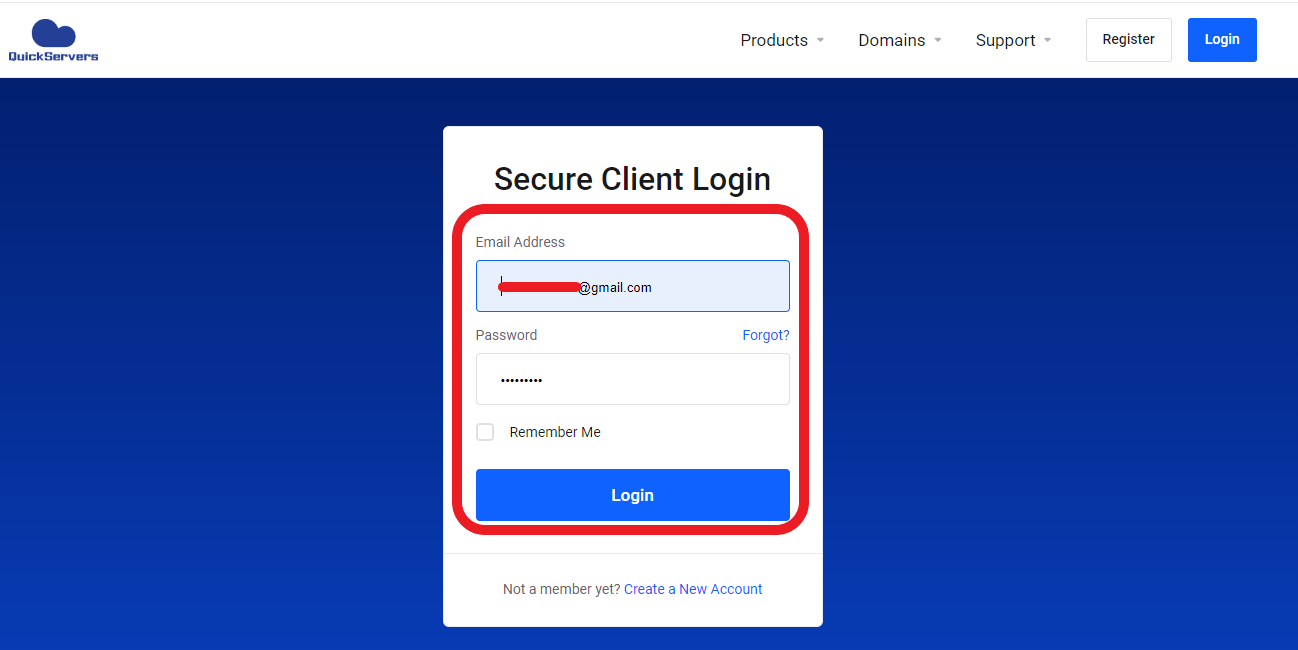
To begin the OS reinstallation, log into your QuickServers.net customer portal, where you can manage your dedicated server.
- Log in to your QuickServers.net customer portal: Use your account credentials to access the portal.
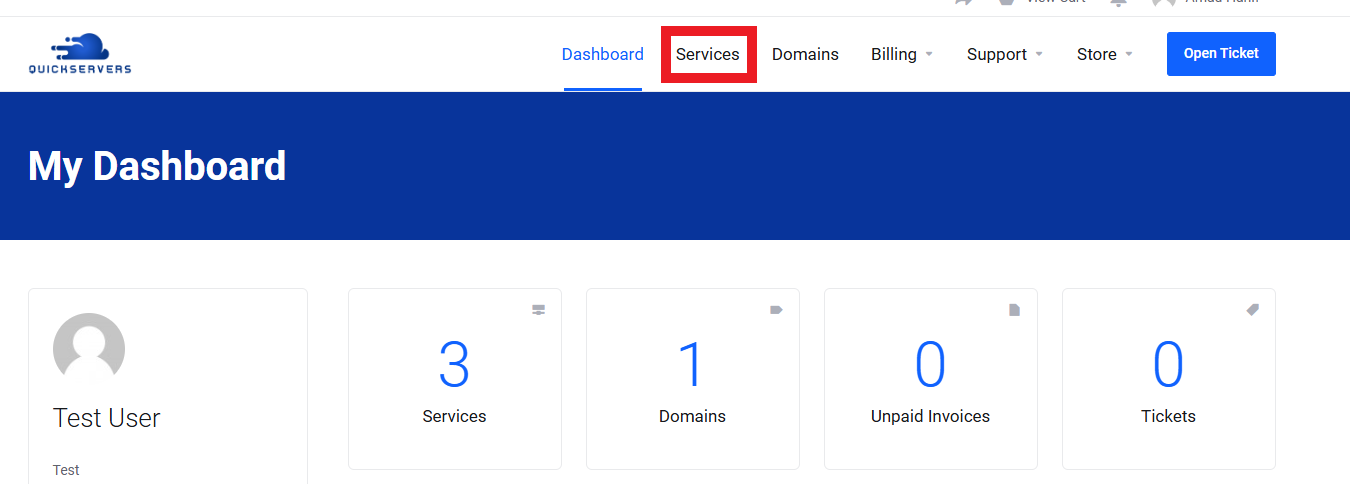
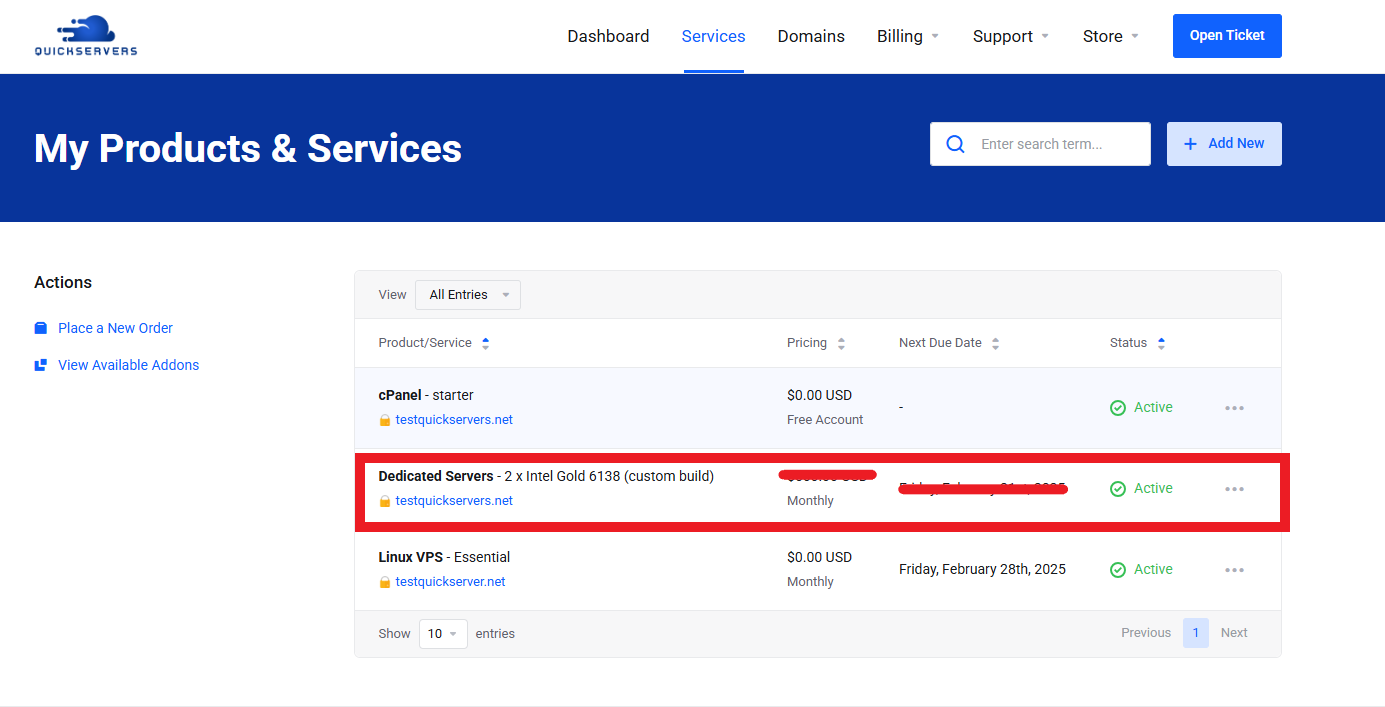
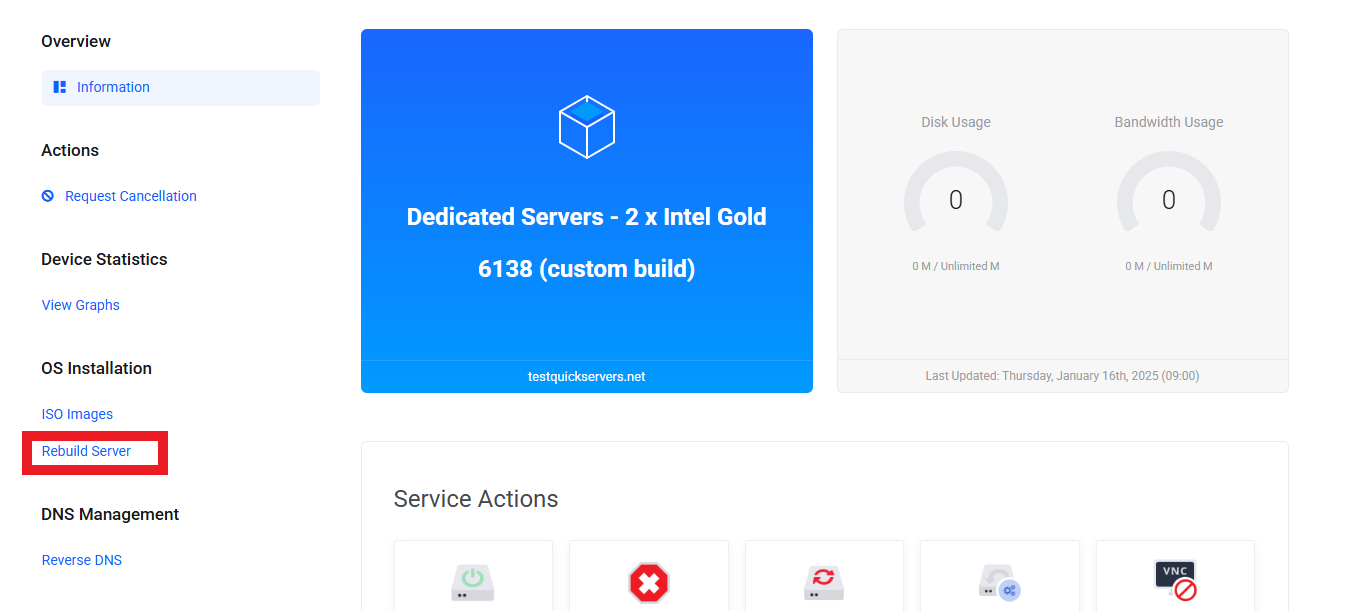
- Navigate to your server management page: Locate the section where you can manage the settings and configurations of your dedicated server.
Step 3: Select the Operating System
Once you are in the server management page, select the OS you want to install. QuickServers.net offers several operating system options for installation.
- Choose the desired OS: Select the operating system that best fits your needs, whether it’s a Linux distribution (e.g., Ubuntu, CentOS) or Windows.
- Confirm the OS version: Make sure the version you choose is compatible with your server’s requirements.
Step 4: Start the OS Reinstallation Process
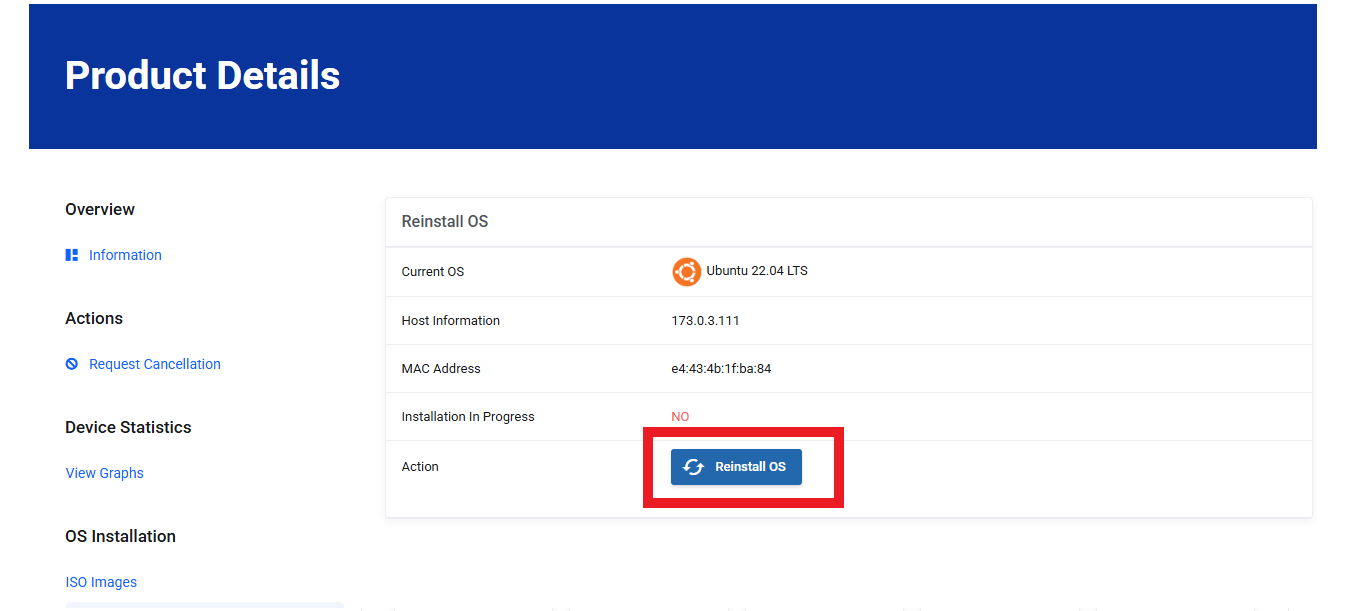
Now that you’ve selected your operating system, start the reinstallation process through the QuickServers.net portal.
- Initiate the reinstallation: Follow the prompts to begin the OS installation. This will erase the current OS, so make sure you have backups of any critical data.
- Confirm the reinstallation: You will likely be asked to confirm that you want to proceed. After confirmation, the reinstallation will begin.
Step 5: Monitor the Installation Process
During the installation, your server will go through the necessary steps to install the new operating system. This can take several minutes.
- Wait for the installation to complete: Do not interrupt the process to avoid incomplete installation.
- Check the installation status: Some QuickServers.net portal tools may allow you to monitor the status of the OS installation.
Step 6: Set Up the Operating System
Once the installation is complete, you will need to perform some basic configuration for your newly installed operating system.
- Set the hostname: Choose a hostname that describes your server for easier identification.
- Configure network settings: Set the correct IP address, DNS, and gateway for your server to connect to the internet and network.
- Create a user account: Make sure you create an admin user with root privileges to manage the server effectively.
- Apply security settings: Configure a firewall and disable unnecessary services to secure your server.
Step 7: Install Necessary Software and Updates
After setting up the OS, you can install any necessary software packages, utilities, and security updates.
- Install software: Depending on the purpose of your server, install web server software (e.g., Apache, Nginx), databases (e.g., MySQL, PostgreSQL), and any other applications.
- Update the OS: Ensure your system is up-to-date with the latest security patches and software updates.
Step 8: Restore Your Data and Settings
After configuring the operating system, restore your data from the backup you created in Step 1.
- Restore files and databases: Use your backup to restore your files, databases, and server configurations.
- Reconfigure settings: Reapply any custom server settings and configurations that were in place before the OS reinstallation.
- Test functionality: Make sure that all your applications and websites are working properly after the restore.
Step 9: Backup Your Server Again
Once the operating system is reinstalled and the data is restored, it's a good idea to create a new backup of your server.
- Set up a new backup: Make a full backup of your server after reinstallation to ensure you have a fresh restore point.
- Schedule regular backups: Set up automated backups to avoid data loss in the future.
Reinstalling the operating system on your dedicated server through QuickServers.net ensures your system is up-to-date and running efficiently. Always remember to back up your data before starting the process, and perform regular maintenance and backups after the reinstallation.