How to Configure DNS Records for Your VPS
Configuring DNS records is an essential step to ensure your domain name points to your VPS and allows visitors to access your website or services. Follow the steps below to set up DNS records effectively.
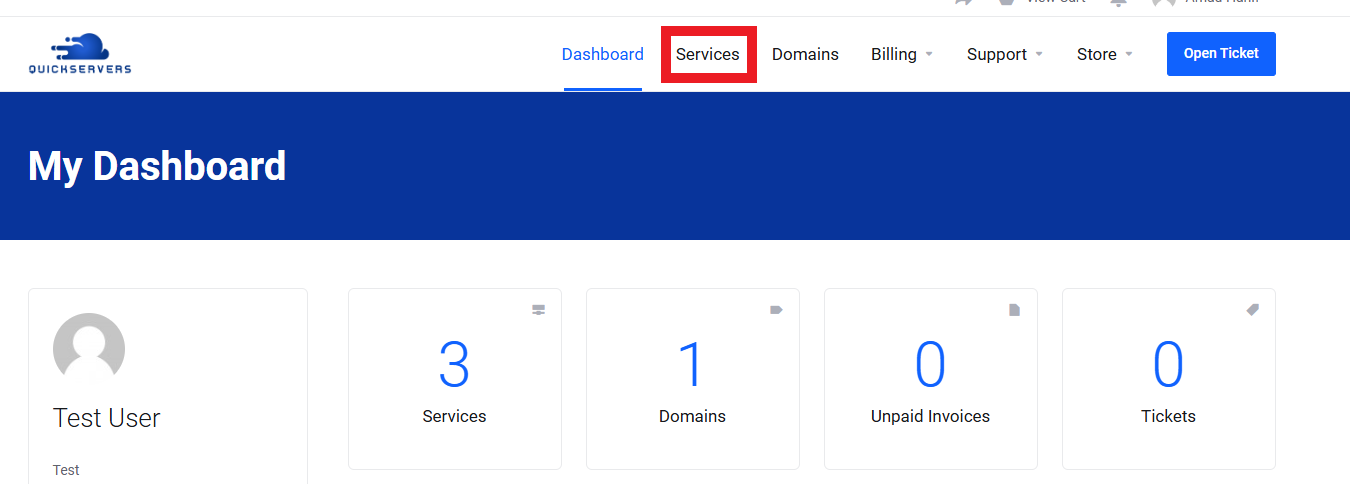
Step 1: Access Your Domain Registrar's DNS Management
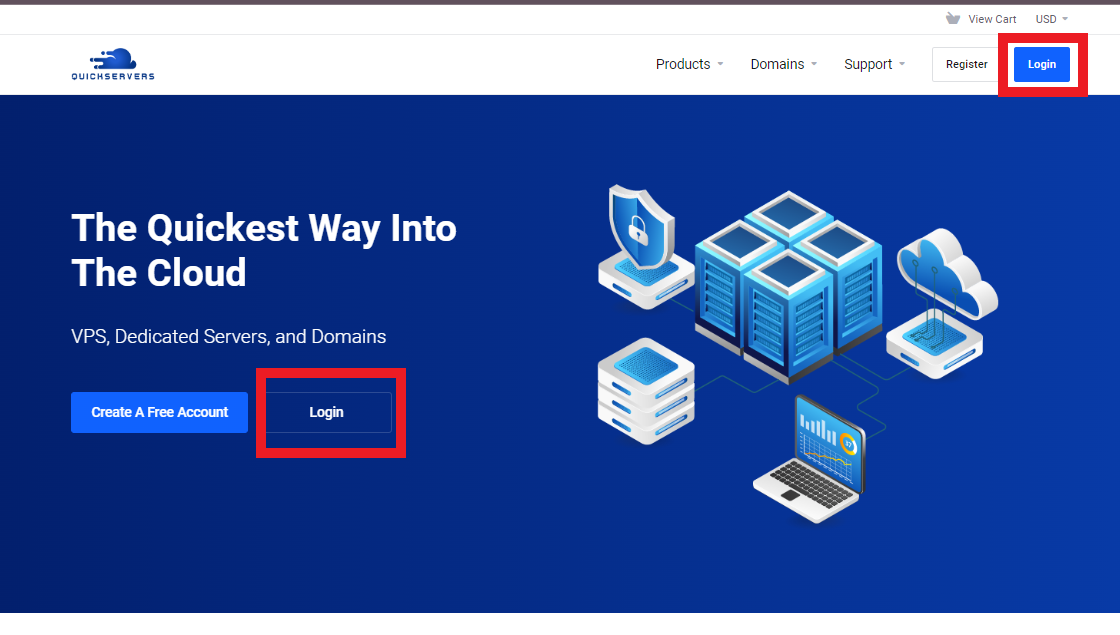
To configure DNS records, you need to log in to the control panel of your domain registrar (where you purchased your domain).
- Open your web browser and visit the domain registrar’s website.
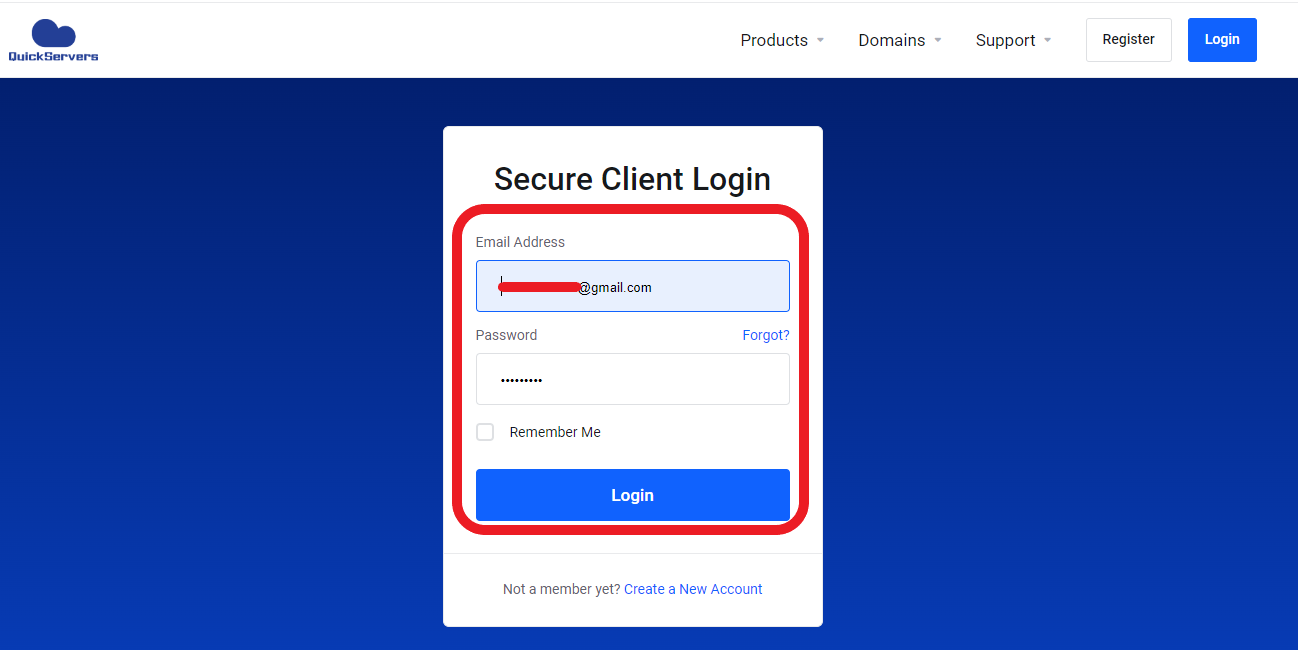
- Log in with your account credentials.
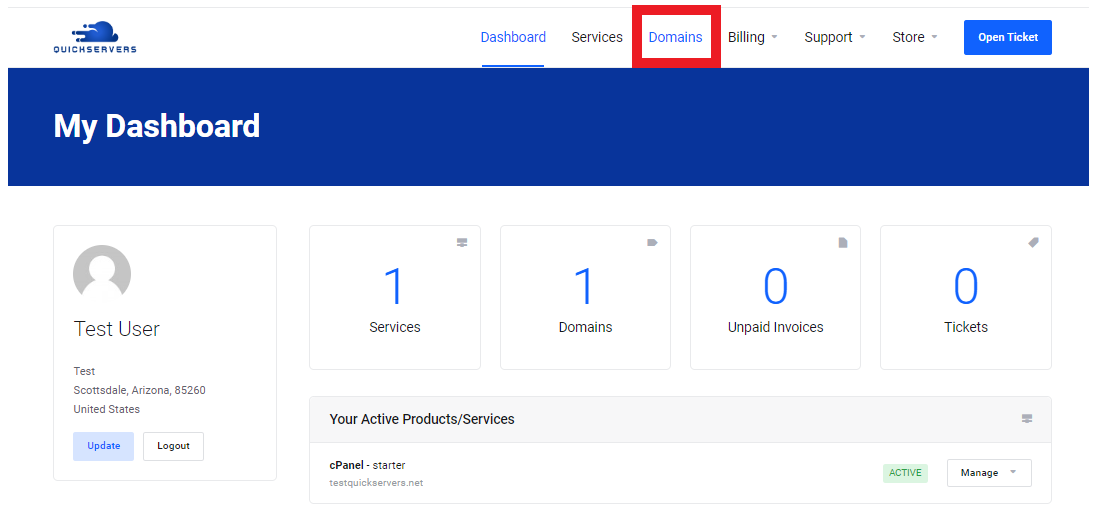
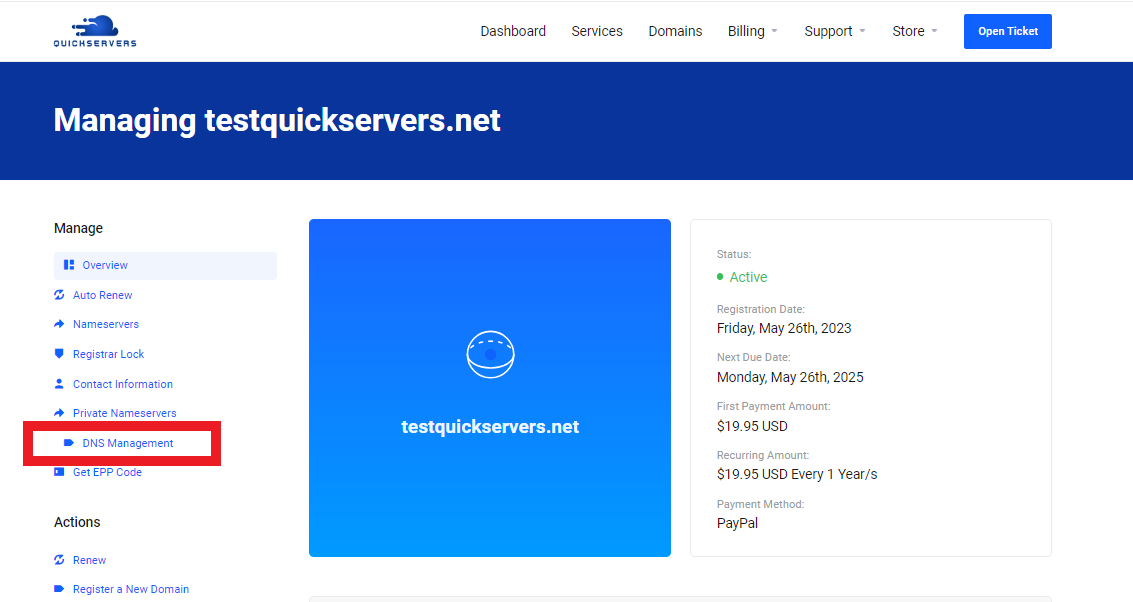
- Navigate to the DNS management section or a similar option like "DNS Settings" or "Domain Management."
Step 2: Identify Your VPS IP Address
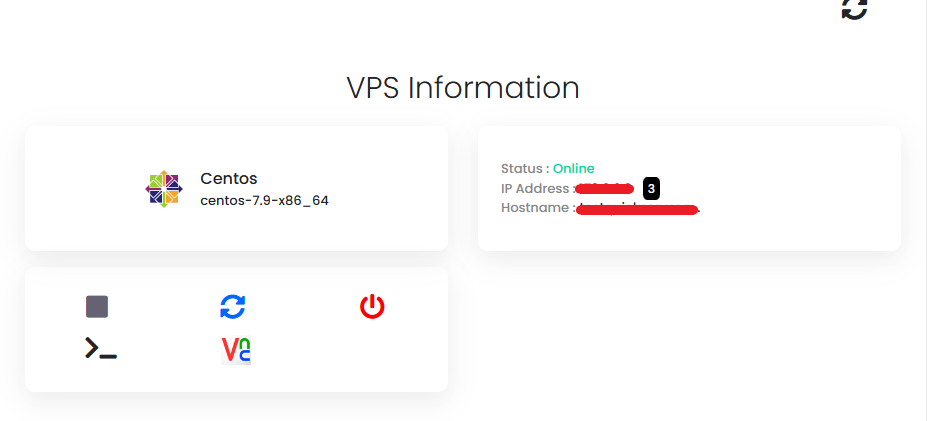
To point your domain to your VPS, you will need your VPS’s public IP address.
- Log in to your VPS management portal.
- Locate the section displaying your VPS details and note the public IP address.
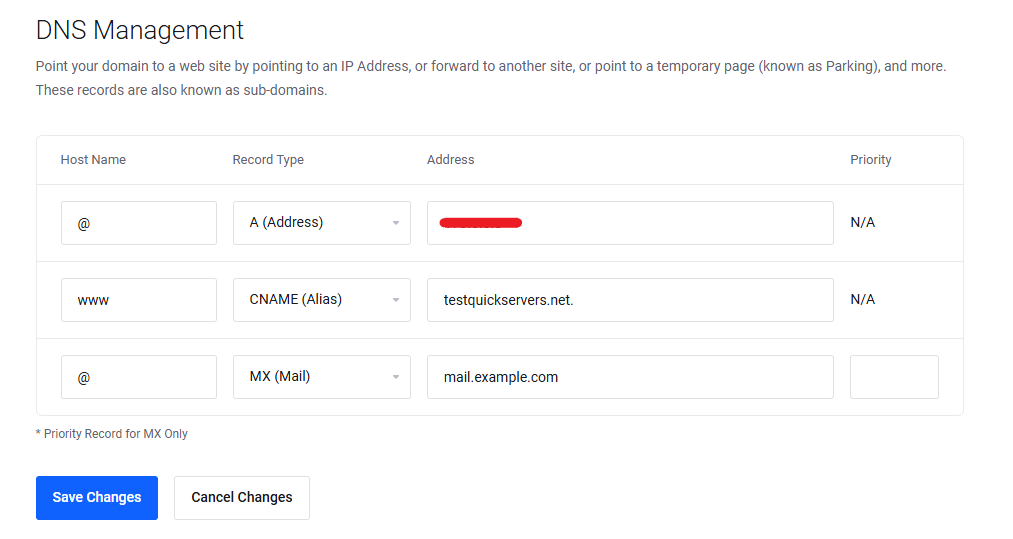
Step 3: Create an A Record
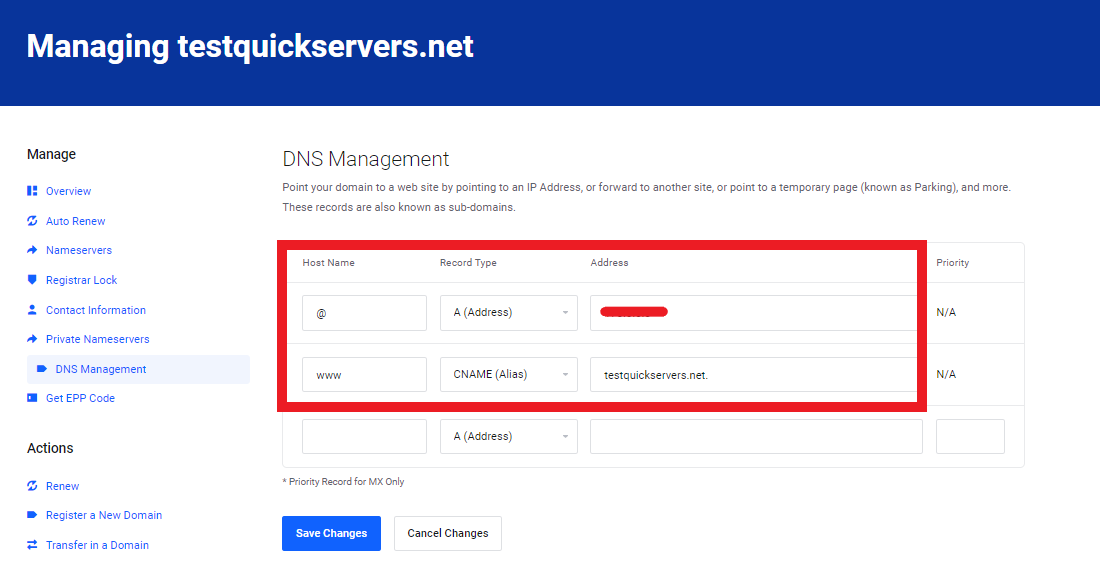
An A record maps your domain or subdomain to the VPS IP address.
-
In the DNS management section, locate the option to add a new DNS record.
-
Select "A Record" as the type.
-
Enter the following details:
- Host/Name: Enter
@to point the main domain, or specify a subdomain (e.g.,wwwforwww.example.com). - Value/IP Address: Enter your VPS IP address.
- Host/Name: Enter
-
Save the changes.
Step 4: Configure a CNAME Record (Optional)
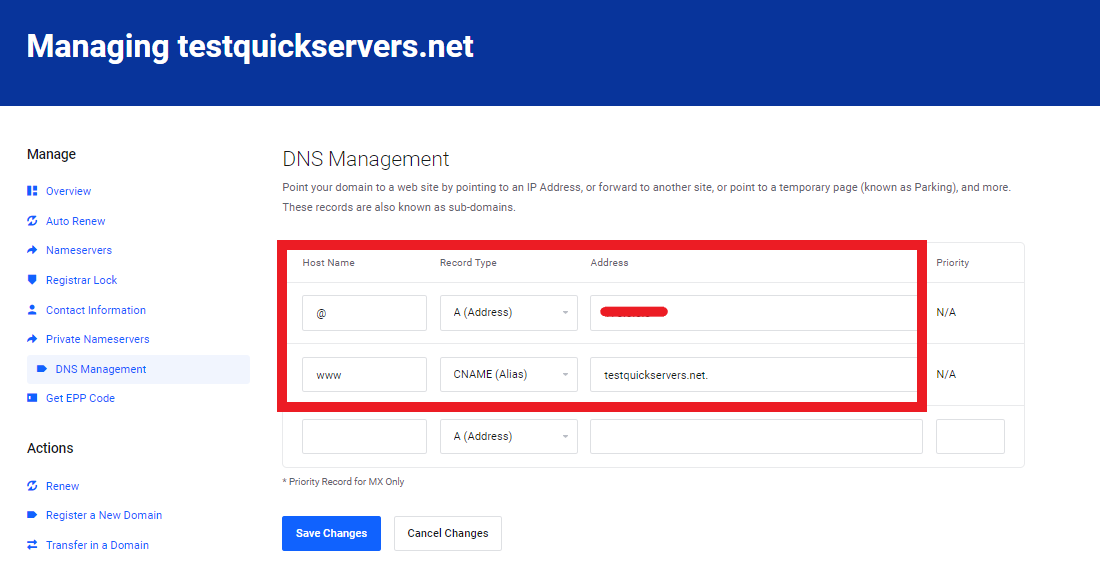
A CNAME record is used to alias one domain to another. For example, you can point www.example.com to example.com.
-
In the DNS management section, create a new DNS record and select "CNAME" as the type.
-
Enter the following details:
- Host/Name: Enter
wwwor the desired subdomain. - Value/Target: Enter your main domain (e.g.,
example.com).
- Host/Name: Enter
-
Save the record.
Step 5: Configure an MX Record for Email (Optional)
If you want to set up email for your domain, you need to configure MX (Mail Exchange) records to route emails to your mail server.
-
In the DNS management section, create an "MX Record."
-
Enter the following details:
- Host/Name: Enter
@to use the main domain. - Value/Target: Enter the mail server address (e.g.,
mail.example.com). - Priority: Enter a priority value (lower values indicate higher priority).
- Host/Name: Enter
-
Save the changes.
Step 6: Configure a PTR Record (Reverse DNS)
A PTR record maps an IP address to a domain name and is often required for email servers.
- Contact your VPS provider to configure the PTR record for your IP address.
- Provide the IP address and the domain name it should resolve to.
Note: PTR records are managed by the hosting provider, not the domain registrar.
Step 7: Verify DNS Propagation
DNS changes may take some time to propagate across the internet. You can check the status of your DNS records using online tools.
- Visit a DNS lookup tool (e.g.,
https://dnschecker.org). - Enter your domain name and select the record type (A, CNAME, MX, etc.).
- Verify that the records are pointing to the correct values.
Step 8: Test Your Domain
Once DNS propagation is complete (usually within a few hours), test your domain to ensure it resolves correctly.
- Open a browser and enter your domain (e.g.,
http://example.com). - If configured correctly, your domain should now point to your VPS.
With these steps, your DNS records will be configured, ensuring that your domain routes visitors and services correctly to your VPS. Proper DNS configuration is crucial for the seamless operation of your website and related services.

