How to Set Up a Custom Email Domain on Your VPS
Setting up a custom email domain on your VPS allows you to create personalized email addresses (e.g., name@yourdomain.com) that enhance your branding and professional communication. This guide will walk you through the necessary steps to configure a custom email domain on your VPS.
Step 1: Ensure Your Domain Points to Your VPS
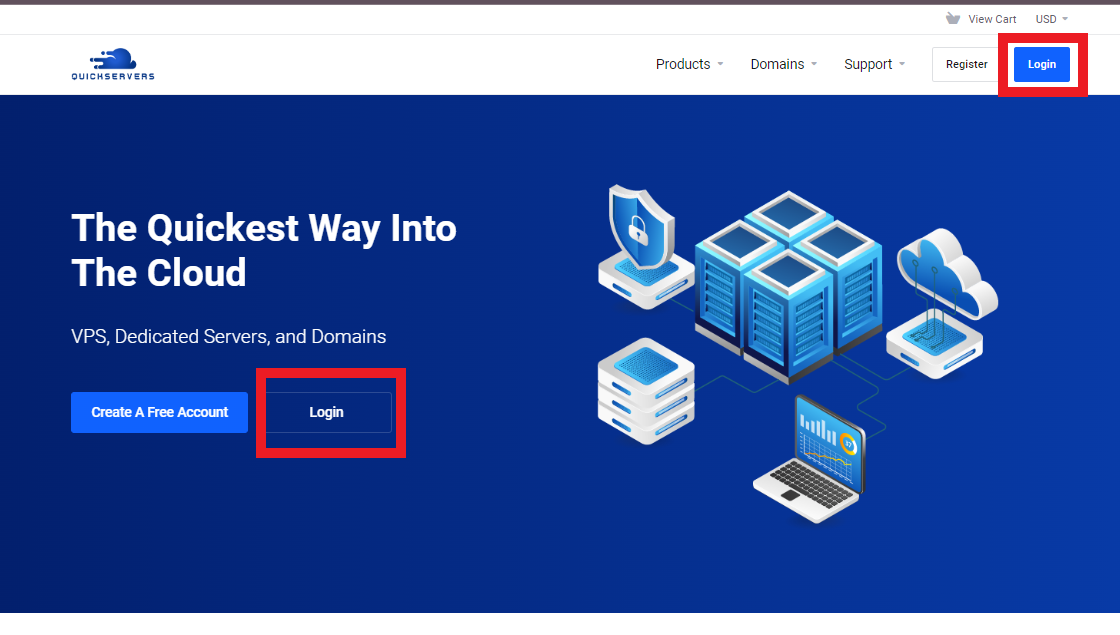
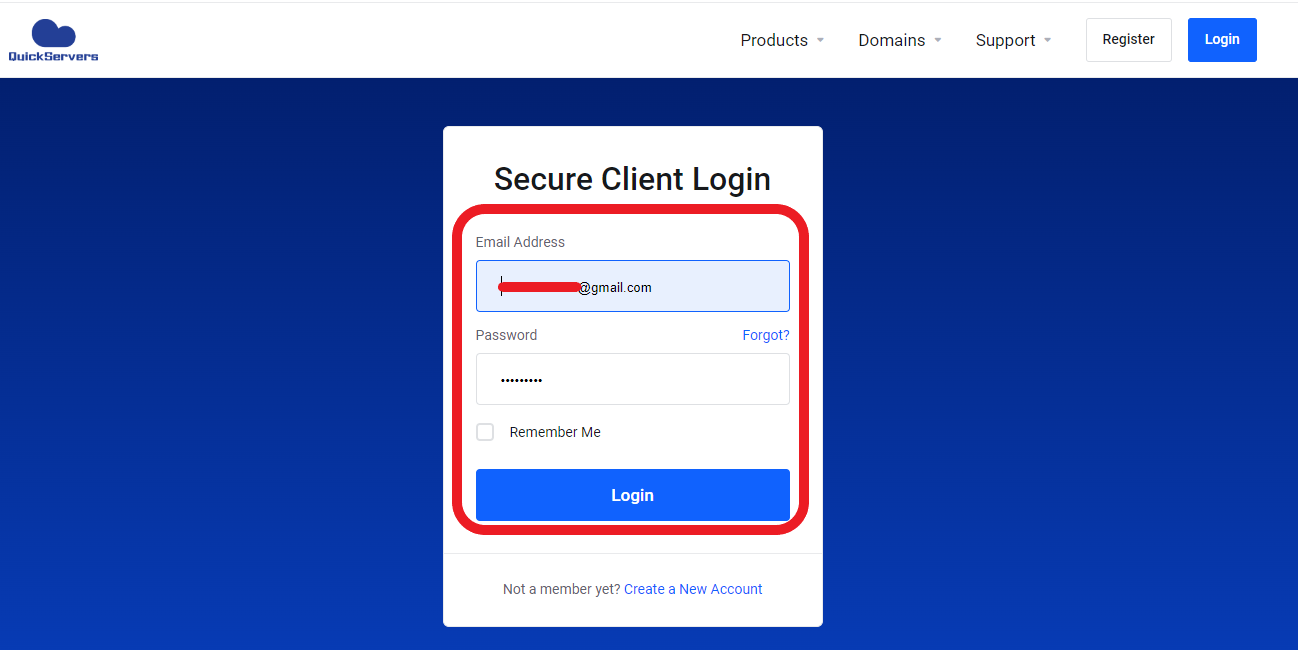
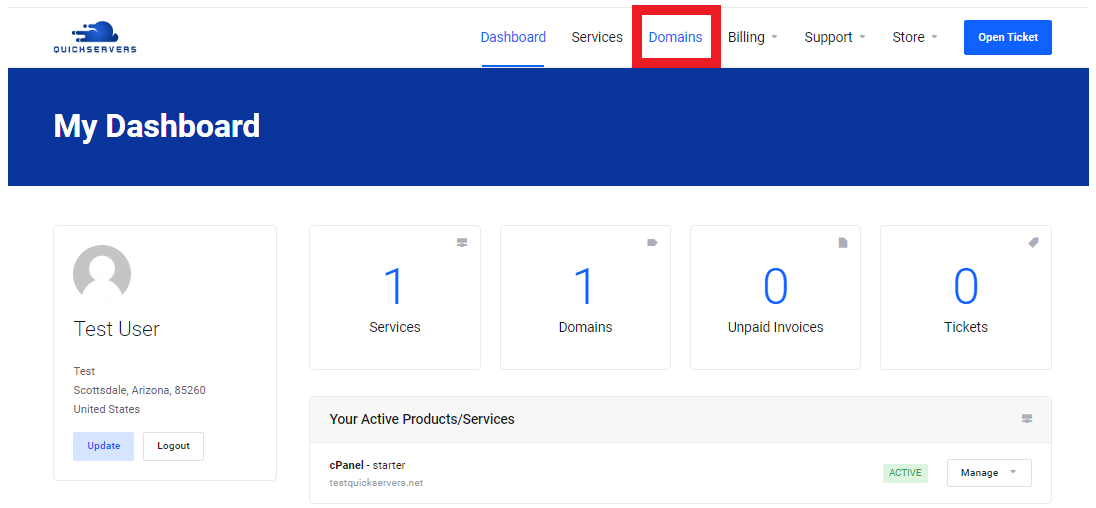
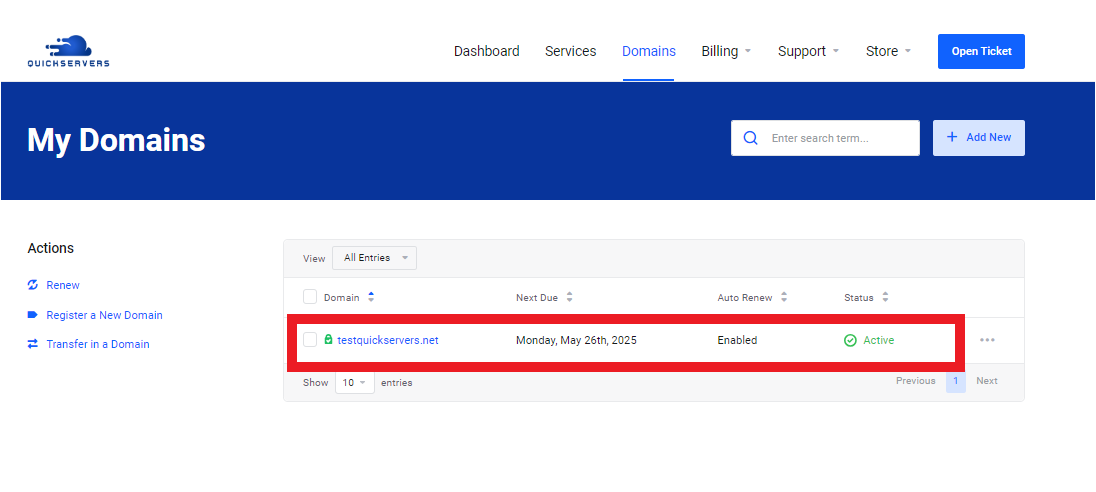
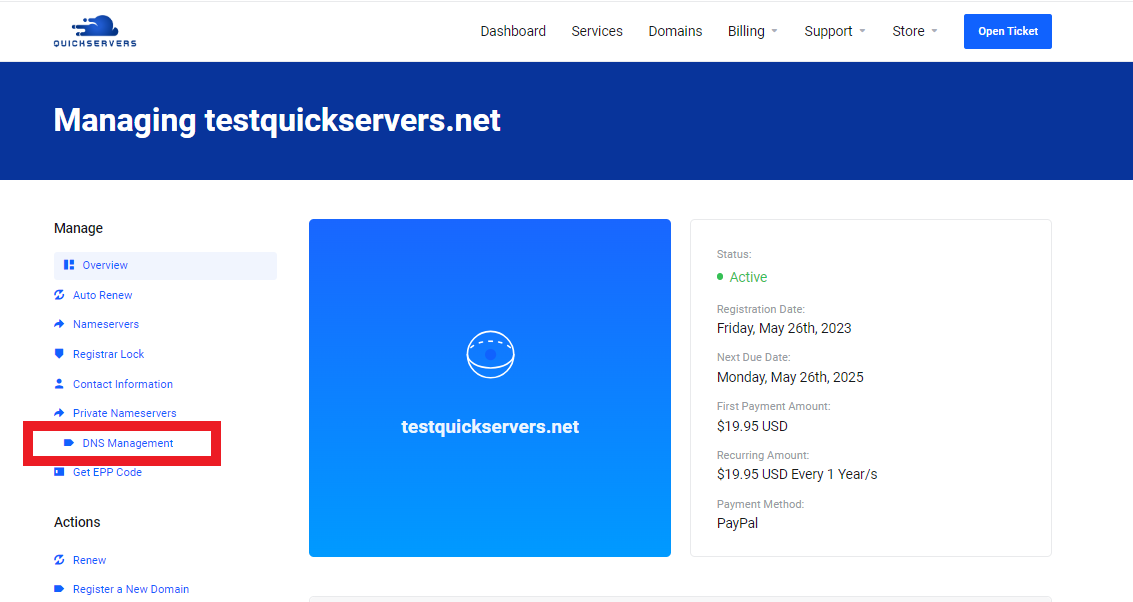
- Log in to your domain registrar's control panel.
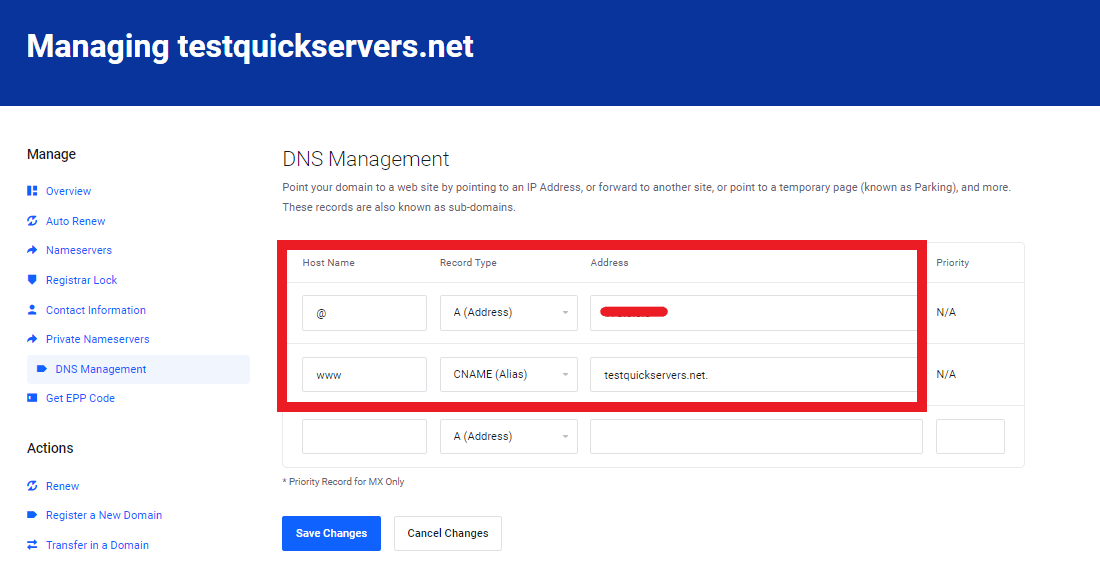
- Update the DNS records to point your domain to your VPS's IP address:
- Set an A record for your domain (e.g.,
mail.yourdomain.com) pointing to your VPS's IP address.
- Set an A record for your domain (e.g.,
Step 2: Install a Mail Server on Your VPS
-
Connect to your VPS via SSH:
ssh username@your_vps_ipReplace
usernamewith your VPS username (typicallyroot) andyour_vps_ipwith your VPS's IP address. -
Update the package list and install a mail server like Postfix:
sudo apt update
sudo apt install postfix
Follow the configuration prompts during installation. When asked for the "General type of mail configuration," select Internet Site, and set your domain name (e.g.,
yourdomain.com).
Step 3: Configure DNS Records for Email
To ensure your emails are correctly routed and not marked as spam, configure these DNS records:
-
MX Record:
- Add an MX record pointing to your mail server:
Host: @
Value: mail.yourdomain.com
Priority: 10
- Add an MX record pointing to your mail server:
-
SPF Record:
- Add a TXT record to authorize your mail server to send emails on behalf of your domain:
Host: @
Value: v=spf1 mx ~all
- Add a TXT record to authorize your mail server to send emails on behalf of your domain:
-
DKIM Record (Optional):
- Install a tool like OpenDKIM to generate a DKIM key.
- Add the generated public key as a TXT record to your DNS.
-
DMARC Record (Optional):
- Add a TXT record to protect your domain from unauthorized email spoofing:
Host: _dmarc
Value: v=DMARC1; p=none
- Add a TXT record to protect your domain from unauthorized email spoofing:
Step 4: Install and Configure Dovecot for IMAP/POP3 Access
-
Install Dovecot, a popular IMAP/POP3 server:
sudo apt install dovecot-imapd dovecot-pop3d -
Configure Dovecot to work with Postfix:
- Open the configuration file:
sudo nano /etc/dovecot/dovecot.conf - Ensure it includes the following:
protocols = imap pop3 mail_location = maildir:~/Maildir - Restart Dovecot:
sudo systemctl restart dovecot
- Open the configuration file:
Step 5: Test Email Sending and Receiving
- Use a mail client like Thunderbird, Outlook, or an email app to test your custom email.
- Configure the incoming mail server as
mail.yourdomain.comwith IMAP or POP3. - Configure the outgoing mail server (SMTP) as
mail.yourdomain.com. - Use the username and password for the email account you set up during configuration.
- Configure the incoming mail server as
Step 6: Secure Your Email Server with SSL/TLS
-
Install a free SSL certificate from Let’s Encrypt to encrypt email communication:
sudo apt install certbot sudo certbot certonly --standalone -d mail.yourdomain.com -
Configure Postfix and Dovecot to use SSL/TLS:
- Open the Postfix main configuration file:
sudo nano /etc/postfix/main.cf - Add the following lines:
smtpd_tls_cert_file=/etc/letsencrypt/live/mail.yourdomain.com/fullchain.pem smtpd_tls_key_file=/etc/letsencrypt/live/mail.yourdomain.com/privkey.pem smtpd_tls_security_level=may - Similarly, configure Dovecot:
Add:sudo nano /etc/dovecot/conf.d/10-ssl.confssl_cert = </etc/letsencrypt/live/mail.yourdomain.com/fullchain.pem ssl_key = </etc/letsencrypt/live/mail.yourdomain.com/privkey.pem
- Open the Postfix main configuration file:
-
Restart Postfix and Dovecot:
sudo systemctl restart postfix dovecot
Conclusion
You’ve successfully set up a custom email domain on your VPS. By following these steps, you can create professional email addresses and enhance your domain's reputation. Ensure that your mail server is properly maintained and secured to provide a reliable email service!

