How to Configure Reverse DNS (rDNS) for Your Dedicated Server
Reverse DNS (rDNS) is essential for verifying the legitimacy of your server's IP address and is often required for email services to avoid spam filters. This guide will help QuickServers.net customers configure rDNS for their dedicated servers.
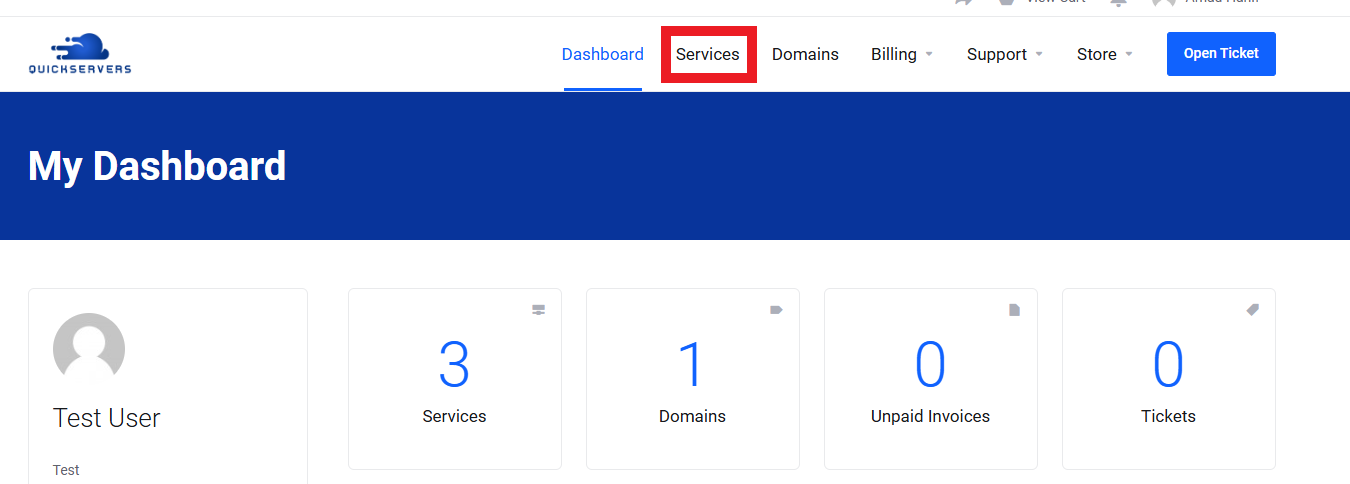
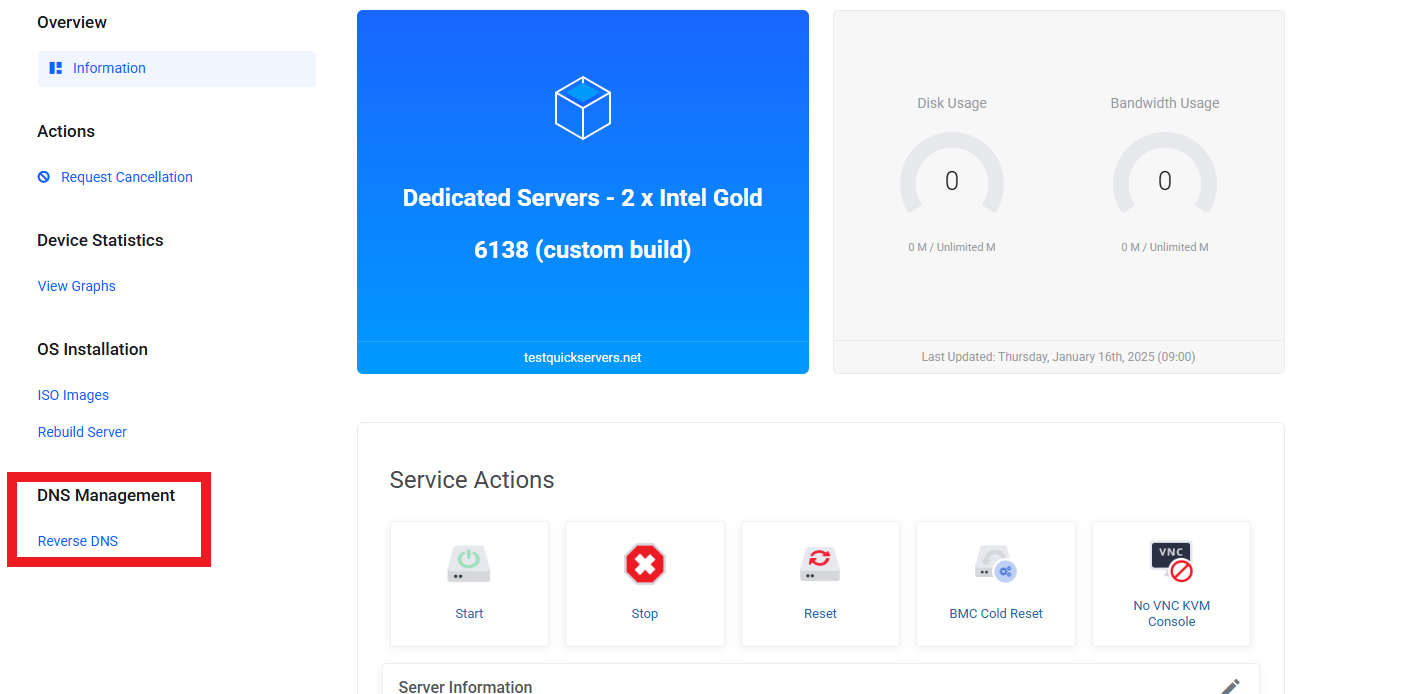
Step 1: Access the Reverse DNS Management Section
- Log in to your QuickServers.net customer portal.
- Navigate to the section for managing rDNS settings for your server.

Step 2: Identify the IP Address and Hostname
- Determine the IP address for which you want to set up rDNS.
- Choose the hostname you want to associate with the IP address (e.g.,
mail.yourdomain.com).
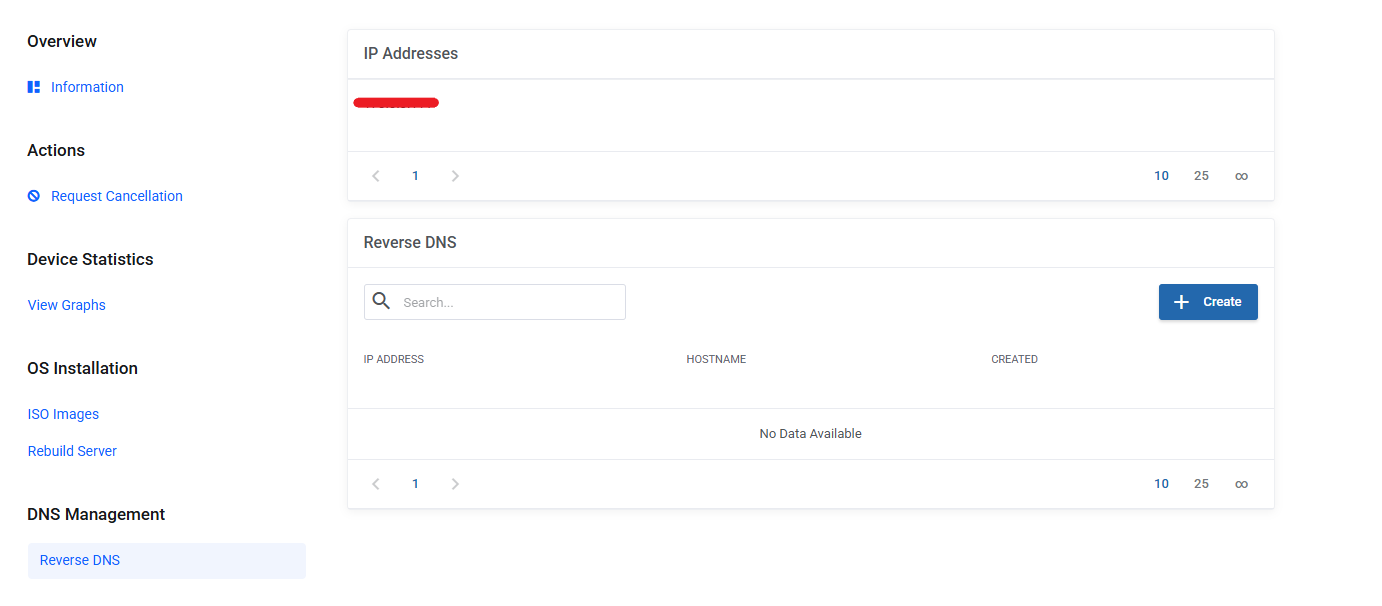
Step 3: Update the rDNS Record
- Locate the option to add or modify rDNS entries.
- Enter the IP address in the designated field.
- Input the corresponding hostname in the appropriate field.
Step 4: Save Changes and Verify
- Save the changes to update your rDNS record.
- Use an online rDNS lookup tool or command-line utilities like
nslookupordigto verify the setup.
Step 5: Test Email Deliverability (Optional)
- If rDNS is set up for email servers, send a test email to ensure the messages are delivered and not flagged as spam.
Step 6: Contact Support if Necessary
- If you encounter issues or require assistance, reach out to QuickServers.net support for guidance.
By following these steps, you can effectively configure reverse DNS on your dedicated server. This ensures better server reputation and seamless operations, particularly for email services.
