How to Change the OS on a VPS
Changing the operating system on your VPS is useful when you want to start fresh, switch to a different Linux distribution, or rebuild your server for a new project. At QuickServers, you can manage this directly from your customer portal without needing separate access to another control panel.
Before you begin, keep in mind that reinstalling the operating system will usually erase the existing data on the VPS. Always make sure you have a full backup of your files, databases, and settings before making any changes.
Step 1: Understand What Changing the OS Does
When you change the operating system on a VPS, the server is reinstalled with a new image. This process replaces the current operating system and removes the existing data, applications, and configurations already on the server.
This is commonly done when you want to:
-
Start over with a clean server
-
Switch to a different operating system version
-
Move from one Linux distribution to another
-
Fix major system issues by reinstalling the server
-
Prepare the VPS for a new website, application, or client
Because this is a full reinstall, treat it as a fresh deployment.
Step 2: Back Up Everything Before You Proceed
Before changing the OS, save anything important from the current VPS.
Make sure you back up:
-
Website files
-
Databases
-
Email data stored on the server
-
Application files
-
Configuration files
-
SSH keys or custom settings
-
Any important logs or user data
If you skip this step, your data may be permanently lost after the reinstall.
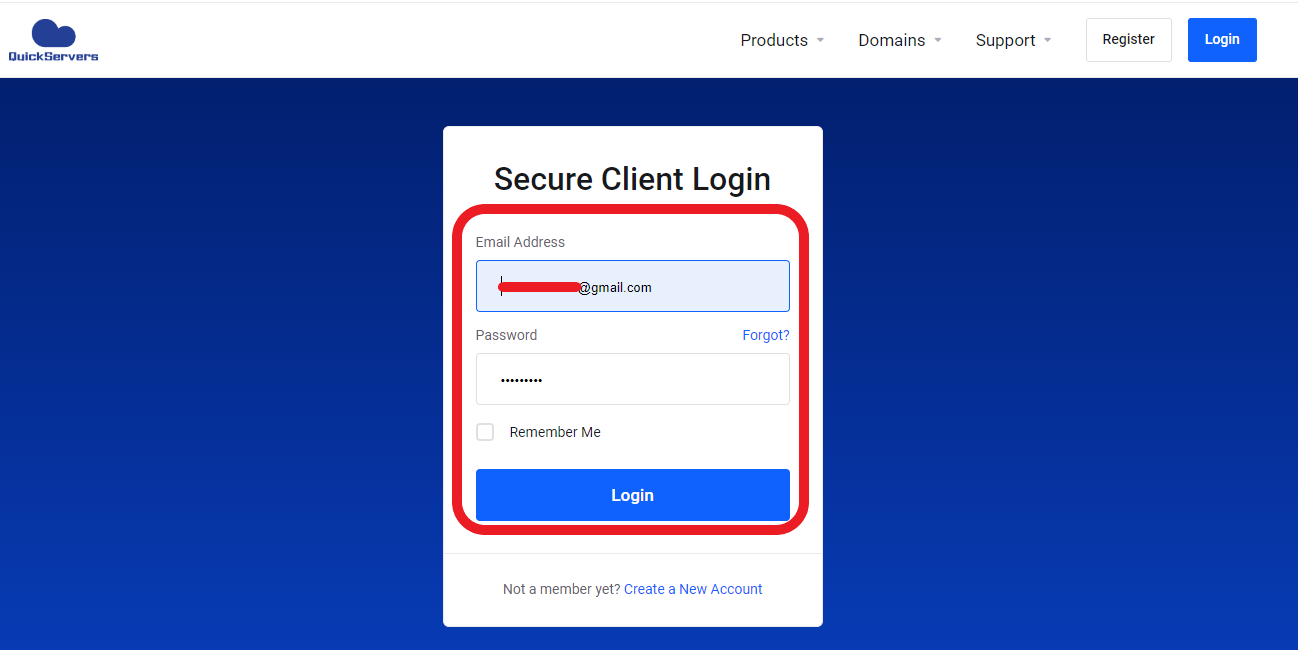
Step 3: Log In to the QuickServers Customer Portal
To begin the OS change process:
-
Visit the QuickServers website.
-
Sign in to your customer portal using your account credentials.
-
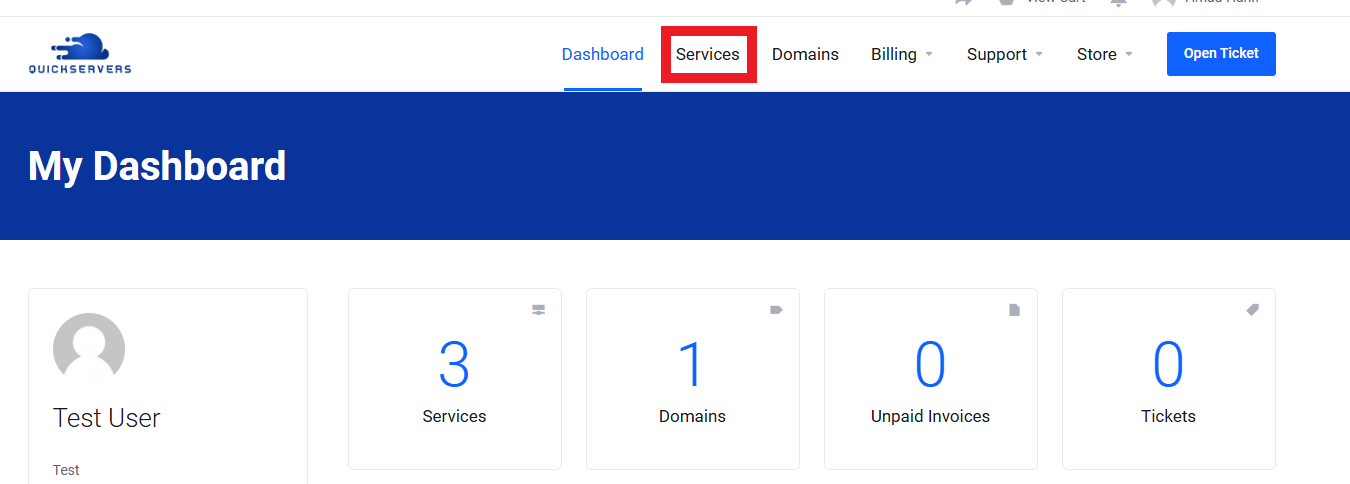
After logging in, go to your services.
From there, locate the VPS you want to manage.

Step 4: Open Your VPS Management Page
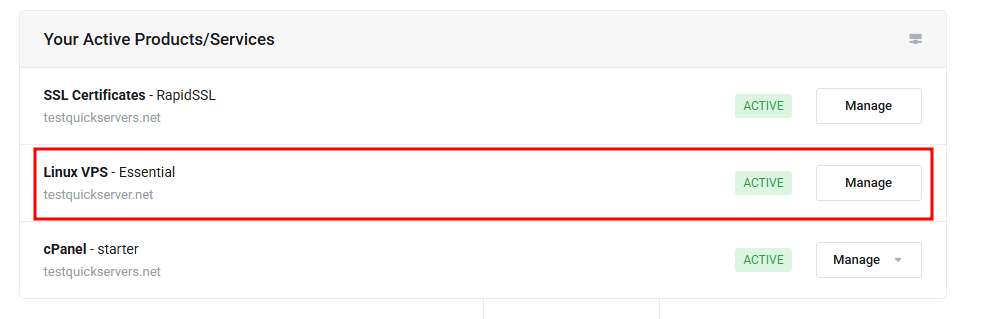
Inside your customer portal:
-
Click on the VPS you want to reinstall.
-
Open the management page for that VPS.
This page will show the available controls for your server.
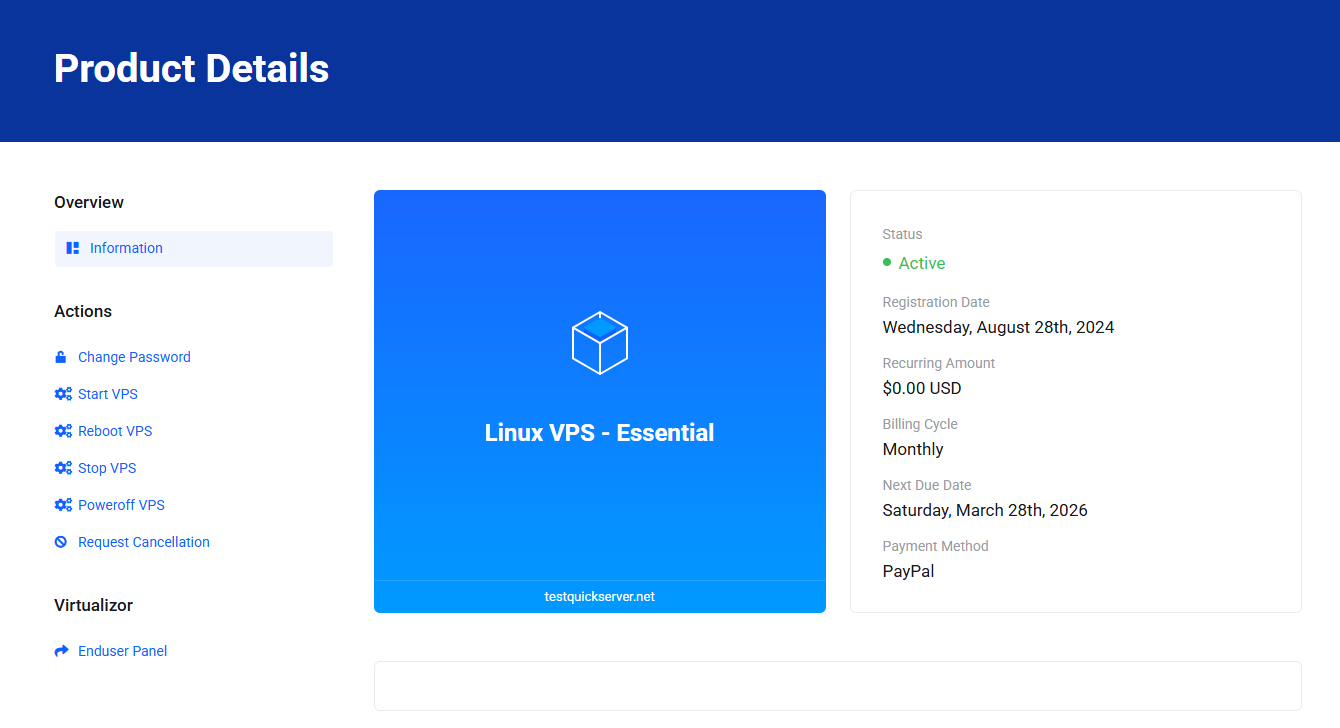
Step 5: Locate the Reinstall or OS Management Option
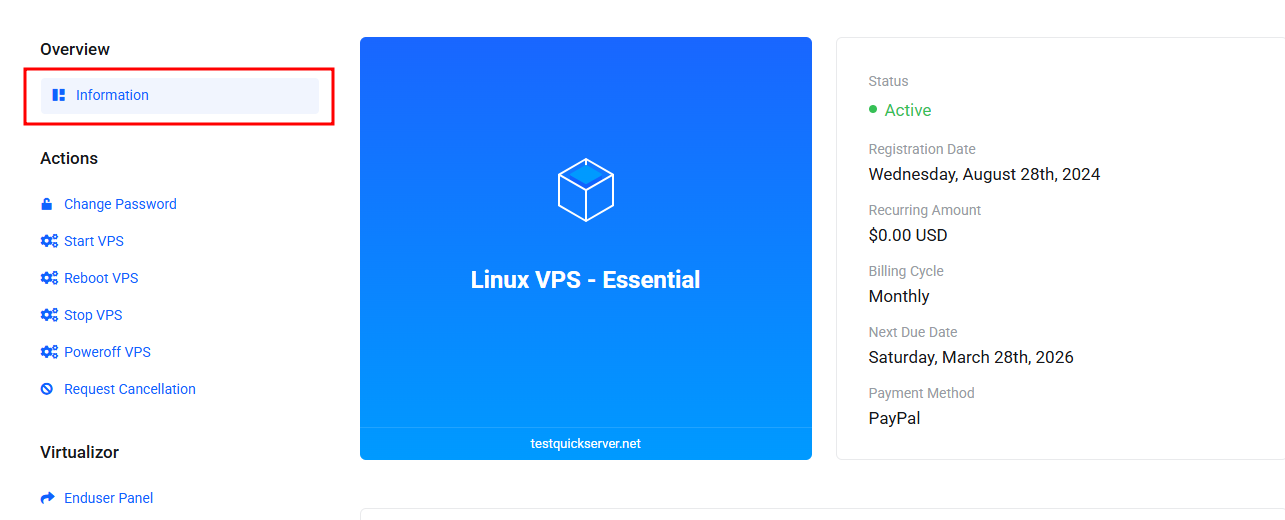
On the VPS management page, perform the steps mentioned below:
- Click on "Information" from side panel
- Scroll down and click on Install
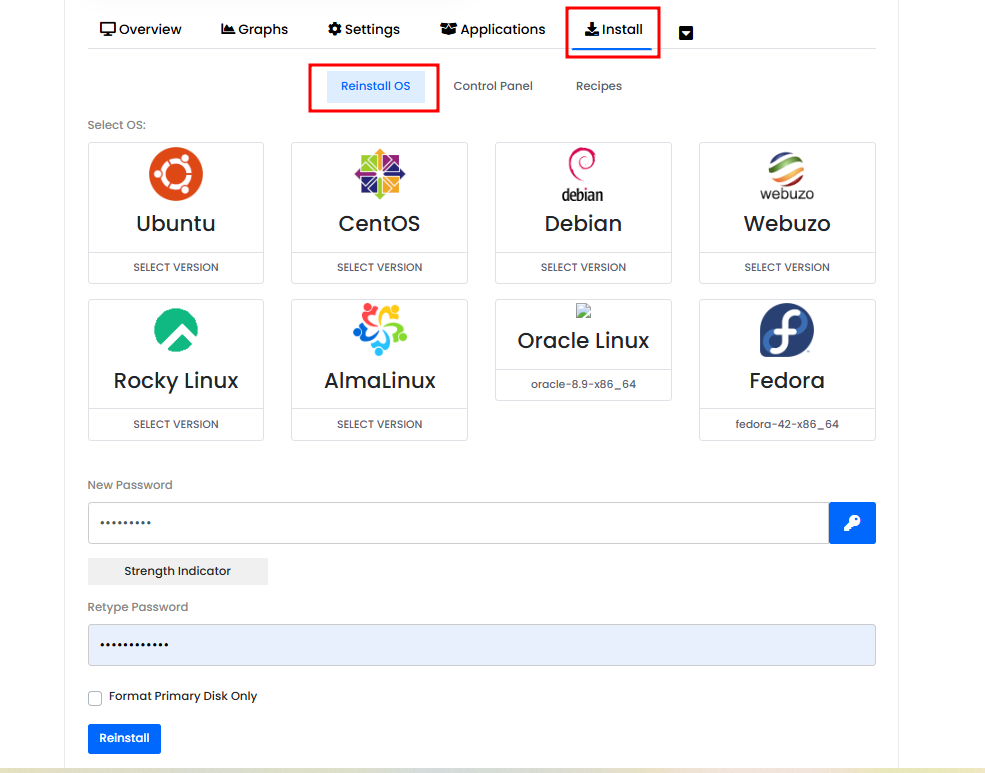
The available OS will show under "Reinstall OS".
Step 6: Review the Warning Message Carefully
Before continuing, QuickServers will typically show a warning that reinstalling the VPS will erase the current data on the server.
Read this message carefully and confirm that:
-
You have a current backup
-
You selected the correct VPS
-
You are ready for the server to be wiped and rebuilt
Only continue when you are fully prepared.
Step 7: Choose the New Operating System Template
Next, select the operating system you want to install on the VPS.
Available options may include different Linux distributions and versions, such as:
-
Ubuntu
-
Debian
-
AlmaLinux
-
Rocky Linux
-
CentOS Stream
-
Fedora
Choose the template that best matches your application, hosting needs, or server experience.
When selecting the new OS, consider:
-
Software compatibility
-
Resource usage
-
Long-term support
-
Your familiarity with the distribution
Step 8: Set Any Required Reinstall Details
Depending on the VPS setup, you may be asked to enter or confirm details such as:
-
Hostname
-
Root password
-
SSH public key
-
Partition preferences
-
Admin email address
If a root password is required, choose a strong password that includes:
-
Uppercase letters
-
Lowercase letters
-
Numbers
-
Special characters
If SSH key login is supported, using an SSH key is often more secure than password-only access.
Step 9: Confirm the Reinstall Request
Once you have selected the operating system and entered the required details:
-
Review all the information carefully.
-
Confirm that you want to proceed.
-
Submit the reinstall request.
At this point, the system will begin rebuilding the VPS with the new operating system.
Step 10: Wait for the VPS Reinstallation to Finish
The reinstall process usually takes a short amount of time, depending on the selected operating system and server load.
During this process:
-
The VPS may reboot automatically
-
Existing data will be removed
-
The new operating system will be installed
-
New login details or connection instructions may be generated
Do not try to interrupt the reinstall once it has started.
Step 11: Access the VPS After the New OS Is Installed
After the reinstall is complete, return to your VPS management page and check the updated server details.
You should verify:
-
The VPS is online
-
The correct OS has been installed
-
The new hostname is correct
-
Your login credentials work
-
SSH access is available
You can then connect to the VPS using:
-
SSH for Linux servers
-
The server console in the QuickServers portal
-
Any remote access method provided with your service
Step 12: Reconfigure Your Server After Reinstallation
Since changing the OS gives you a clean server, you will need to set things up again.
Common post-installation tasks include:
-
Updating system packages
-
Creating user accounts
-
Configuring SSH security
-
Installing a web server
-
Installing a control panel or software stack
-
Restoring website files and databases
-
Reapplying firewall settings
-
Restoring backups
This is the stage where you rebuild your environment for production use.
Step 13: Test Everything After the OS Change
Once the VPS is reinstalled and configured, test the server to make sure everything works correctly.
Check the following:
-
Can you log in successfully?
-
Is the network working properly?
-
Are your applications starting correctly?
-
Are restored websites or services loading as expected?
-
Are firewall and security settings active?
Testing helps you catch setup issues early before you put the server back into active use.
Step 14: Contact Support If You Run Into Problems
If you have trouble changing the OS or accessing the VPS after reinstallation, contact QuickServers support.
It is helpful to include:
-
Your VPS service name or ID
-
The operating system you selected
-
Any error messages shown in the portal
-
Whether the issue is with reinstalling, booting, or logging in
This helps the support team resolve the issue more quickly.
The Bottom Line
Changing the operating system on your VPS in the QuickServers customer portal is a straightforward process, but it should always be done carefully. Since reinstalling the OS erases the current server contents, the most important step is backing up your data before you begin.
Once the new operating system is installed, you can reconnect to your VPS, restore your data, and configure the server for your new project or environment. With QuickServers, you can manage the process from one place and keep full control of your VPS setup.
