How to Change Your Password on a VPS
Changing your VPS password is an important part of keeping your server secure. Whether you want to improve security, replace an old password, or reset access to your VPS, QuickServers allows you to manage this directly from your customer portal.
Before you begin, make sure you choose a strong password and store it safely. A weak password can put your server, website, and data at risk.
Step 1: Understand When You May Need to Change Your VPS Password
There are several common reasons to change your VPS password:
-
You want to improve server security
-
Your current password is old or weak
-
You shared the password and now want to replace it
-
You believe someone else may know your password
-
You lost access and need to reset it
Changing your password regularly is a good security habit, especially for important or public-facing servers.
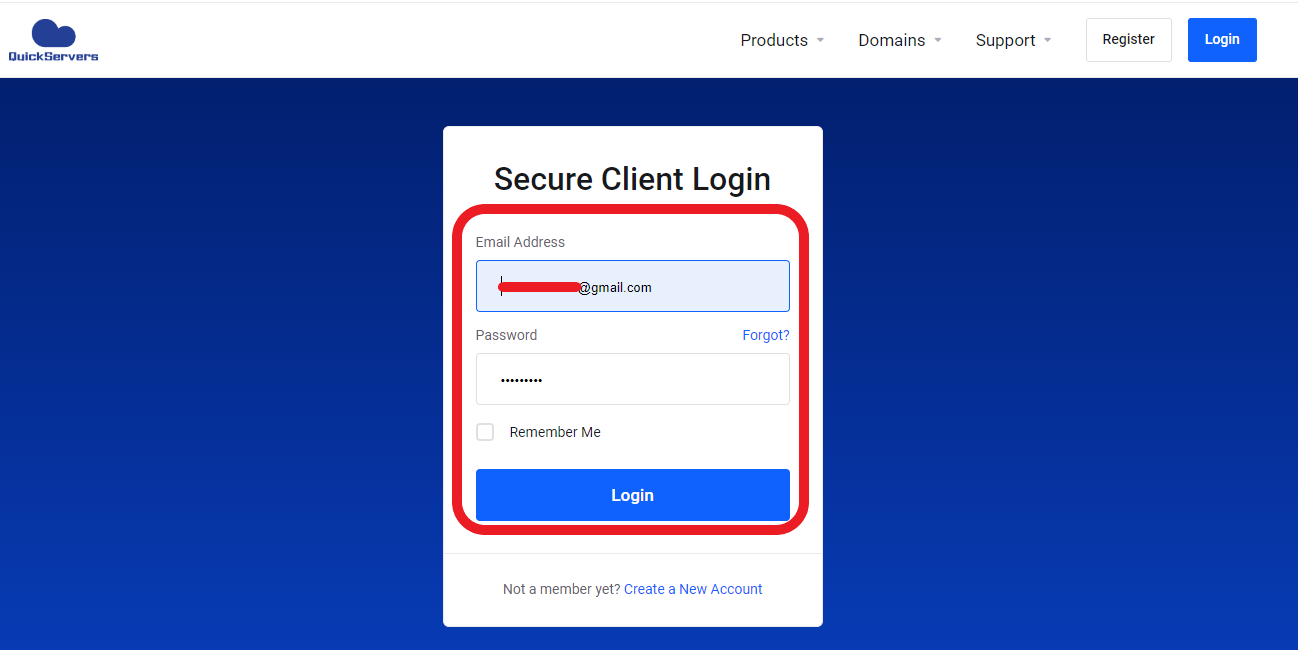
Step 2: Log In to the QuickServers Customer Portal
To begin the password change process:
-
Visit the QuickServers website.
-
Sign in to your customer portal using your account credentials.
-
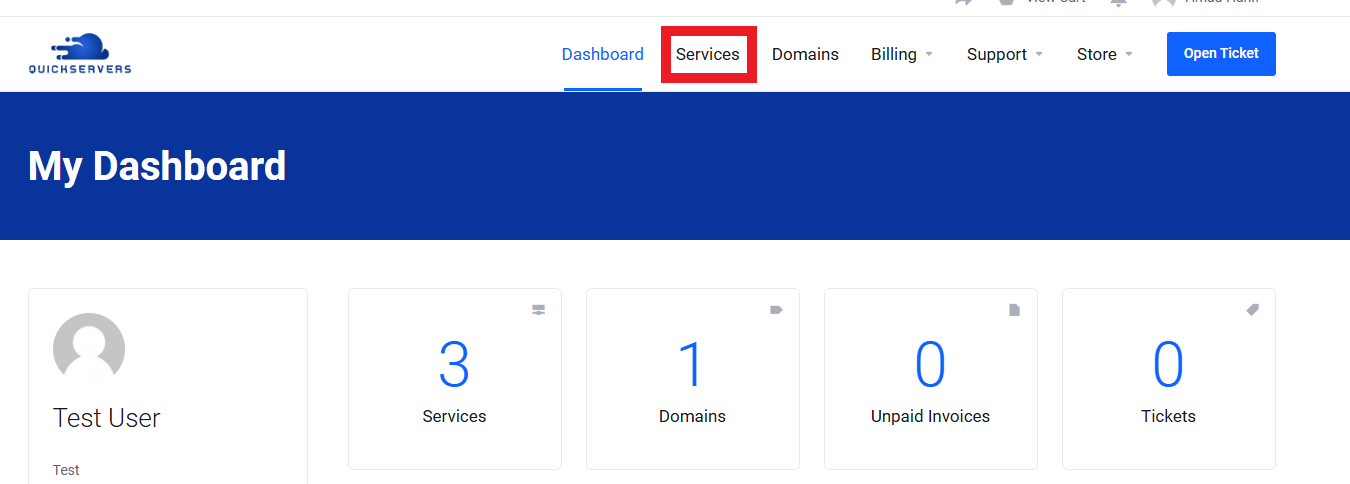
After logging in, go to your services.
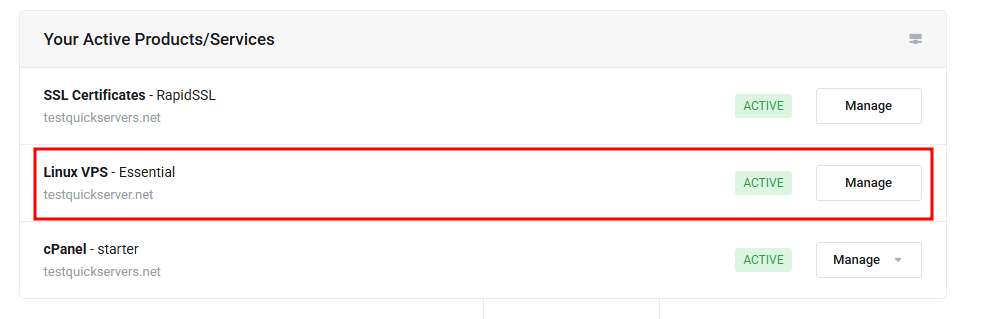
From there, locate the VPS you want to manage.

Step 3: Open the VPS Management Page
Inside your customer portal:
-
Click on the VPS for which you want to change the password.
-
Open the management page for that VPS.
This page will show the available controls for your server, including password management options.
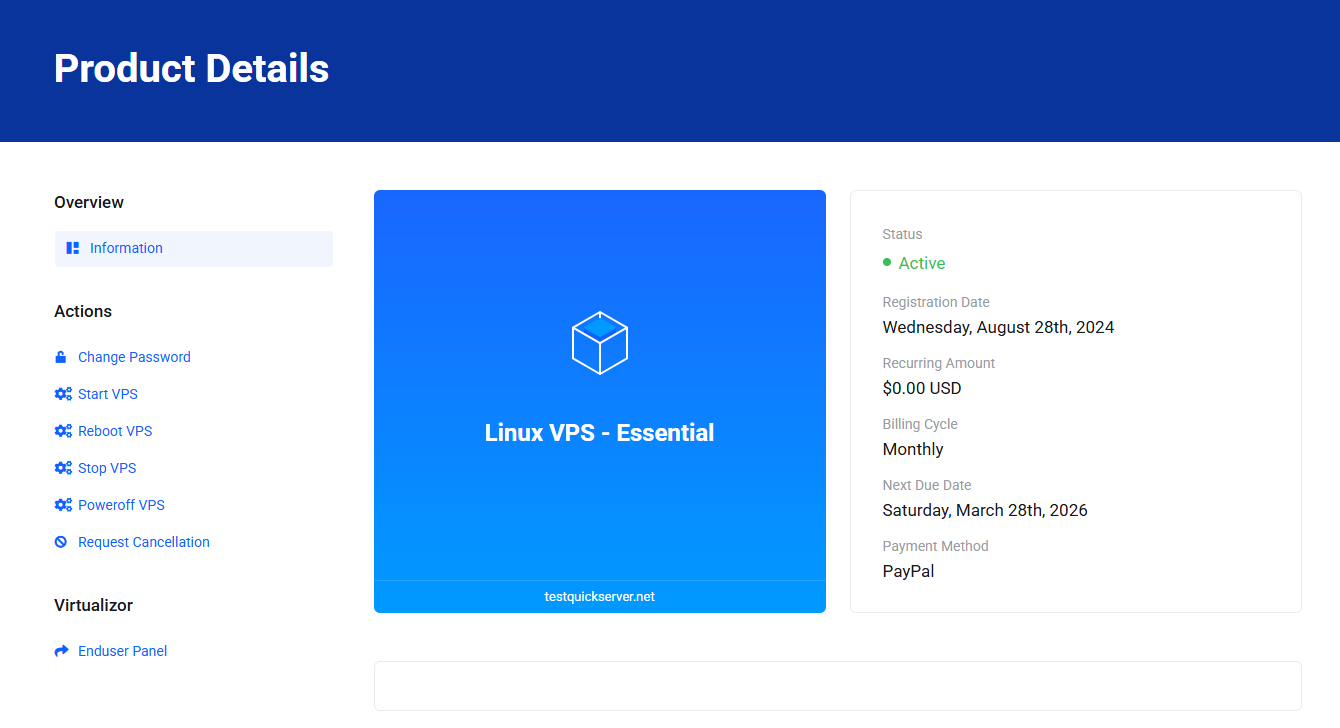
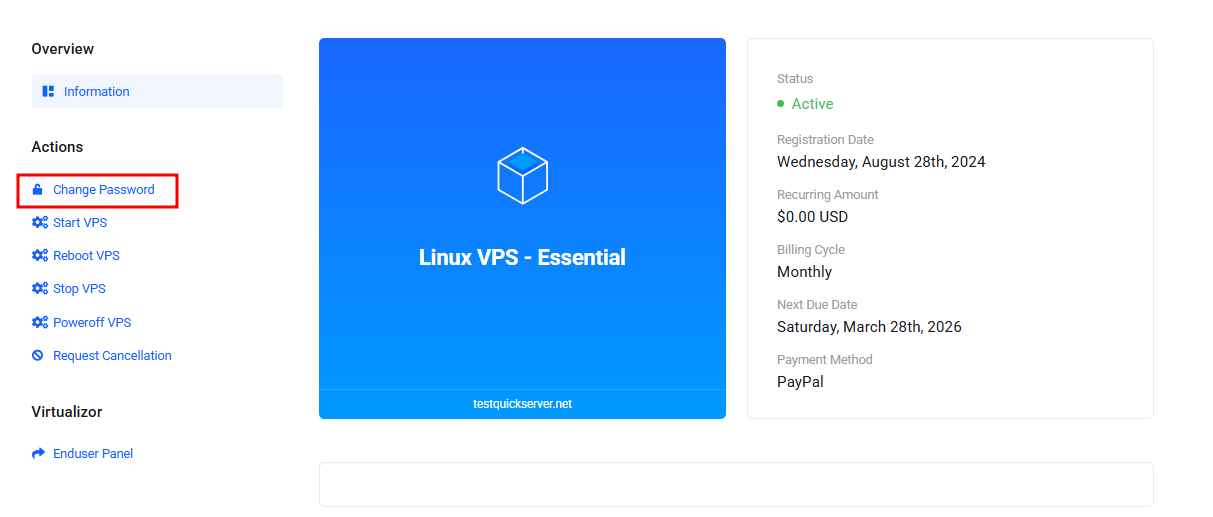
Step 4: Locate the Password Management Option
On the VPS management page, look for an option such as:
-
Change Password
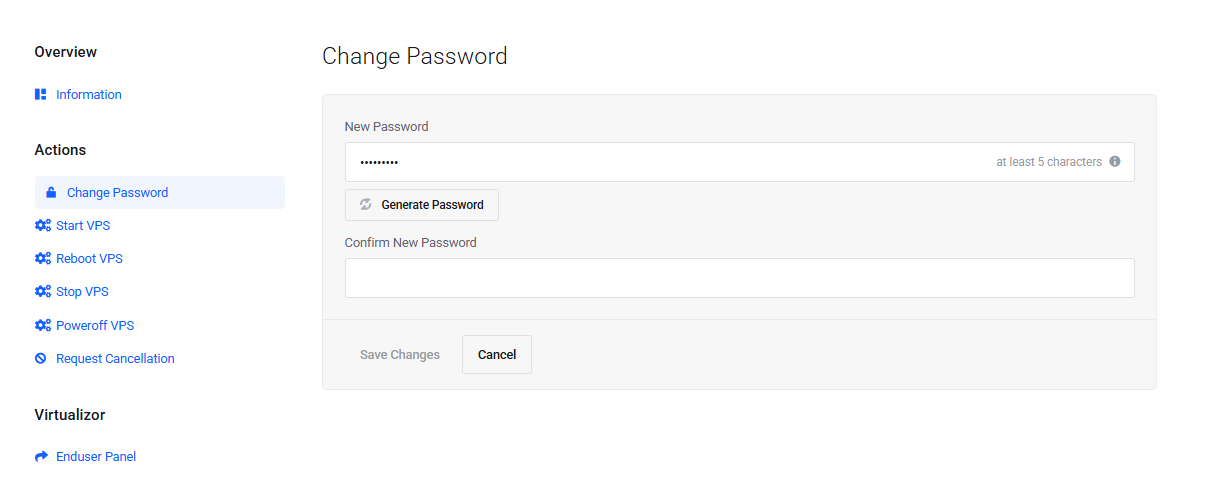
Step 5: Enter a New Strong Password
When prompted, enter the new password you want to use for the VPS.
A strong password should include:
-
Uppercase letters
-
Lowercase letters
-
Numbers
-
Special characters
It should also:
-
Be long enough to resist guessing attacks
-
Not use common words or simple patterns
-
Be different from your customer portal password
-
Not be reused from another service
Our portal provides a password generator, you may use it to create a more secure password.
Step 6: Confirm the New Password
After entering the new password, you may be asked to type it again to confirm it.
Carefully check that:
-
Both password entries match exactly
-
There are no typing errors
-
You have saved the password in a secure place before continuing
If you lose the new password, you may need to reset it again.
Step 7: Submit the Password Change Request
Once the new password has been entered and confirmed:
-
Review the information carefully.
-
Click the button to save the new password.
-
Wait for the system to process the request.
At this point, QuickServers will update the VPS login credentials.
Step 8: Allow the Password Update to Complete
The password change usually takes only a short time, but the VPS may need a moment to apply the update.
During this time:
-
The server may process the request in the background
-
A reboot may be required in some cases
-
The portal may show a success message once the update is complete
Do not try repeated password changes too quickly while the first request is still processing.
Step 9: Test the New Password
After the password change is complete, test the new login details to confirm they work properly.
You can do this by using:
-
SSH for Linux-based VPS access
-
The server console in your QuickServers portal
-
Any remote access method provided with your VPS
When testing, confirm that:
-
The new password works
-
The old password no longer works
-
You can access the VPS without errors
This helps make sure the update was successful.
Step 10: Update Any Saved Credentials or Scripts
If your previous VPS password was stored anywhere, make sure you update it.
This may include:
-
Password managers
-
Server documentation
-
Deployment tools
-
Monitoring systems
-
Automation scripts
-
Remote desktop or SSH client profiles
Keeping all saved credentials current helps prevent login failures later.
Step 11: Improve VPS Security After Changing the Password
After updating your password, it is a good idea to review your general server security.
Recommended steps include:
-
Use a unique password for every VPS
-
Change passwords regularly
-
Limit password sharing
-
Use SSH keys if supported and appropriate
-
Disable unused services or accounts
-
Keep your system updated
A password change is a good chance to strengthen your overall security setup.
Step 12: Contact Support If the Password Change Does Not Work
If you are unable to log in after changing the password, contact QuickServers support.
It is helpful to include:
-
Your VPS service name or ID
-
The time you submitted the password change
-
Any error messages shown in the portal or console
-
Whether the issue affects SSH, console access, or both
This will help the support team review the issue more quickly.
The Bottom Line
Changing your VPS password in the QuickServers customer portal is a simple but important task. It helps protect your server, your data, and any websites or applications running on it.
By choosing a strong password, updating it carefully, and testing access right away, you can keep your VPS secure and under your control. With QuickServers, you can manage your VPS credentials from one place and make important security changes quickly and easily.
