Introduction to VPS Hosting: What You Need to Know
Virtual Private Server (VPS) hosting provides enhanced performance, control, and flexibility compared to traditional shared hosting. At QuickServers.net, we make it easy to manage your VPS through our customer portal. This guide walks you through the essential features of VPS hosting and how you can manage your VPS effectively.
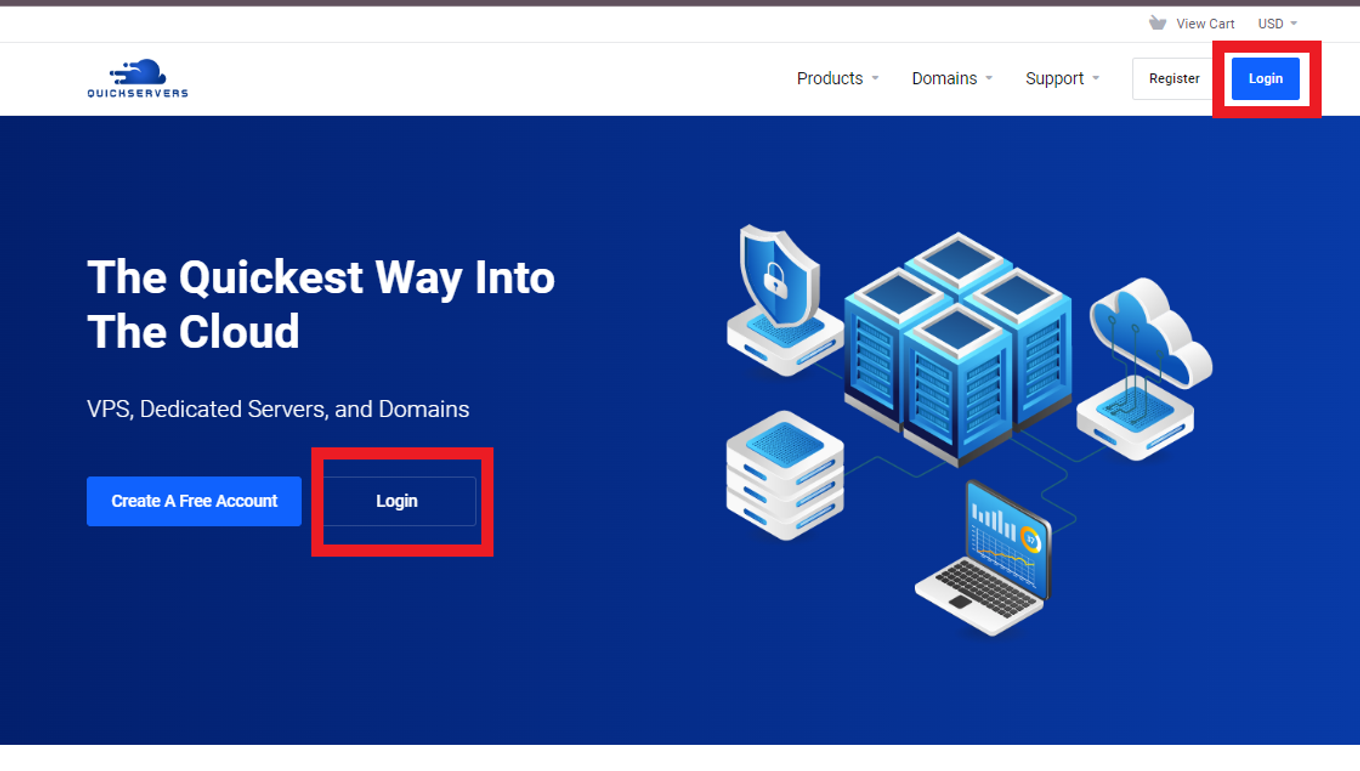
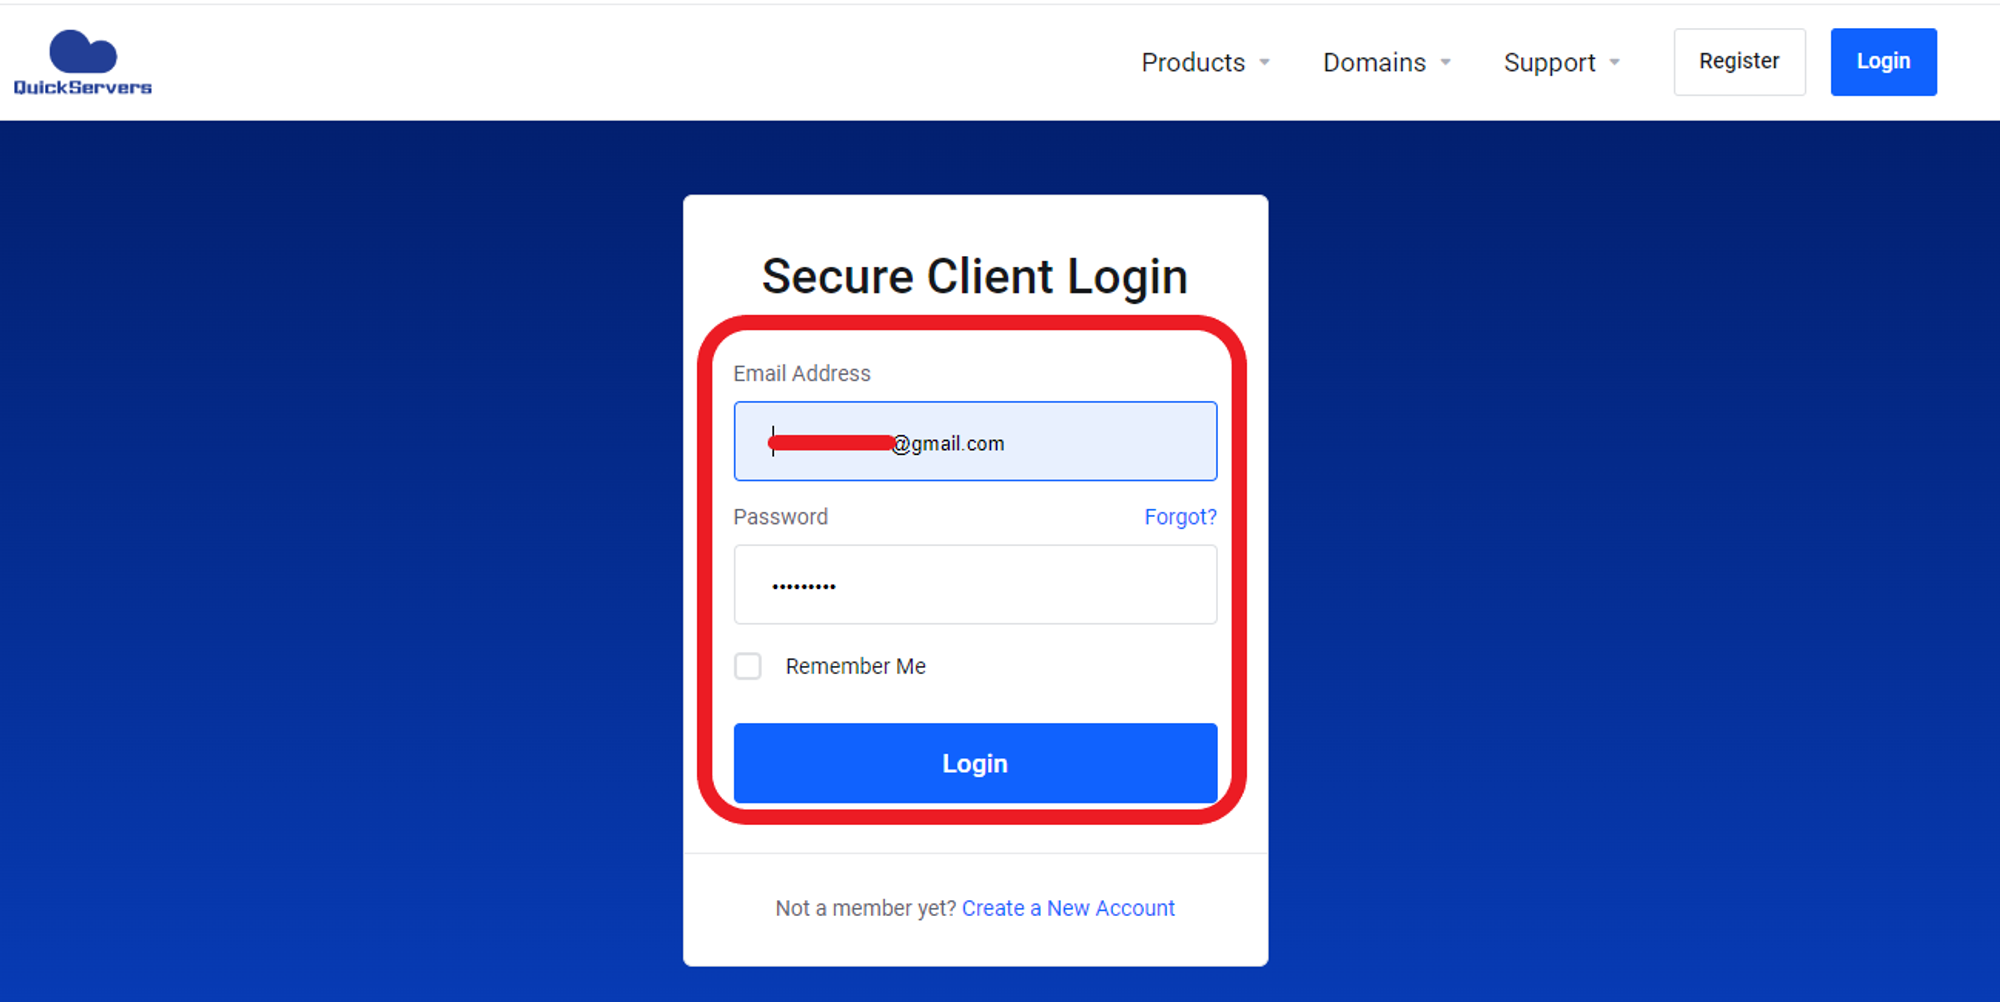
Step 1: Log In to Your QuickServers Account
- Navigate to QuickServers.net and click the "Login" button.
- Enter your account credentials (email and password).
- Once logged in, you will be directed to your account dashboard, where you can access all your hosting services.
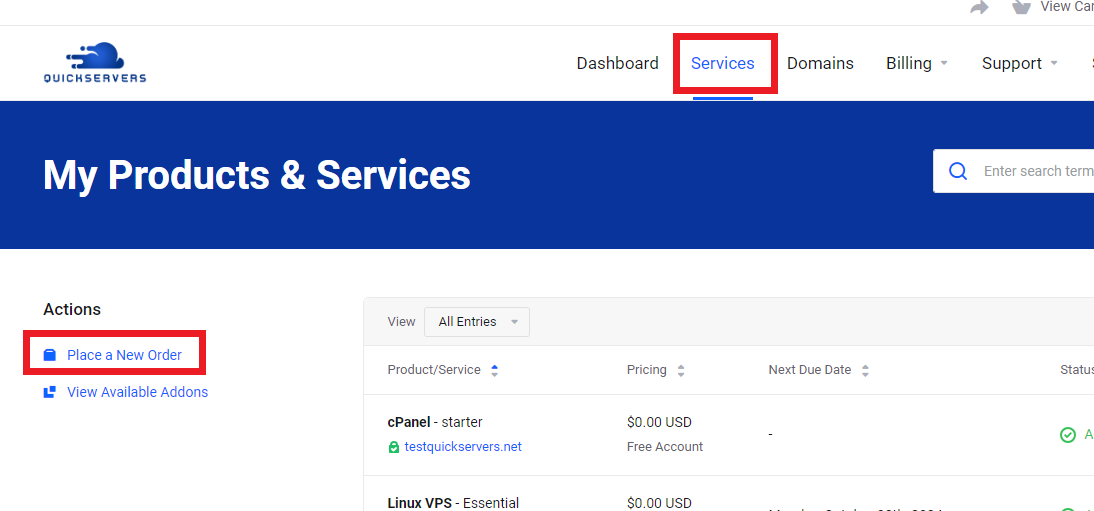
Step 2: Access Your VPS
- From your account dashboard, click on Services.
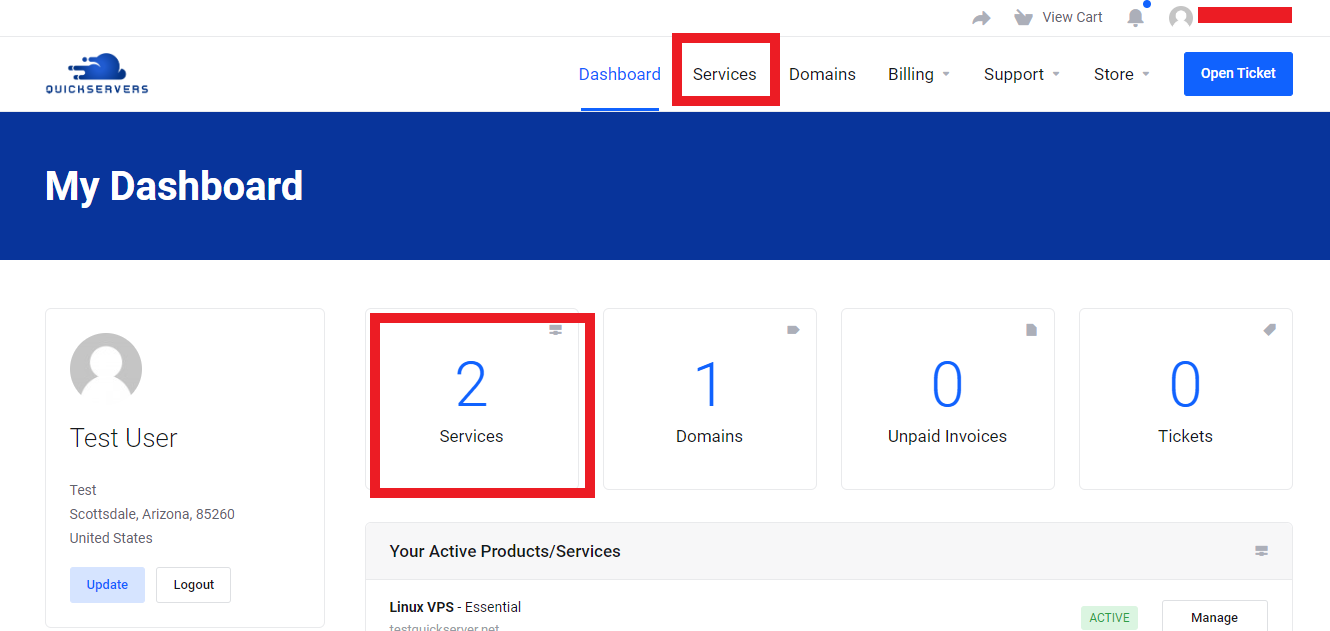
- You will see a list of your active services. Find the VPS you want to manage and click on it.
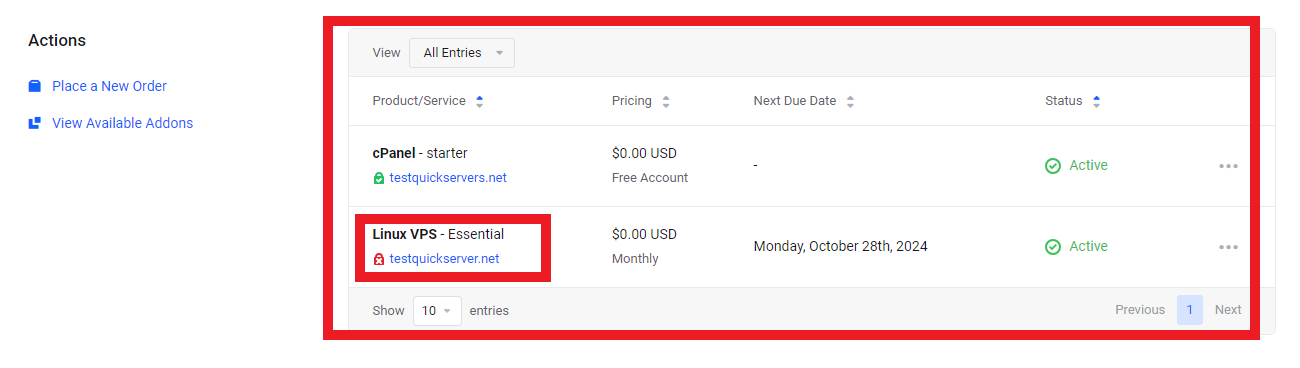
- This will take you to the management interface for your VPS.
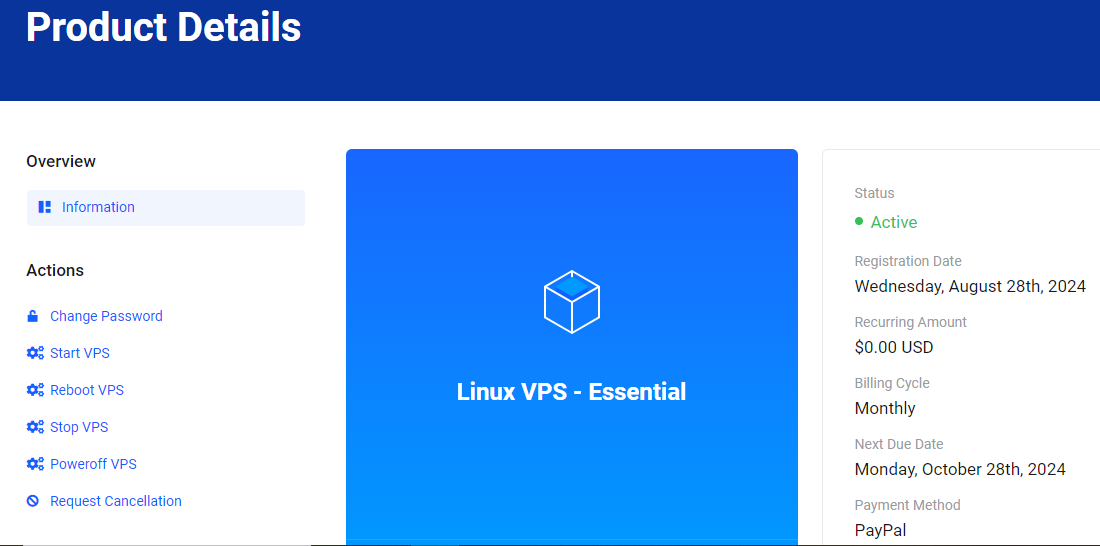
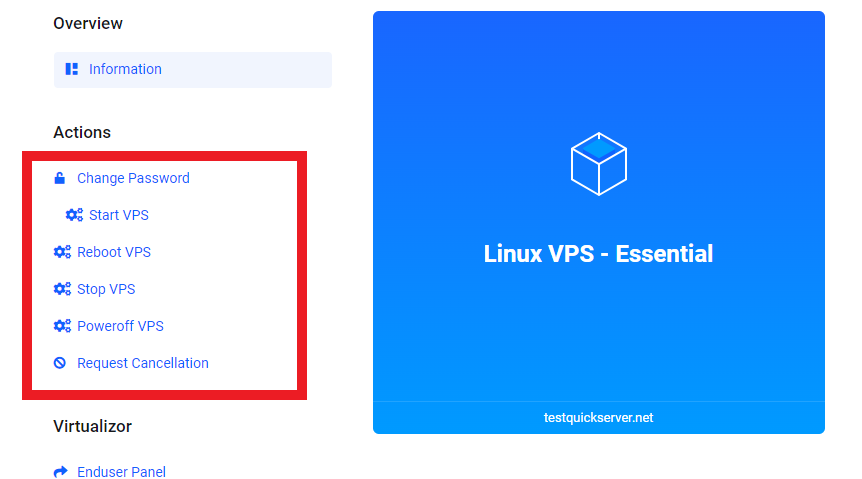
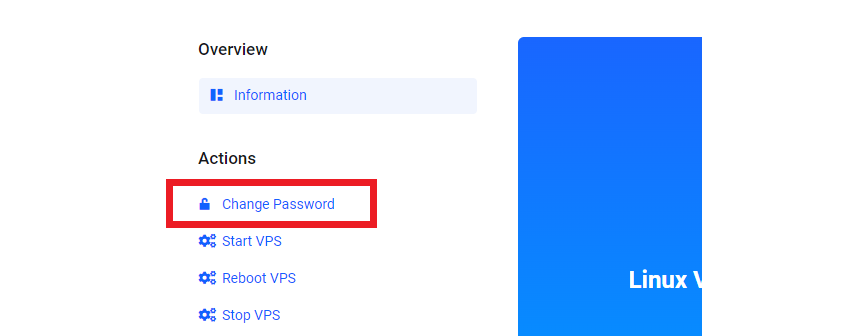
Step 3: Overview of Your VPS Management Options
On the VPS management page, you will have various options to manage your server. Some of the key options include:
- Start/Stop/Restart: You can control the power state of your VPS by starting, stopping, or restarting it as needed.
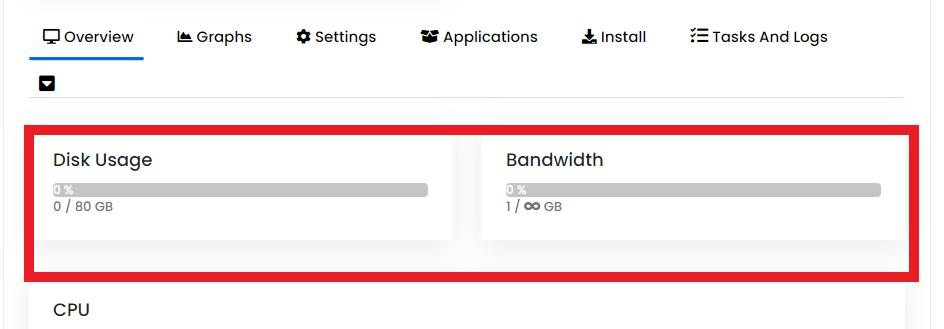
- View Resource Usage: Monitor the usage of your server’s CPU, RAM, and disk space to ensure your VPS is running efficiently.
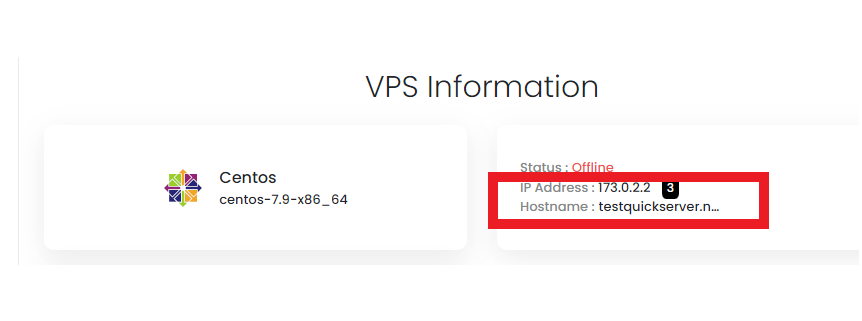
- View IP Address: Your VPS will have its own dedicated IP address, which is displayed in the control panel.
- Root Password Reset: If needed, you can reset the root password of your VPS directly from the portal.
Step 4: Monitoring and Managing Resources
- On the management page, you will see graphs and statistics that show the resource usage of your VPS, such as CPU and RAM usage. This helps you monitor the performance of your VPS in real time.

- If you find that your VPS is using more resources than anticipated, you can easily upgrade your plan by navigating back to the services section and selecting the Upgrade/Downgrade option.

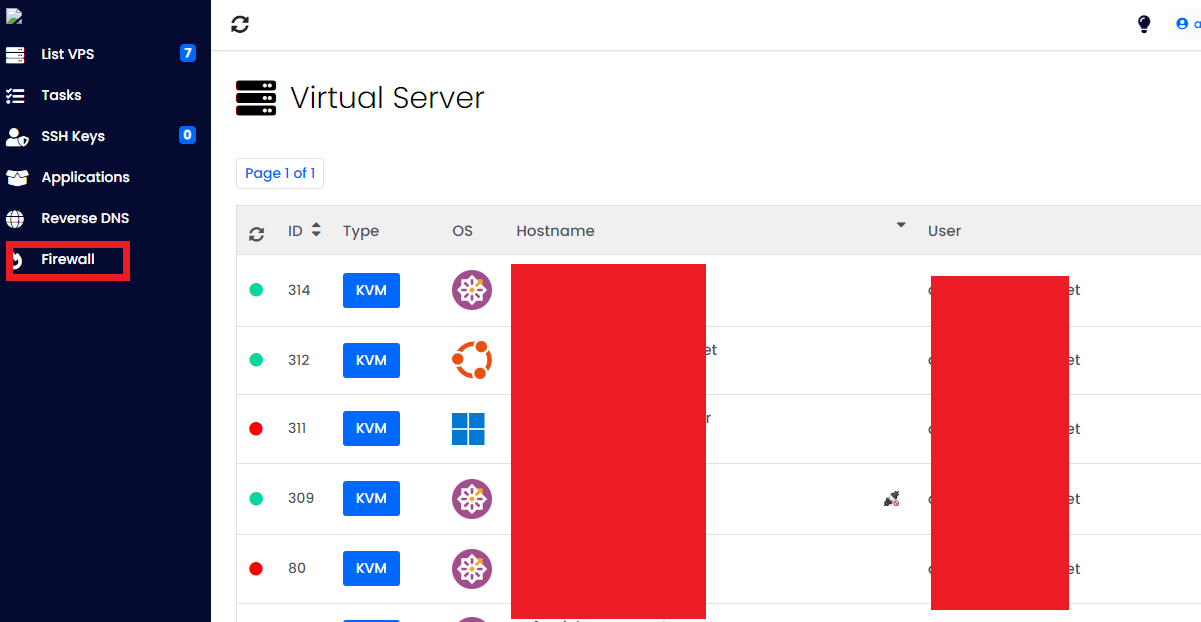
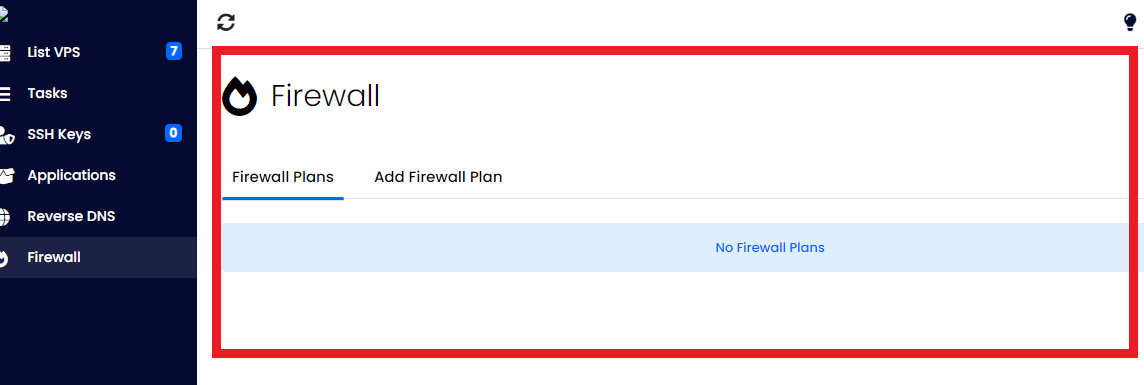
Step 5: Backups and Security
- Security Settings: You can configure your firewall settings and apply any additional security features available with your VPS. This helps protect your server from unauthorized access and malicious attacks.
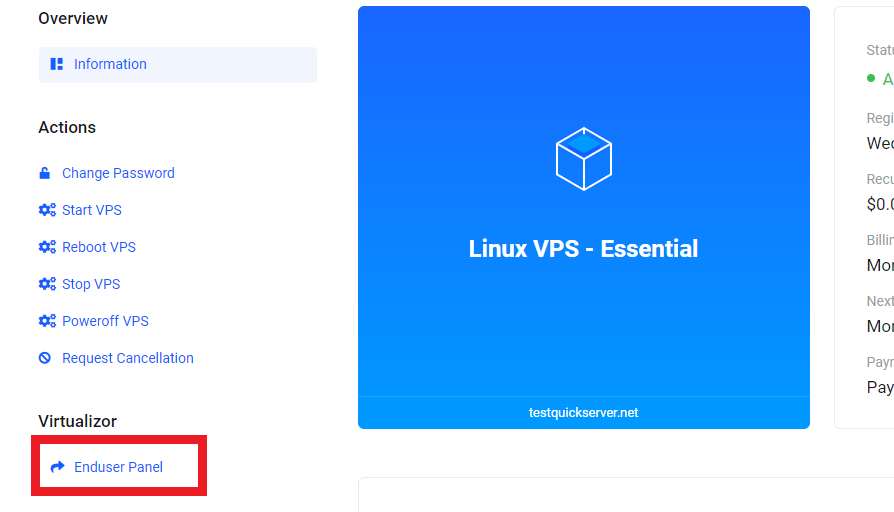
Step 6: Managing Your Operating System
- If you need to reinstall the operating system (OS) on your VPS, you can do so through the management page. Simply click the Reinstall OS button.
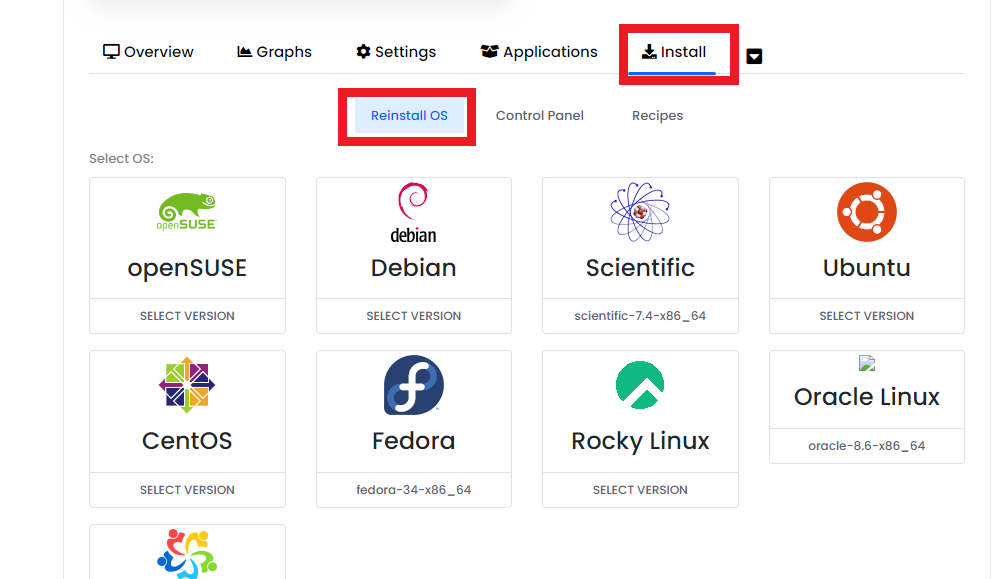
- You will be prompted to select your preferred Linux distribution (e.g., Ubuntu, CentOS). Once selected, the reinstallation process will begin, and you’ll have a fresh OS on your VPS shortly.
Step 7: Scaling Your VPS
As your website or application grows, your resource needs may increase. With QuickServers.net, you can easily scale your VPS to accommodate this growth:
- In the Services section, find the VPS you wish to scale.
- Click on the Upgrade/Downgrade option to see available plans.

- Select the appropriate plan and follow the prompts to upgrade your resources seamlessly.
Step 8: Managing DNS and Domains
Your VPS comes with full control over DNS settings, allowing you to point your domain name to your VPS’s IP address.
- Navigate to the Domains section in the customer portal.
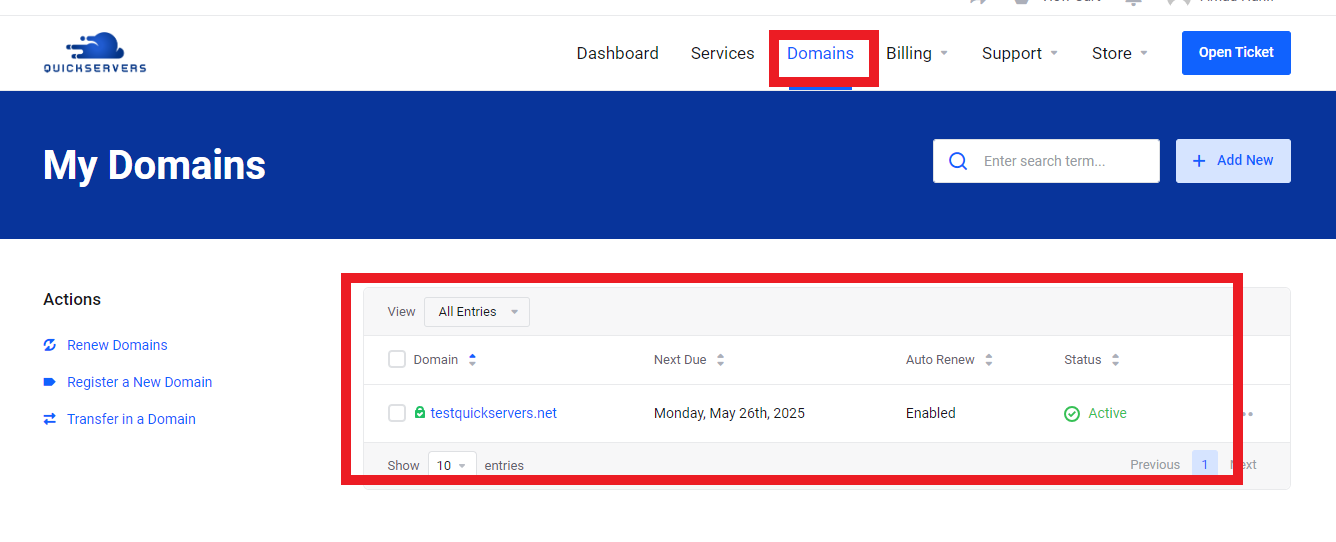
- Find the domain you want to manage, and click Manage DNS.
- Here, you can update DNS records, including A, MX, and CNAME records, to ensure your domain is correctly configured to work with your VPS.
Conclusion
VPS hosting offers a powerful solution for those seeking more control and flexibility in their hosting environment. At QuickServers.net, we simplify the management process through an intuitive customer portal, allowing you to monitor, manage, and scale your VPS as your needs grow.
Whether you're a developer, a business owner, or managing a website, our VPS hosting solutions give you the reliability and control you need. Follow these steps to make the most of your VPS on QuickServers.net.
