How to Order a VPS on QuickServers.net
At QuickServers.net, we offer flexible and powerful VPS hosting solutions that can be easily ordered through our customer portal. Follow these steps to order and manage your VPS.
Step 1: Visit QuickServers.net
- Open your browser and go to QuickServers.net.
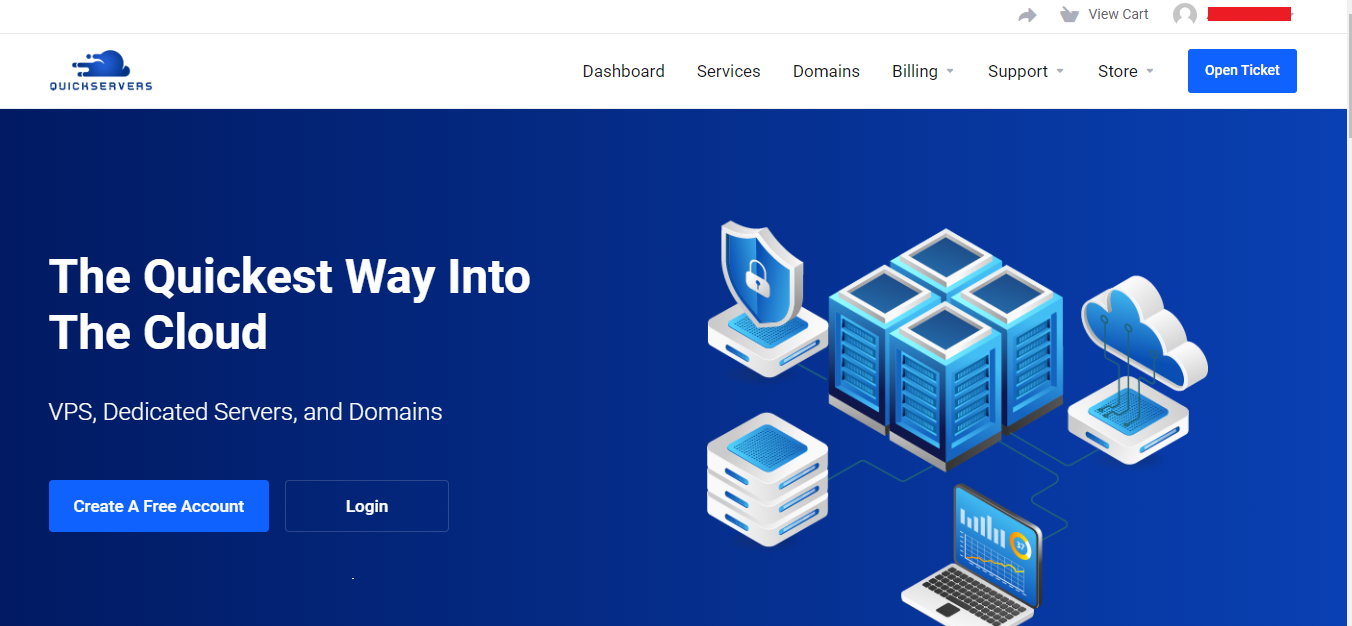
- On the homepage, navigate to the VPS Hosting section, where you will see various VPS plans tailored to different needs.
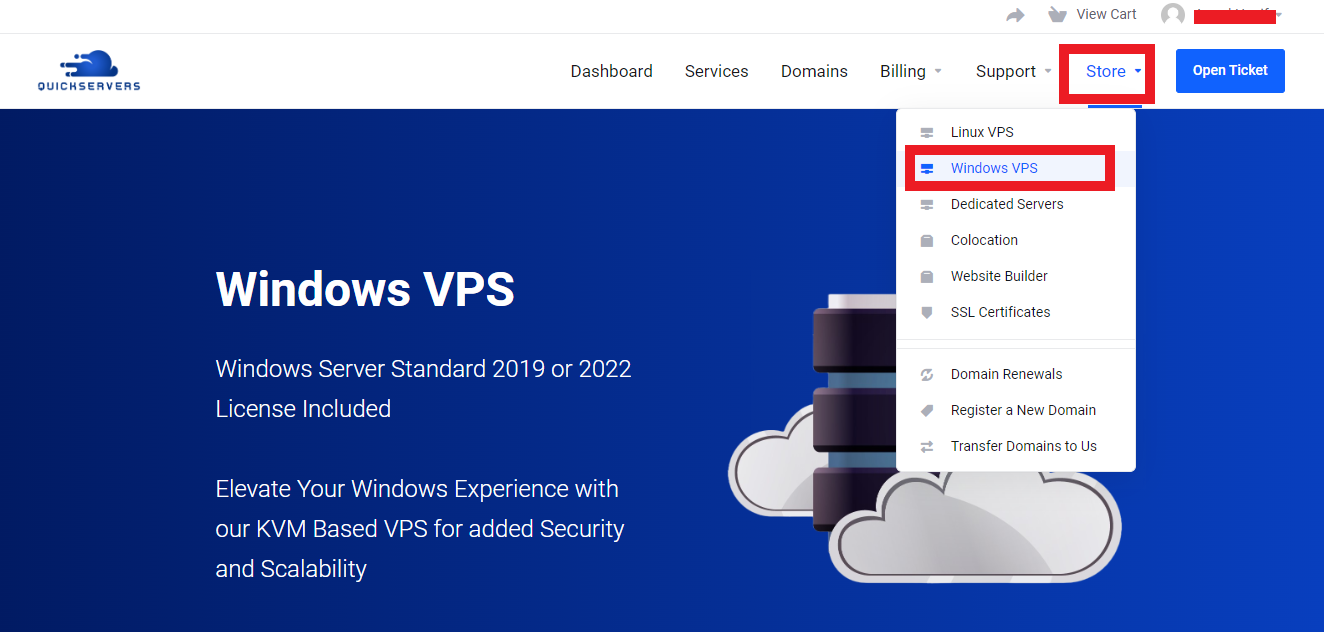
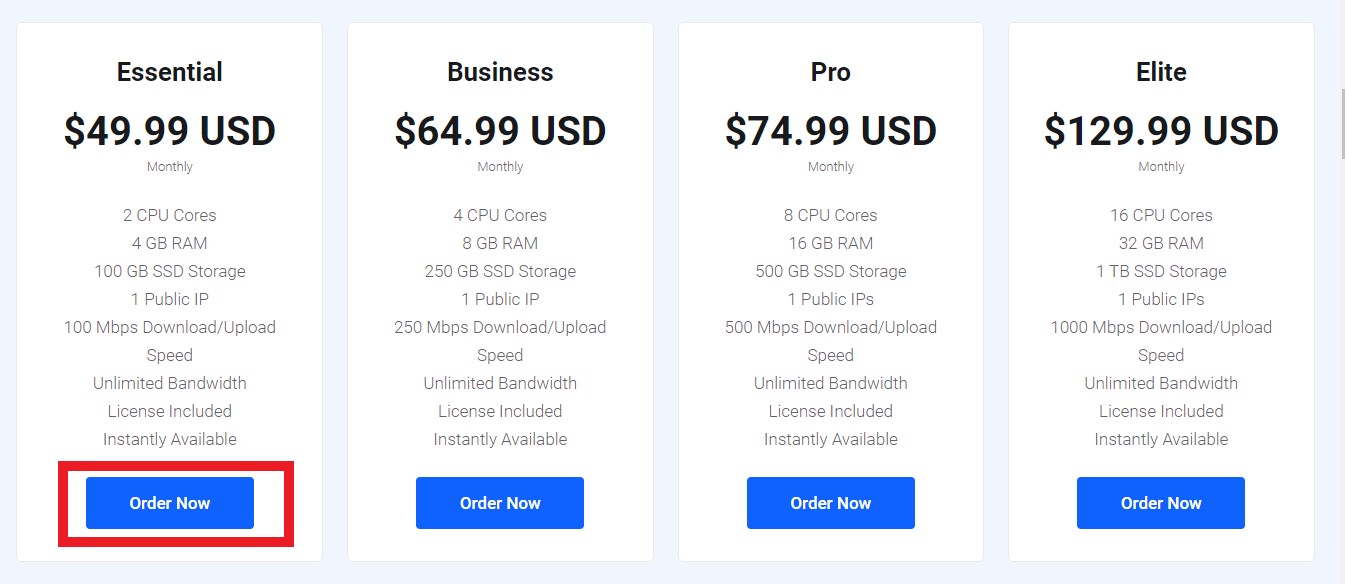
Step 2: Choose the Right VPS Plan
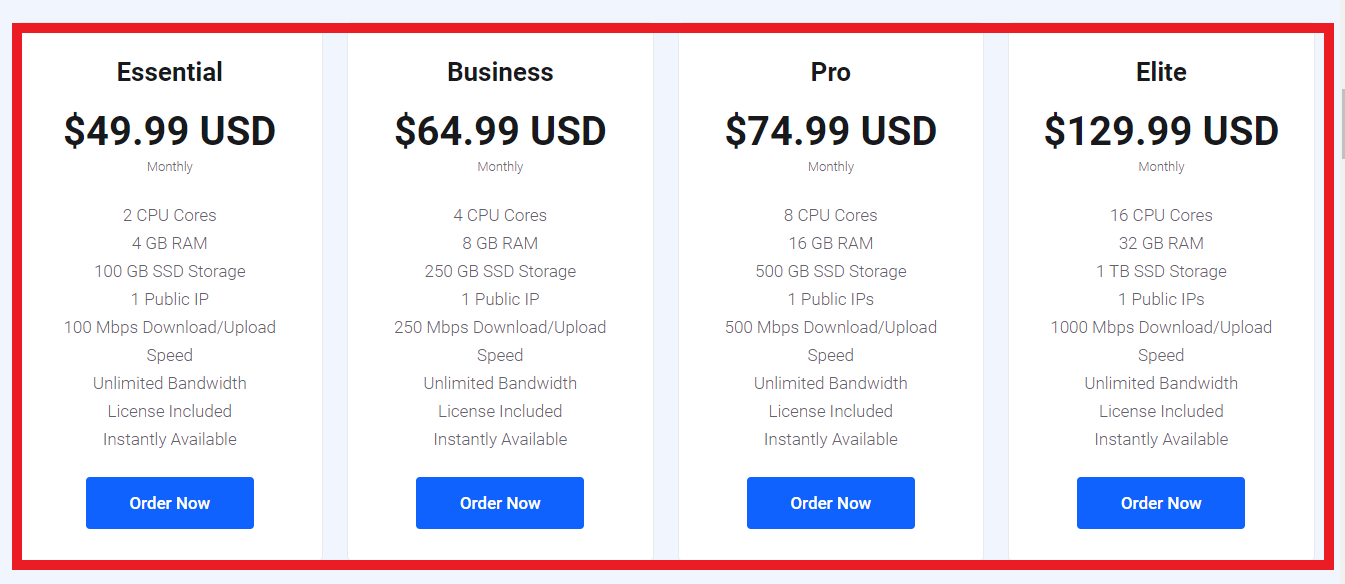
- Browse through the available VPS bundles. Each plan comes with different specifications for CPU, RAM, storage, and bandwidth.
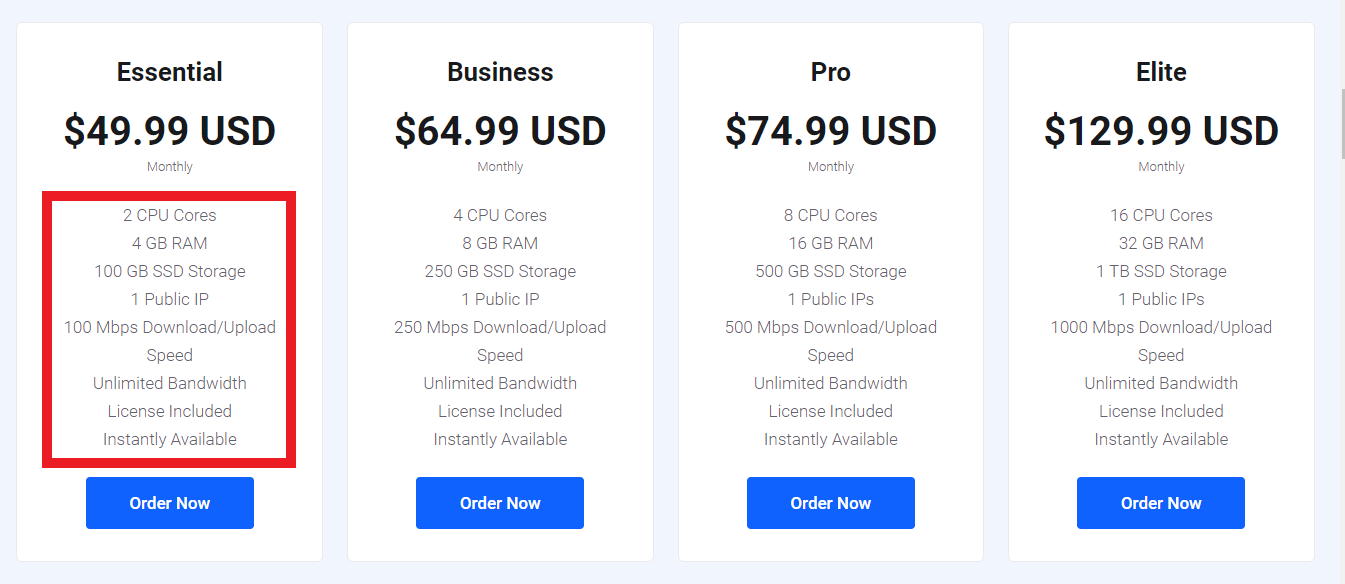
- Once you've found the plan that fits your needs, click the Order Now button next to it.
Step 3: Configure Your VPS
- You will be taken to the configuration page, where you can customize your VPS setup:
- Operating System: Choose from the available Linux distributions (e.g., Ubuntu, CentOS, Debian).

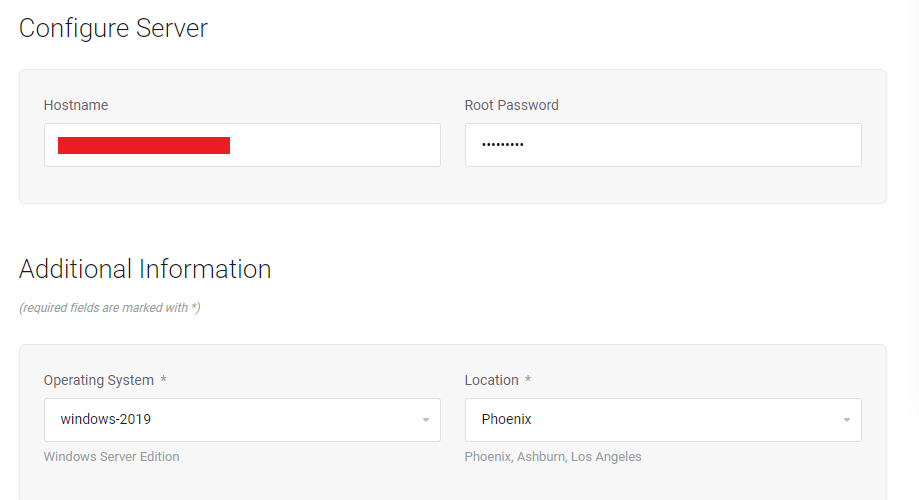
- Add-ons: If necessary, you can choose additional services such as backups or advanced security options.
- Operating System: Choose from the available Linux distributions (e.g., Ubuntu, CentOS, Debian).
- After configuring your VPS, click Continue to proceed.
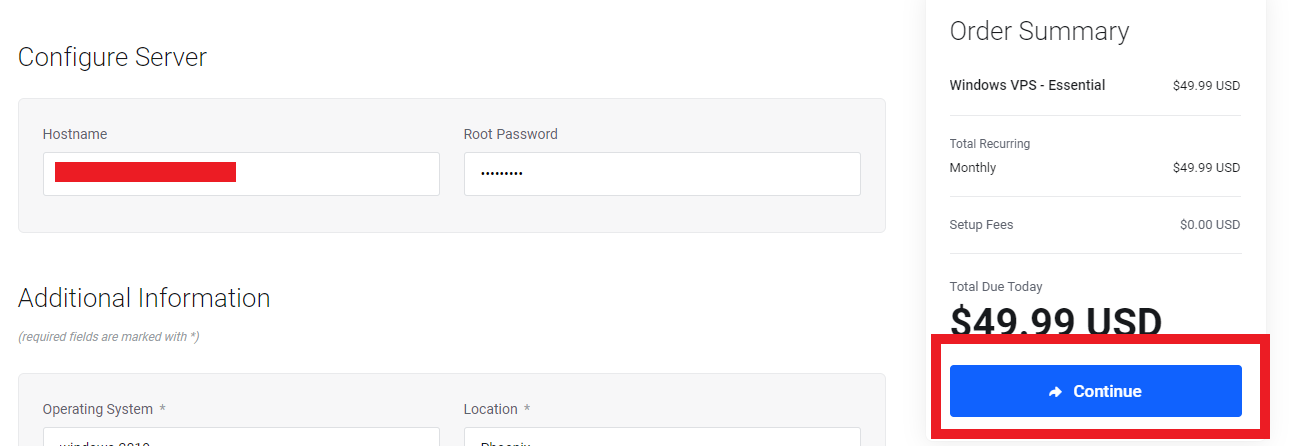
Step 4: Review Your Order
- On the next screen, you’ll see an order summary that includes the VPS plan and any customizations or add-ons you selected.
- Ensure all the details are correct, then click Checkout to move to the next step.
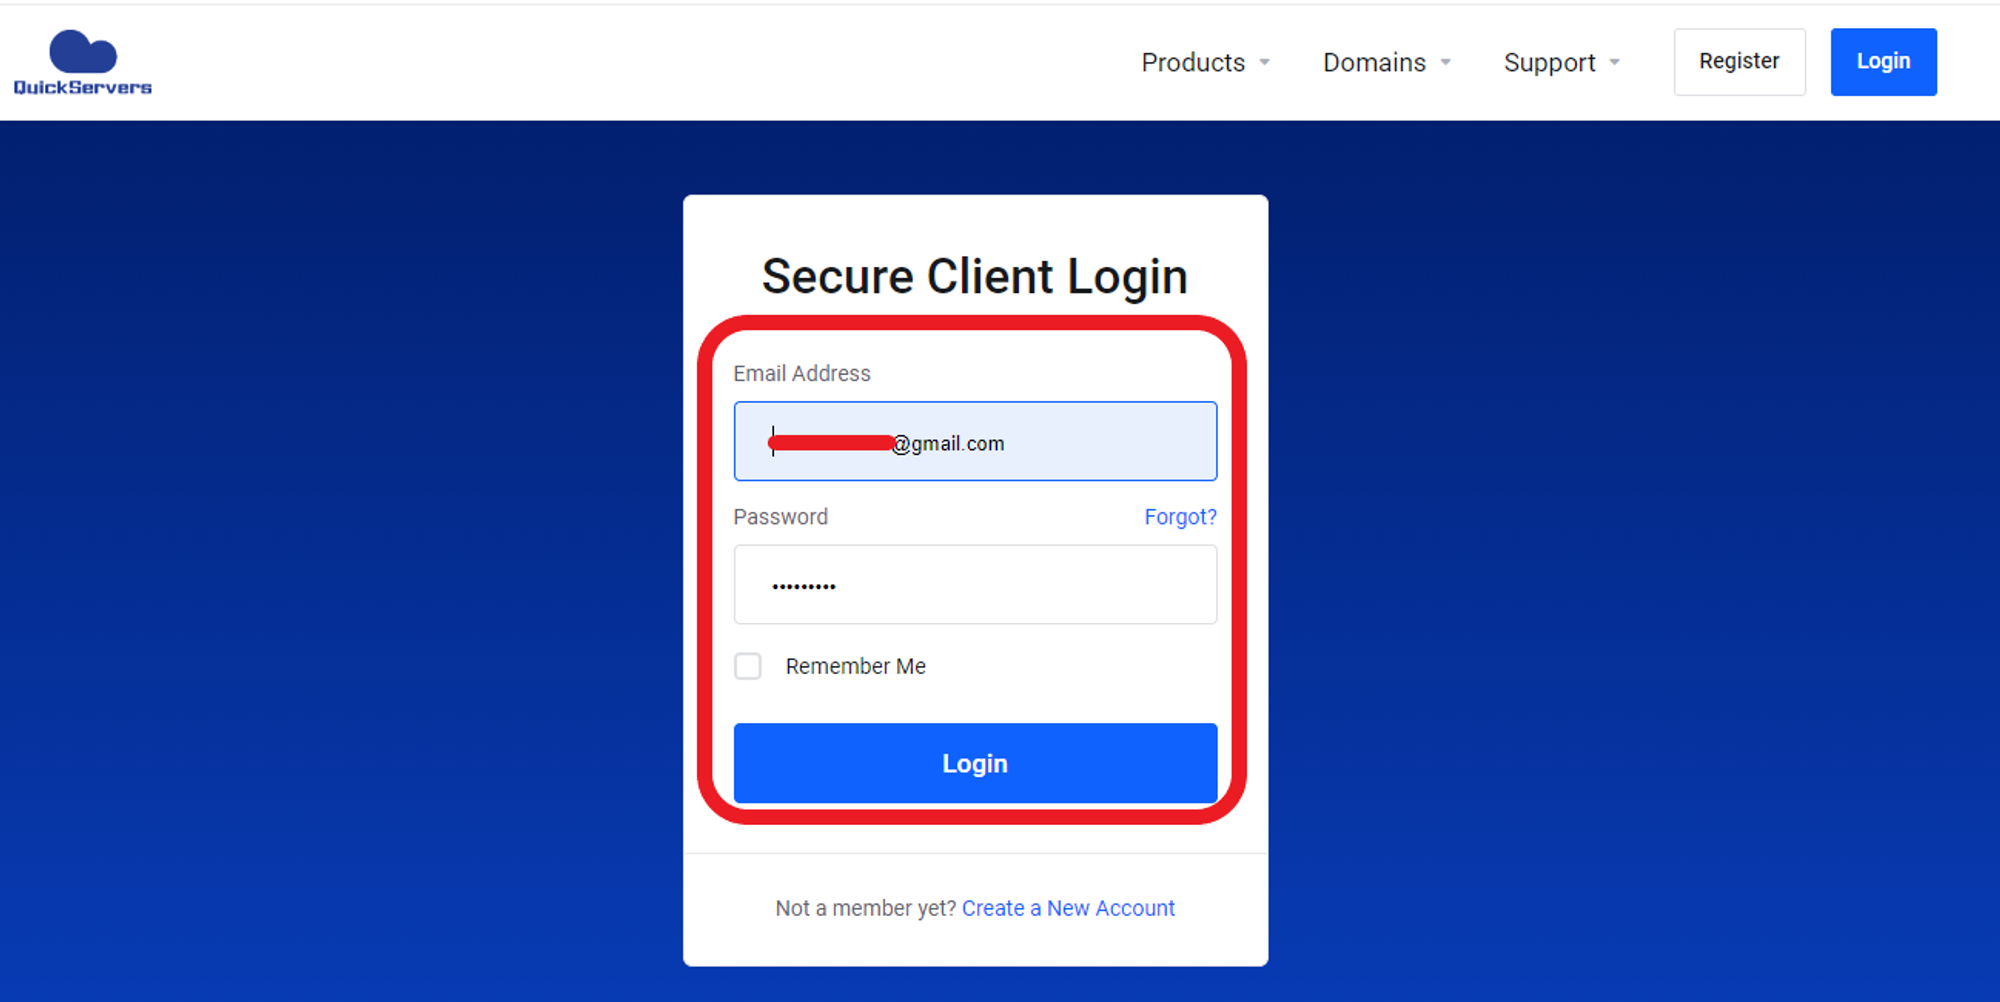
Step 5: Create an Account or Log In
- If you are a new customer, you will be prompted to create an account by entering your name, email address, and other necessary details.
- If you already have an account, simply log in using your existing credentials.
Step 6: Complete Payment
- Once logged in, you’ll be taken to the payment page. QuickServers.net offers multiple secure payment options, including credit cards and online payment gateways.
- Select your preferred payment method, enter your payment information, and click Complete Order.
Step 7: Confirmation and VPS Setup
- After successful payment, you will receive an email confirming your order. This email will also contain important details about your VPS, including login credentials and instructions for accessing the customer portal.
- Your VPS will be automatically set up and ready to use within a short time.
Step 8: Managing Your VPS
- Log in to your QuickServers.net account and navigate to Services in the dashboard.
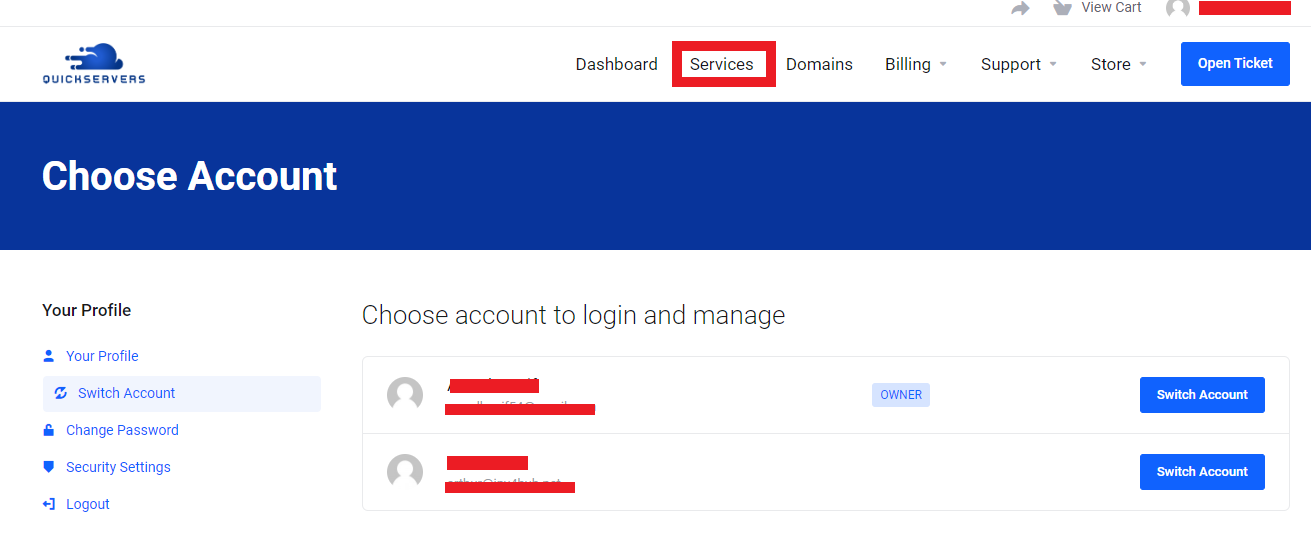
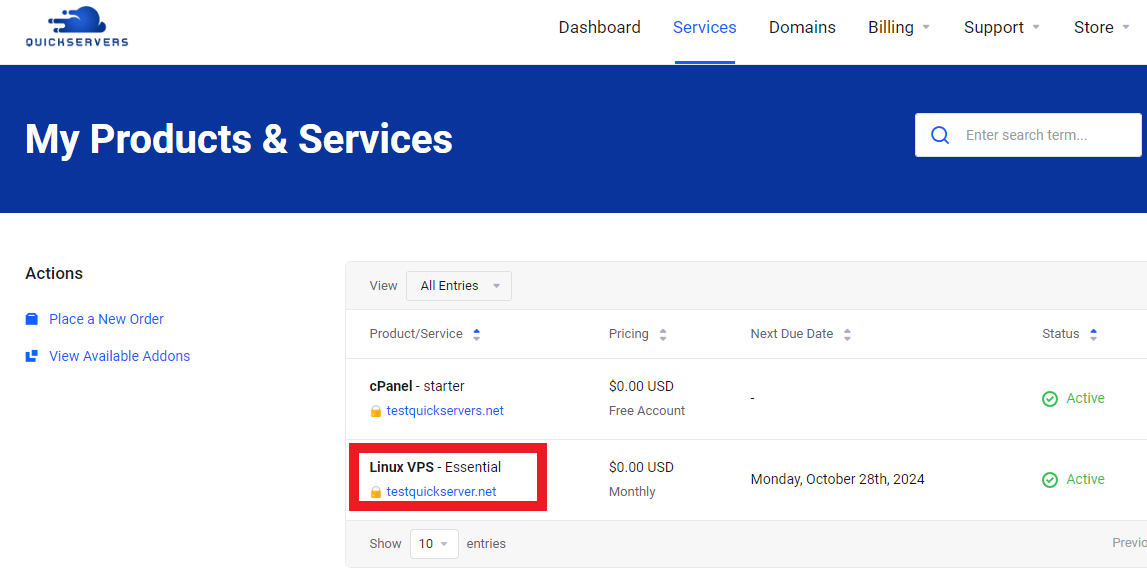
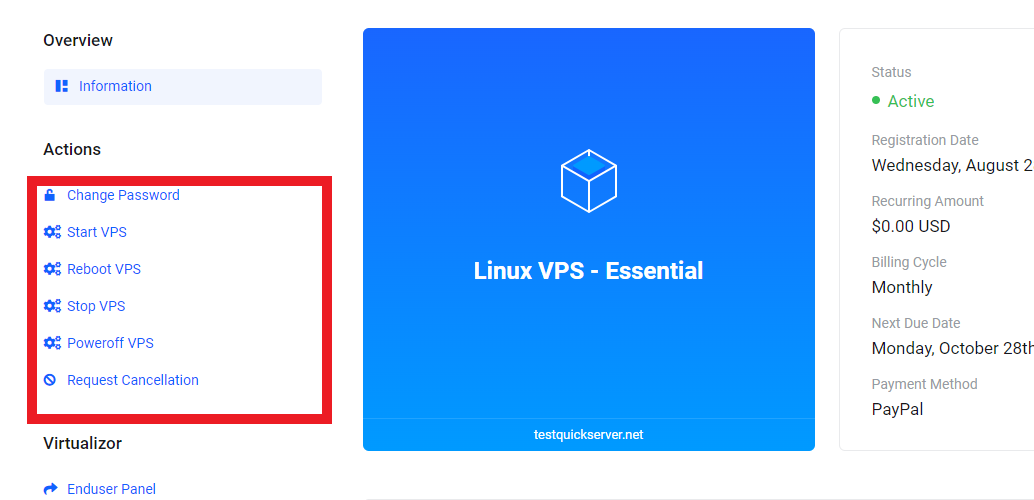
- Click on your VPS to access the management options, where you can start, stop, or restart your server, view usage statistics, and manage other server settings.
Conclusion
Ordering a VPS on QuickServers.net is simple and user-friendly. With a few clicks, you can customize and order a VPS that suits your requirements, with full access to manage it from your account dashboard. Start today by exploring our VPS hosting plans and enjoy the control, flexibility, and performance our solutions offer.
