Setting Up Your VPS: A Beginner’s Guide
Getting started with your VPS on QuickServers.net is easy, even if you're new to hosting. This guide will walk you through the essential steps to set up your VPS so that you can start using it for your website, applications, or any other project.
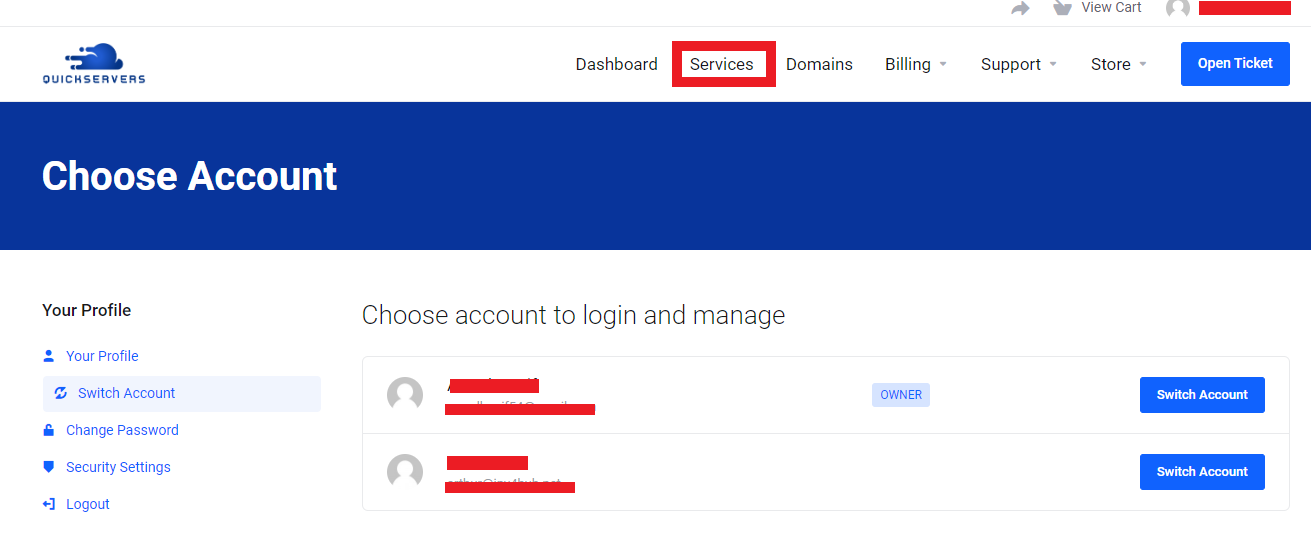
Step 1: Log In to Your QuickServers Account
- Visit QuickServers.net and click the Login button.
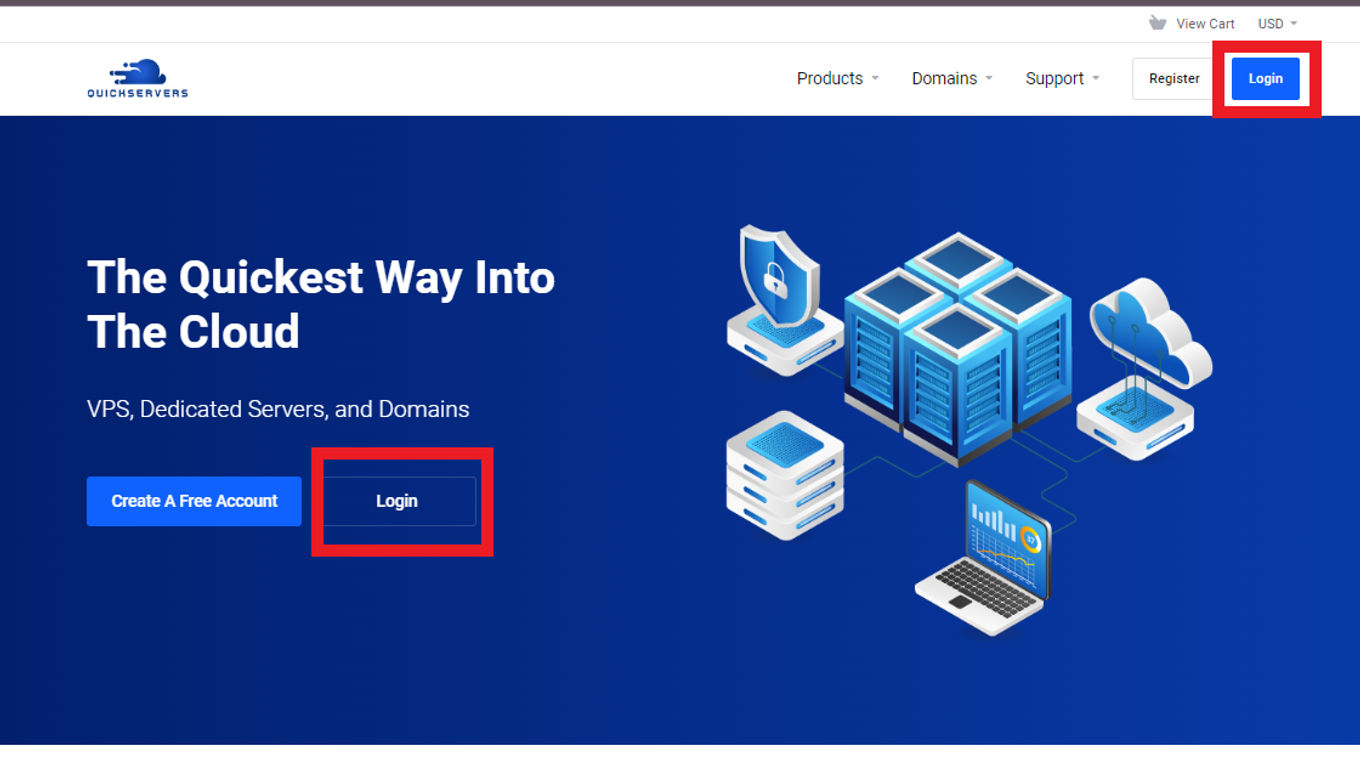
- Enter your account credentials (email and password) to access your dashboard.

- Once logged in, navigate to the Services section to find your active VPS.
Step 2: Access Your VPS
- In the Services section, locate the VPS you want to set up.
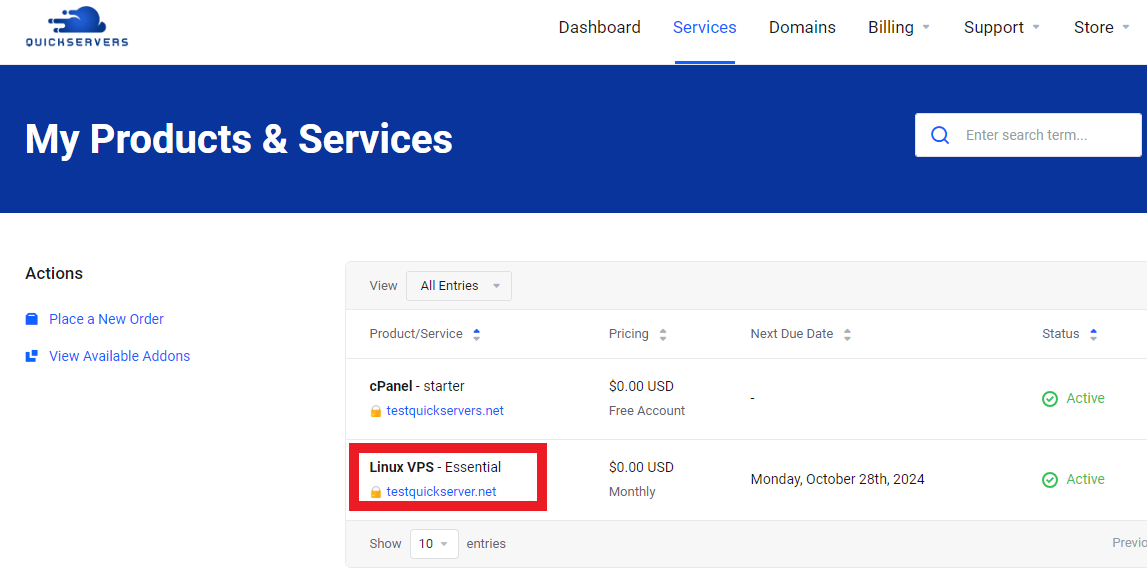
- Click on the VPS to go to the management interface, where you’ll see various options for managing your server.
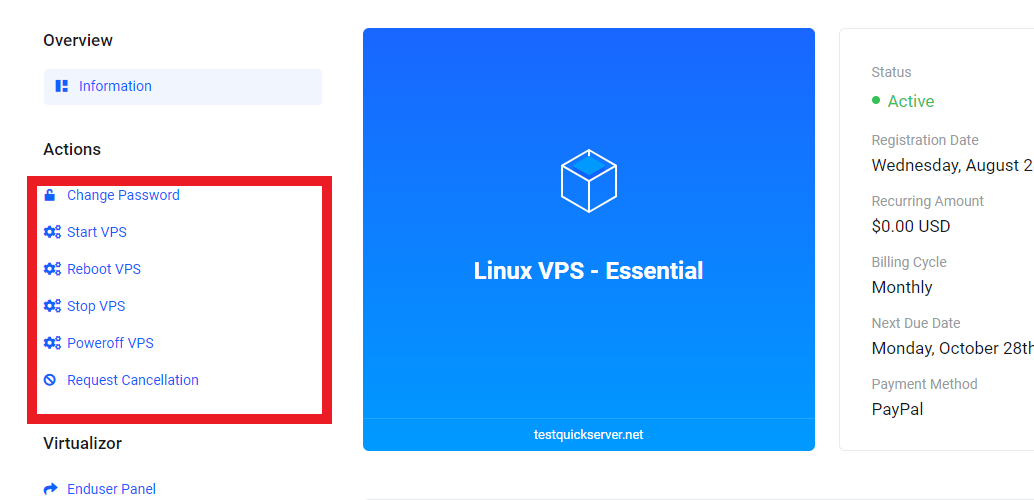
Step 3: Start Your VPS
- If your VPS is not already running, you can start it by clicking the Start button in the control panel.
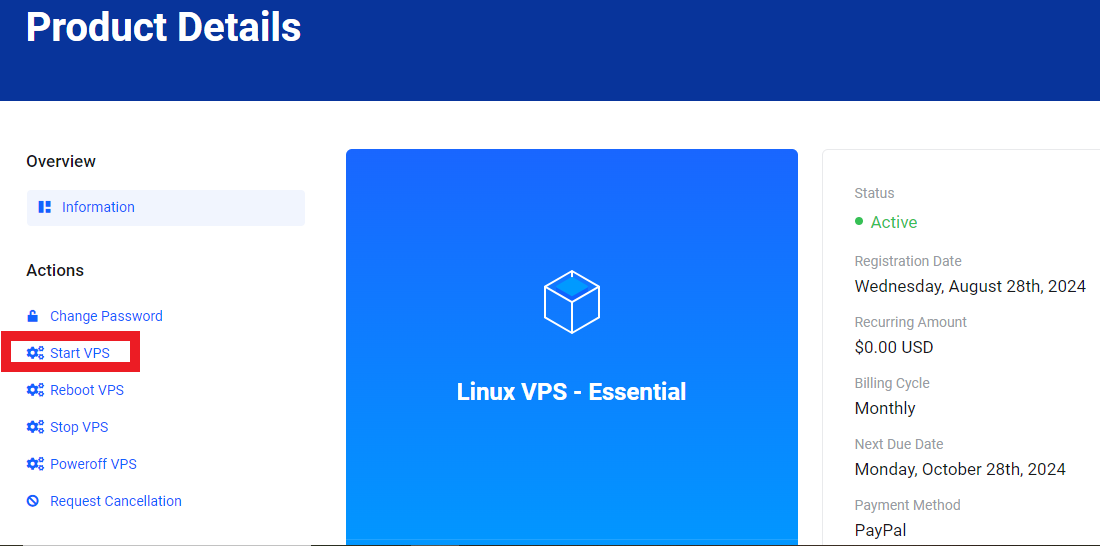
- Wait a few moments for the VPS to fully boot up before proceeding.
Step 4: Connect to Your VPS via SSH
To configure your VPS, you’ll need to access it using Secure Shell (SSH) from your local machine. Here's how to do it:
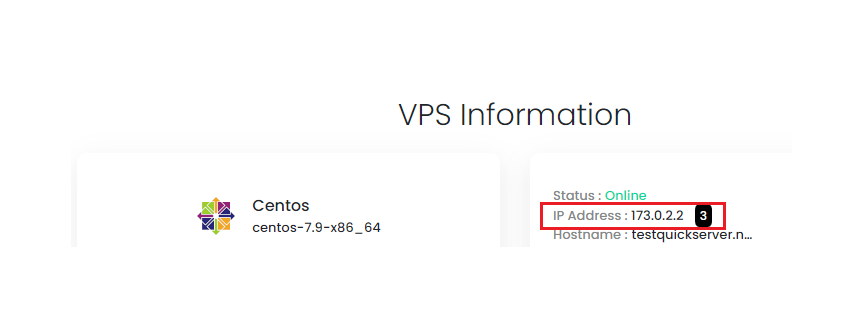
- Find Your VPS IP Address: The IP address for your VPS is displayed in your customer portal.
- Open an SSH Client:
- For Windows users, you can use a tool like PuTTY.
- For macOS and Linux users, simply open the Terminal app.
- Log In to Your VPS:
- In your SSH client, type the following command (replace
rootwith your username andIP-ADDRESSwith your VPS's IP):ssh root@IP-ADDRESS - You will be prompted to enter the root password, which you received in your welcome email.
- In your SSH client, type the following command (replace
Step 5: Update Your Server
Before doing anything else, it’s important to make sure your VPS is up-to-date. To update your server, run the following commands based on your Linux distribution:
- For Ubuntu/Debian:
apt update && apt upgrade -y - For CentOS:
yum update -y
This will ensure that you have the latest security patches and software updates.
Step 6: Set Up a New User
For security reasons, it’s a good idea to create a new user account and avoid using the root account for regular operations.
- To create a new user, run the following command (replace
usernamewith your preferred username):adduser username - Assign a password to the new user:
passwd username
- Grant the new user administrative privileges:
usermod -aG sudo username
Step 7: Secure Your VPS with a Firewall
Setting up a firewall is essential to protect your VPS from unauthorized access. You can use a firewall tool like ufw (for Ubuntu) or firewalld (for CentOS) to configure your firewall.
- For Ubuntu:
ufw allow OpenSSH
ufw enable - For CentOS:
firewall-cmd --permanent --add-service=ssh
firewall-cmd --reload
This ensures that SSH access is allowed, while blocking other potential threats.
Step 8: Install Software and Services
Now that your VPS is secured and ready, you can begin installing the software you need, such as:
- Web Servers: Apache or Nginx for hosting websites.
- Databases: MySQL, MariaDB, or PostgreSQL for managing data.
- Programming Languages: Install Python, PHP, or Node.js depending on your project’s needs.
For example, to install Apache on Ubuntu, run:
Step 9: Configure Your Domain
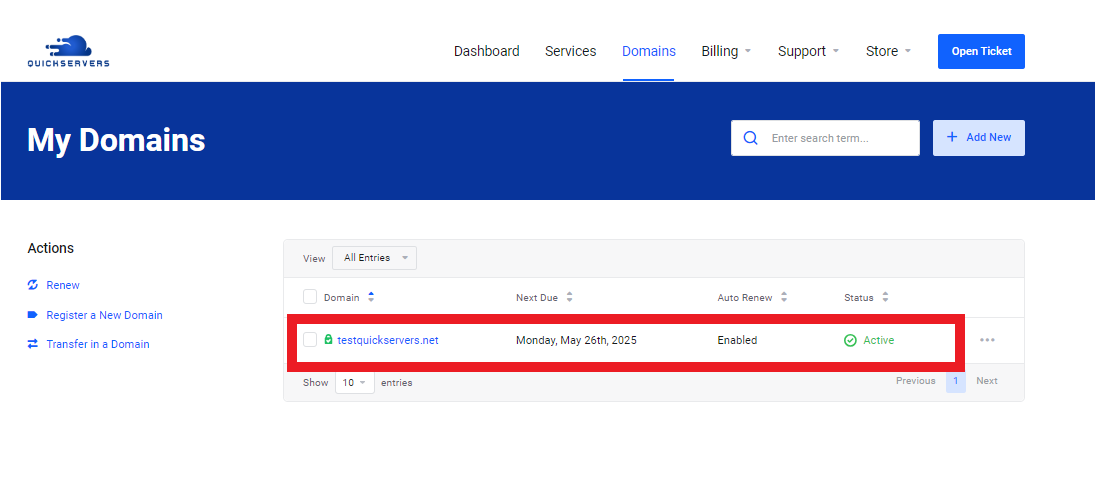
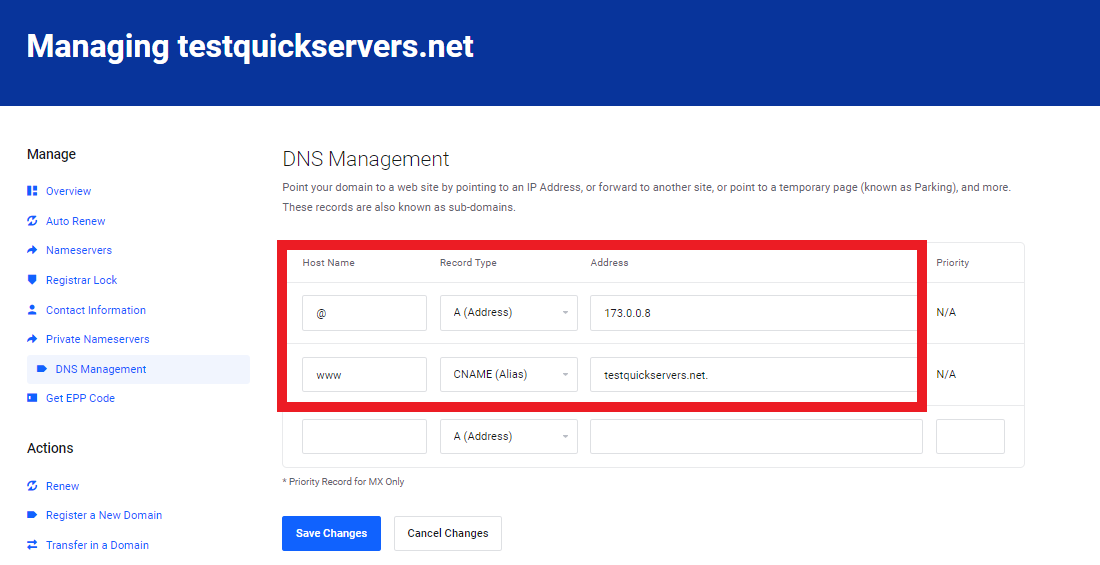
If you’re planning to use a domain with your VPS, you will need to configure your DNS settings.
- In your domain registrar’s control panel, create an A Record pointing your domain to your VPS’s IP address.

- Allow some time for DNS propagation (this can take a few minutes to a few hours).
- Once the domain is configured, you can test it by entering the domain name in your browser to ensure it resolves to your VPS.
Step 10: Set Up Automatic Backups (Optional)
To safeguard your data, it’s a good practice to set up automatic backups. You can schedule backups within your customer portal or use server-side tools like rsync or backup services.
Conclusion
Setting up a VPS may seem daunting at first, but by following these steps, you’ll have your server up and running in no time. From logging in and securing your VPS to installing software and managing your domain, QuickServers.net provides everything you need to get started with your VPS hosting.
