Scaling Your VPS: When and How to Upgrade
Upgrading your VPS can improve performance, accommodate increased traffic, and support more demanding applications. This guide will walk you through identifying when an upgrade is needed and the steps to scale up your VPS resources.
Step 1: Determine When to Upgrade Your VPS
Before upgrading, evaluate your VPS usage and consider if scaling is necessary. Common signs that an upgrade might be required include:
- Increased Traffic: Your website or application is experiencing more visitors, leading to slower load times.
- Performance Issues: Frequent lags, slow processing, or downtime may indicate insufficient resources.
- Storage Limitations: Running low on storage space can limit your ability to add content, files, or new features.
- Resource Alerts: High CPU, memory, or bandwidth usage notifications indicate that you’re reaching your VPS’s current capacity.
Step 2: Review Your Current Resource Usage
To understand your VPS’s current load, review the resource usage:
- Access the VPS via SSH or through the monitoring tools in the QuickServers customer portal.
- Check Usage Statistics for CPU, memory, and disk space. Commands like
top,free -m, anddf -hcan provide insights:- CPU Load: Shows how much processing power your VPS is using.
- Memory Usage: Displays how much RAM is consumed.
- Disk Space: Indicates available storage and if you’re running out of room.
Step 3: Choose the Right Upgrade Plan
Once you’ve determined the need for an upgrade, decide on the resources you need. Consider:
- CPU: For handling more tasks or complex applications.
- RAM: For faster data processing and support for multiple applications.
- Disk Space: For additional storage requirements.
- Bandwidth: For supporting increased traffic.
Each upgrade option will provide a boost in specific areas, so choose based on your VPS’s demands.
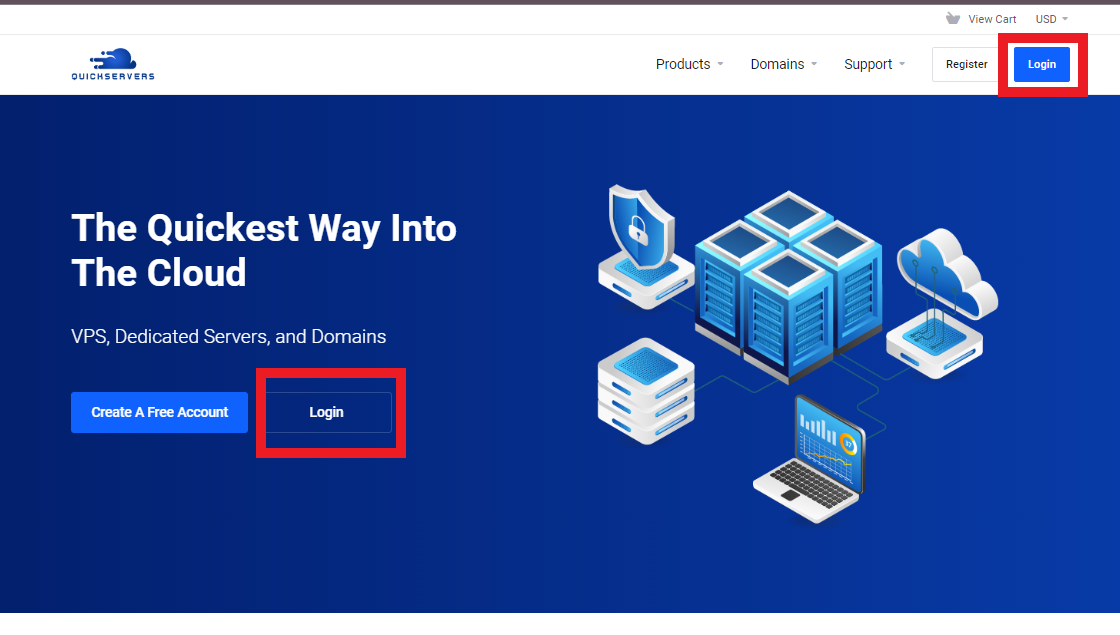
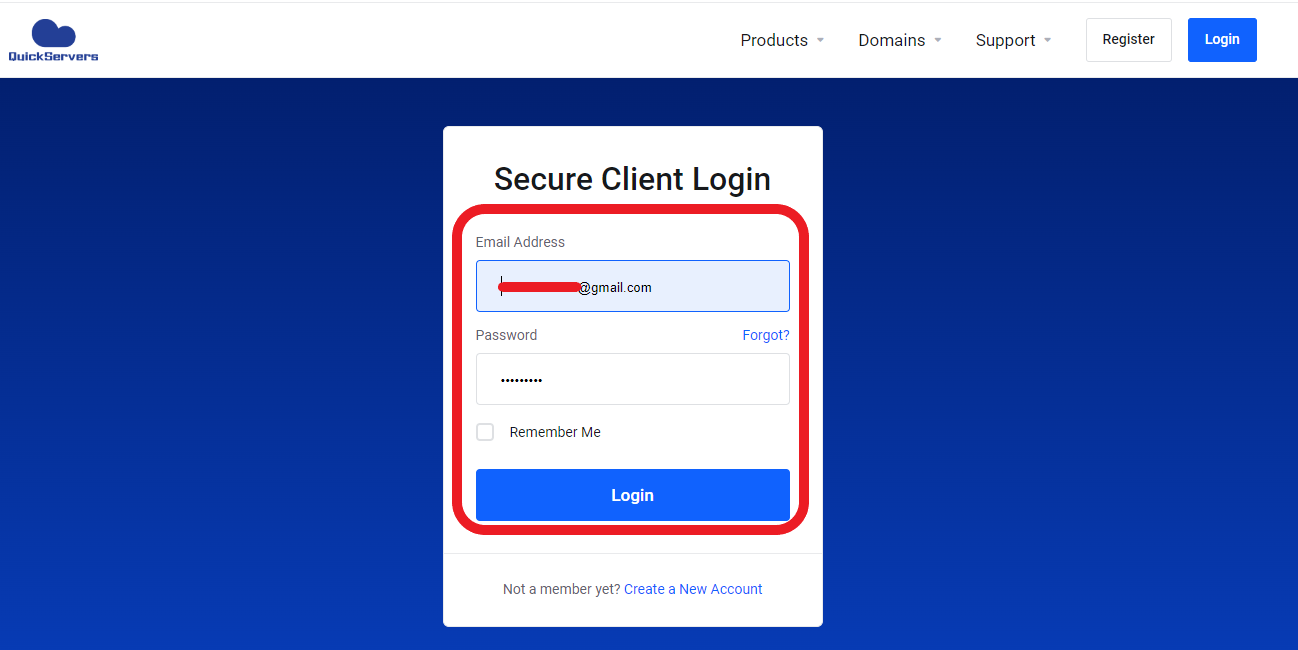
Step 4: Log into Your QuickServers Customer Portal
- Go to the QuickServers website.
- Log in to your customer portal with your credentials.


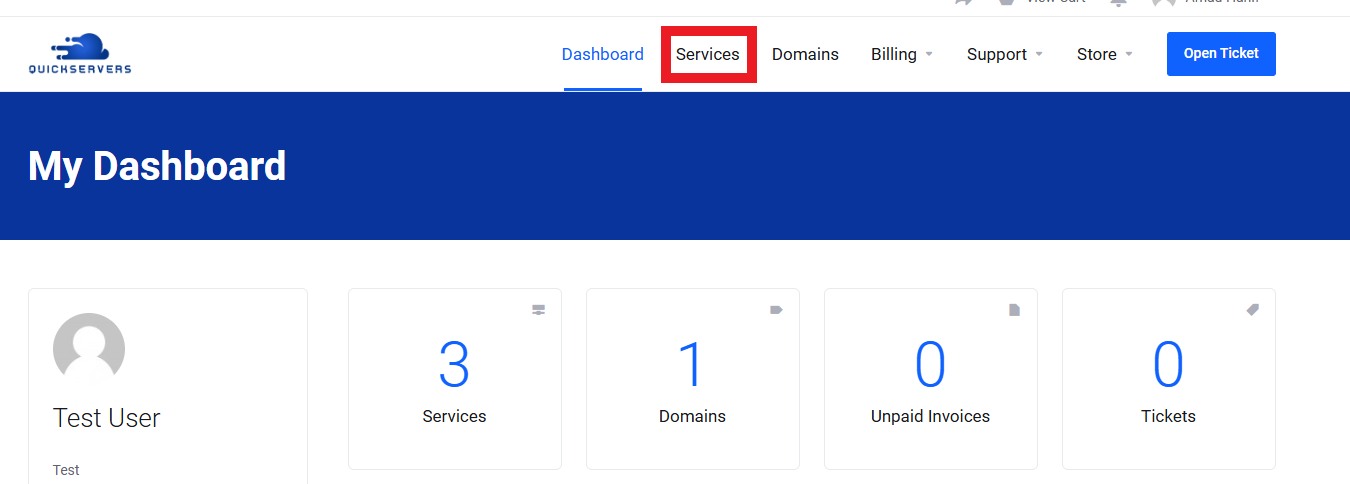
Step 5: Locate the VPS Upgrade Option
- Once logged in, navigate to the Services section.

- Select your VPS from the list of active services.
- Look for the Upgrade or Scale option (often found in the management or settings section).
Step 6: Select Your New Plan
- Review the available upgrade options and select the plan that best fits your needs.
- Confirm the resources included in each plan, such as CPU, RAM, and storage, to ensure it aligns with your scaling goals.
Step 7: Complete the Upgrade Process
- Choose the upgrade plan and proceed with the payment if required.
- After confirming your selection, your VPS will be scheduled for an upgrade. In many cases, this is automated and may require a brief downtime.
- You will receive a notification once the upgrade is complete.
Step 8: Verify Your Upgraded Resources
After the upgrade is processed, verify that your new resources are in place:
- Access your VPS through the customer portal or via SSH.
- Use system commands to check new resource allocations:
- CPU and RAM:
toporhtop - Disk Space:
df -h
- CPU and RAM:
- Confirm the new capacity aligns with the upgraded plan.
Step 9: Optimize Your VPS for Enhanced Performance
With additional resources, you can further optimize your VPS:
- Cache Configurations: Use caching to speed up your applications.
- Database Optimization: Adjust database settings to take advantage of additional memory.
- Resource Monitoring: Set up monitoring tools to track usage and prevent future overloads.
Step 10: Monitor for Future Scaling Needs
As your website or application grows, regularly check your resource usage to ensure your VPS continues to perform optimally. Scaling up again can be done easily following the steps above if needed.
Conclusion
Scaling your VPS provides the resources necessary to keep up with growth, improve performance, and ensure a seamless experience for your users. Monitoring usage and understanding when to upgrade can help you manage your VPS efficiently as your demands increase.

