How to Install and Manage SSL Certificates on Your VPS
SSL certificates secure communication between your VPS and users by encrypting data. This guide explains how to install and manage SSL certificates purchased from QuickServers.
Step 1: Purchase an SSL Certificate from QuickServers
-
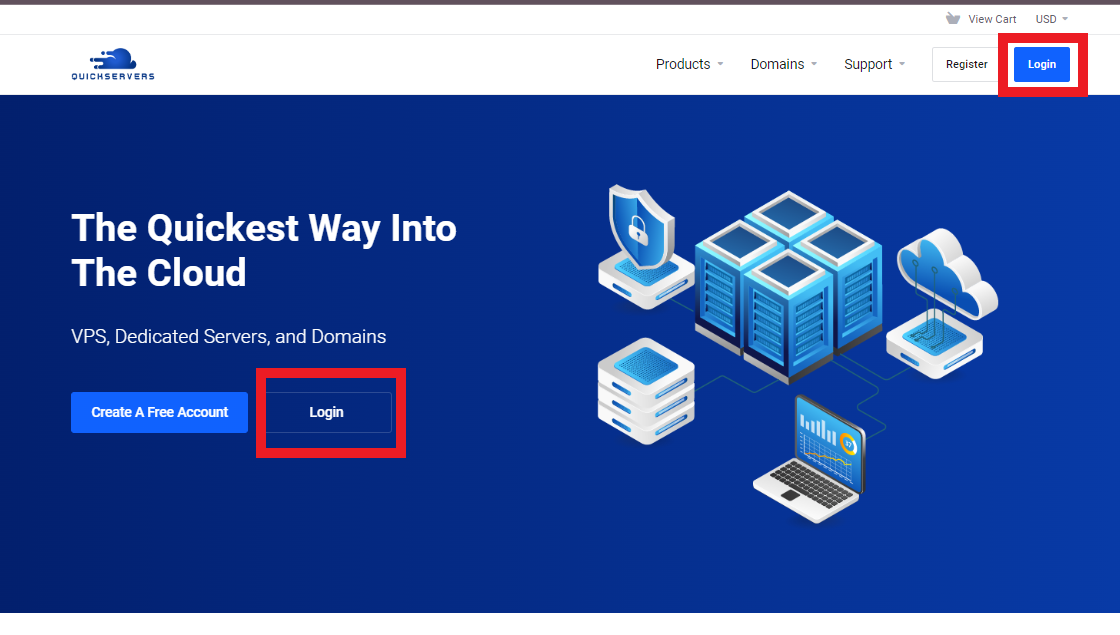
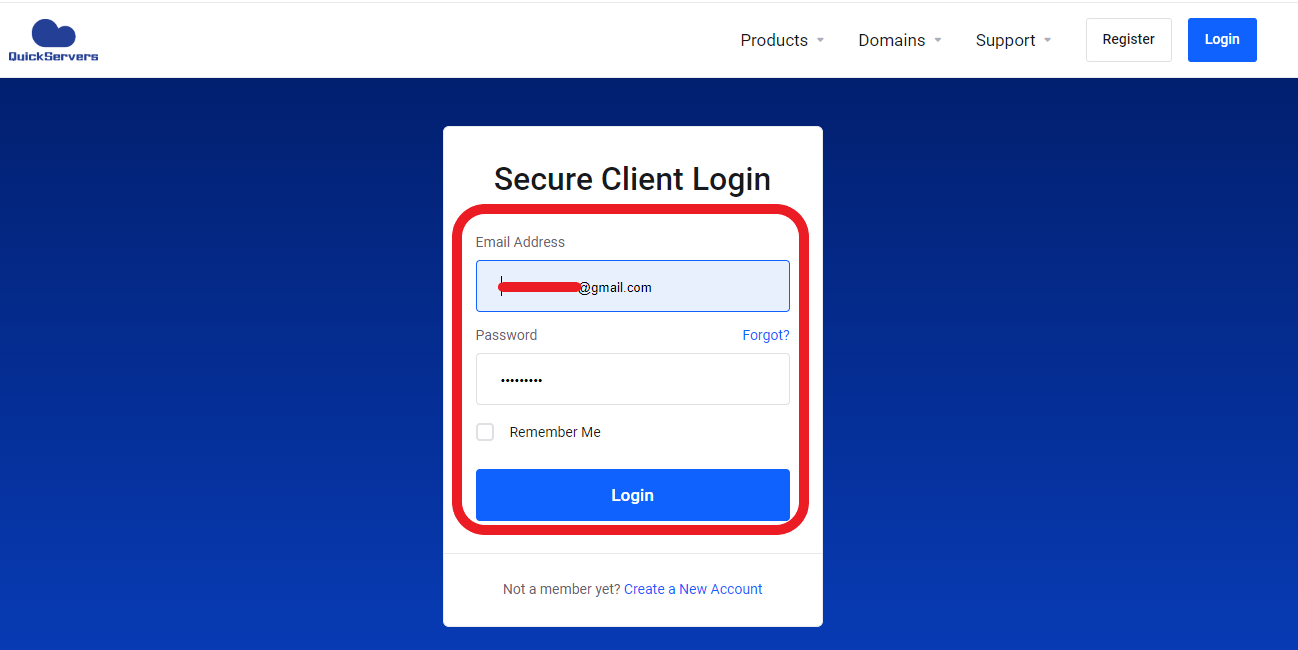
Log In to Your QuickServers Account:
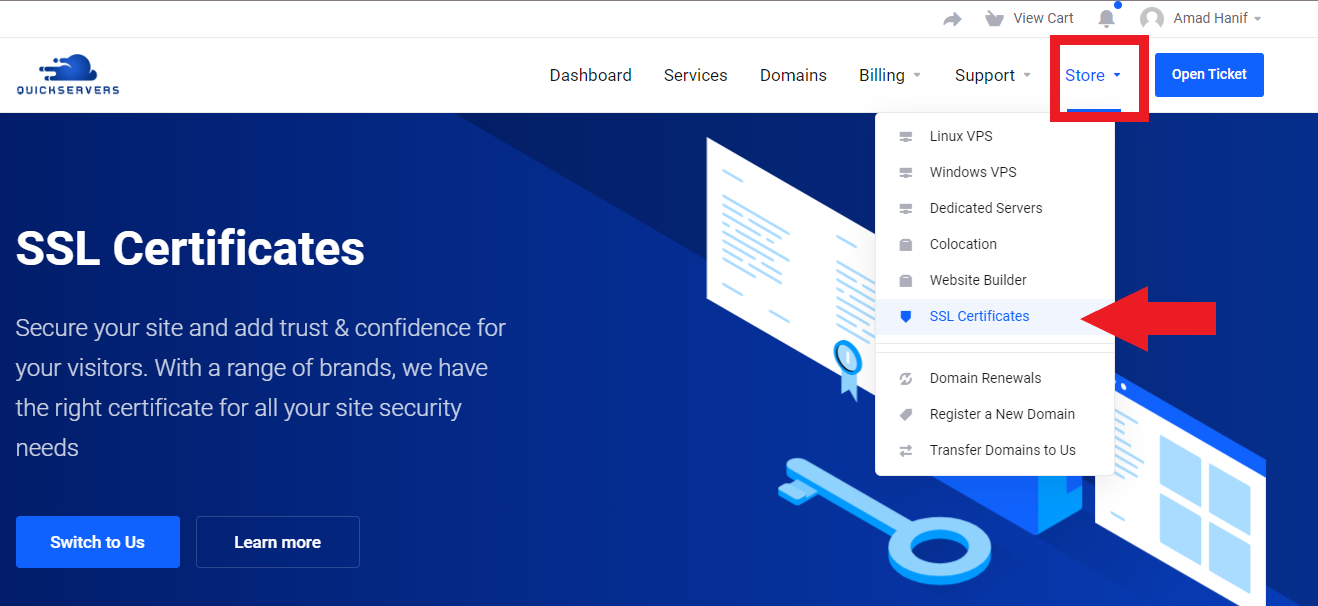
Access the customer portal and navigate to the SSL certificates section.


-
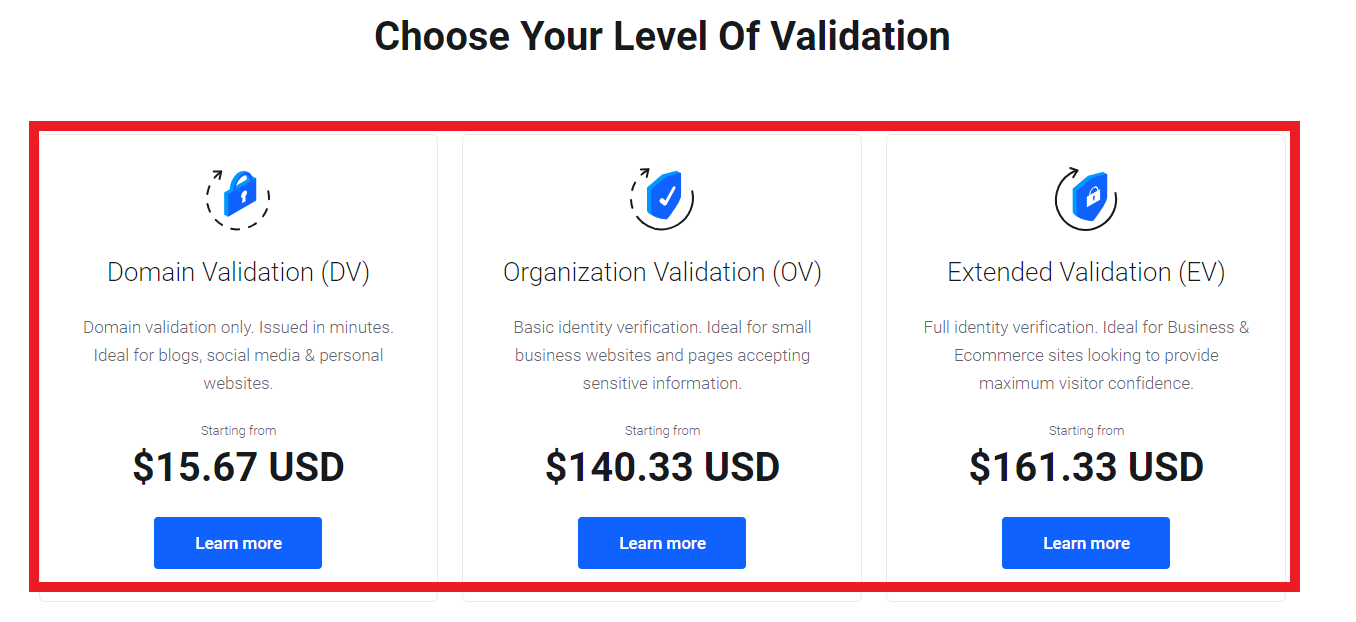
Select and Purchase an SSL Certificate:
Choose the SSL certificate that best fits your requirements and complete the purchase.

-
Retrieve Certificate Details:
After purchase, you’ll receive an email with installation instructions and certificate files, or you can download them directly from the customer portal.
Step 2: Install Required Software on Your VPS
-
Update System Packages:
Ensure your system is up-to-date:sudo apt update && sudo apt upgrade -y -
Install Necessary Tools:
Depending on your web server, install the following tools:- For Apache:
sudo apt install apache2 - For Nginx:
sudo apt install nginx
- For Apache:
Step 3: Upload the SSL Certificate to Your VPS
-
Transfer Certificate Files:
Upload the certificate and private key files to your VPS using an SFTP client or a secure shell (SSH). Store them in a secure directory, such as:/etc/ssl/certs/ -
Set Proper Permissions:
Ensure the files have appropriate permissions:sudo chmod 600 /etc/ssl/certs/yourdomain.key sudo chmod 600 /etc/ssl/certs/yourdomain.crt
Step 4: Configure the SSL Certificate
-
For Apache Servers:
- Enable the SSL module:
sudo a2enmod ssl - Edit the SSL configuration file:
sudo nano /etc/apache2/sites-available/default-ssl.conf - Add the following lines to specify the certificate paths:
SSLCertificateFile /etc/ssl/certs/yourdomain.crt
SSLCertificateKeyFile /etc/ssl/certs/yourdomain.key
- Enable the SSL module:
-
For Nginx Servers:
- Open your server block configuration file:
sudo nano /etc/nginx/sites-available/yourdomain - Add the following lines:
ssl_certificate /etc/ssl/certs/yourdomain.crt;
ssl_certificate_key /etc/ssl/certs/yourdomain.key;
- Open your server block configuration file:
-
Restart Your Web Server:
Apply the changes by restarting the server:- For Apache:
sudo systemctl restart apache2 - For Nginx:
sudo systemctl restart nginx
- For Apache:
Step 5: Test the SSL Installation
-
Access Your Site via HTTPS:
Open your browser and typehttps://yourdomain.comto verify the certificate is working correctly. -
Check SSL Details:
View the certificate details by clicking the padlock icon in the browser address bar.
Step 6: Set Up Automatic Renewal
-
QuickServers Renewal Reminder:
QuickServers will notify you before your SSL certificate expires. Follow the renewal instructions provided. -
Automate Renewal (Optional):
If automation is supported, ensure the process is correctly configured within your portal.
Step 7: Manage and Troubleshoot Your SSL Certificate
-
Reconfigure if Changes Are Made:
If you update your domain or server configuration, reapply the certificate. -
Check Logs for Issues:
Use server logs to diagnose and resolve errors:- For Apache:
sudo tail -f /var/log/apache2/error.log - For Nginx:
sudo tail -f /var/log/nginx/error.log
- For Apache:
-
Revoke and Replace as Needed:
If your certificate is compromised, revoke it and request a replacement from QuickServers.
By following these steps, you can secure your VPS using SSL certificates purchased from QuickServers, ensuring data safety and user trust. For assistance, contact QuickServers support.

