How to Migrate a Website to Your VPS
Migrating a website to your VPS involves transferring files, databases, and configurations from your current hosting to your VPS. Follow these steps to ensure a seamless transition.
Step 1: Prepare Your VPS
-
Log In to Your VPS:
Access your VPS using SSH:ssh user@your-vps-ip -
Install Necessary Software:
Ensure your VPS has the required software to host your website (e.g., web server, database server, and PHP):sudo apt update sudo apt install apache2 mysql-server php libapache2-mod-php php-mysql -y -
Test Your Web Server:
Verify that your web server is running by accessinghttp://your-vps-ipin a browser.
Step 2: Backup Your Existing Website
-
Backup Website Files:
Use an FTP client or file manager to download all website files from your current host. -
Backup the Database:
Export your database using a tool like phpMyAdmin or the command line:mysqldump -u username -p database_name > backup.sql
Step 3: Transfer Files to Your VPS
-
Upload Website Files:
Use SCP or an FTP client to upload the files to your VPS:scp -r /path/to/local/files user@your-vps-ip:/var/www/html -
Set Correct Permissions:
Ensure the web server can access the files:sudo chown -R www-data:www-data /var/www/html sudo chmod -R 755 /var/www/html
Step 4: Import the Database
-
Log In to MySQL on Your VPS:
sudo mysql -u root -p -
Create a New Database:
CREATE DATABASE new_database; CREATE USER 'new_user'@'localhost' IDENTIFIED BY 'password'; GRANT ALL PRIVILEGES ON new_database.* TO 'new_user'@'localhost'; FLUSH PRIVILEGES; EXIT; -
Import the Database Backup:
Transfer the database file to your VPS and import it:mysql -u new_user -p new_database < backup.sql
Step 5: Update Configuration Files
-
Modify Website Configuration:
If your website has a configuration file (e.g.,wp-config.phpfor WordPress), update the database credentials:define('DB_NAME', 'new_database'); define('DB_USER', 'new_user'); define('DB_PASSWORD', 'password'); define('DB_HOST', 'localhost'); -
Update Virtual Host Settings (Apache):
Edit the Apache virtual host file to reflect your domain:sudo nano /etc/apache2/sites-available/000-default.confEnsure the
DocumentRootpoints to/var/www/html. Save and exit, then restart Apache:sudo systemctl restart apache2
Step 6: Test Your Website
-
Verify the Website:
Access your website using your VPS’s IP address (e.g.,http://your_vps_ip). -
Fix Broken Links or Errors:
Check for broken links or database connection errors and resolve them.
Step 7: Point Your Domain to Your VPS
-
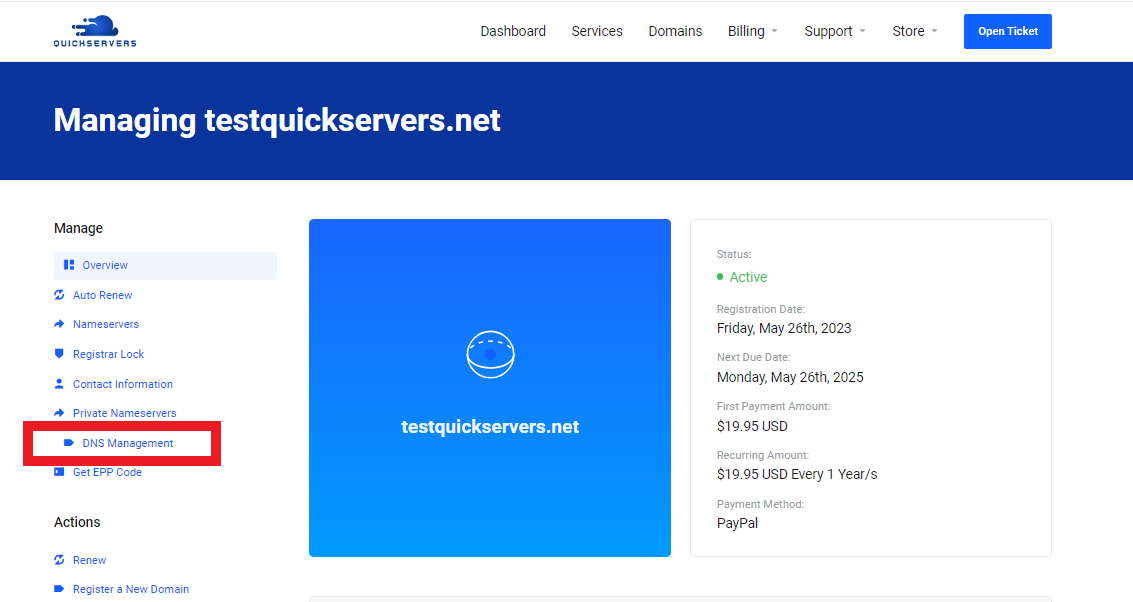
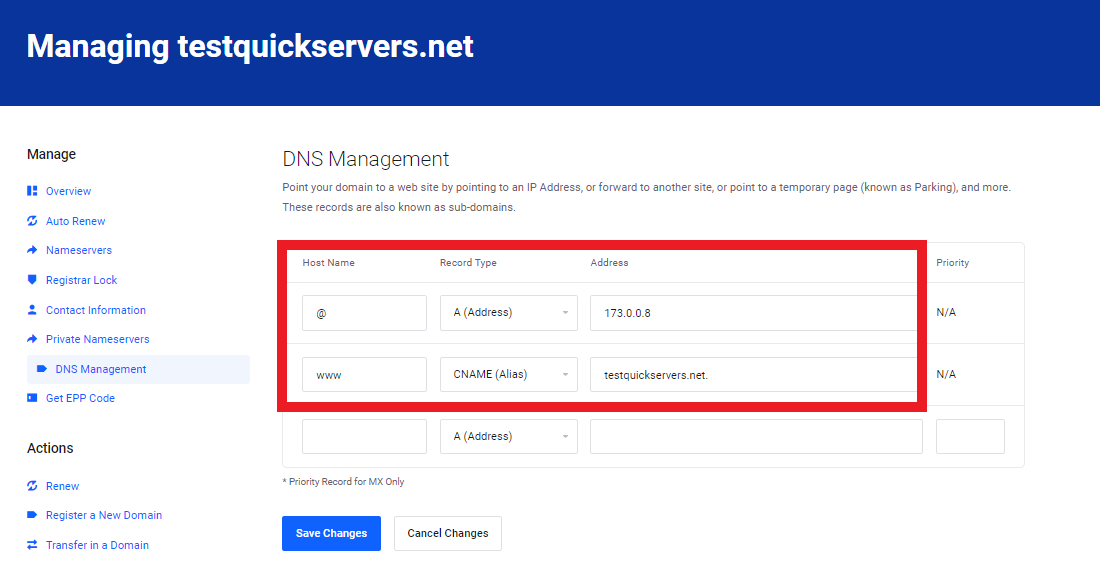
Update DNS Records:
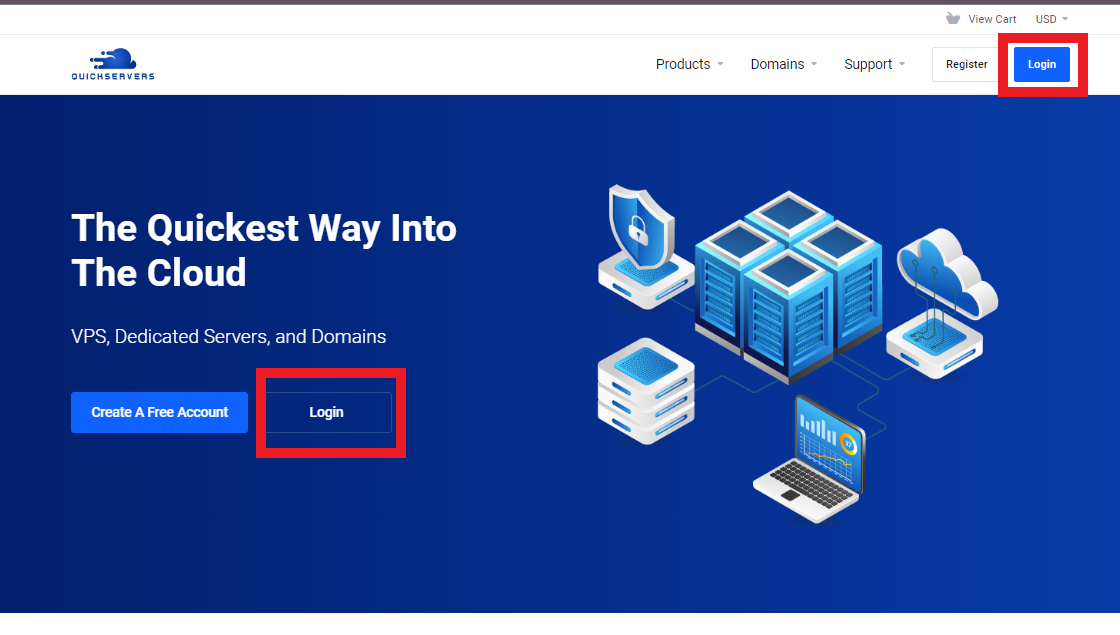
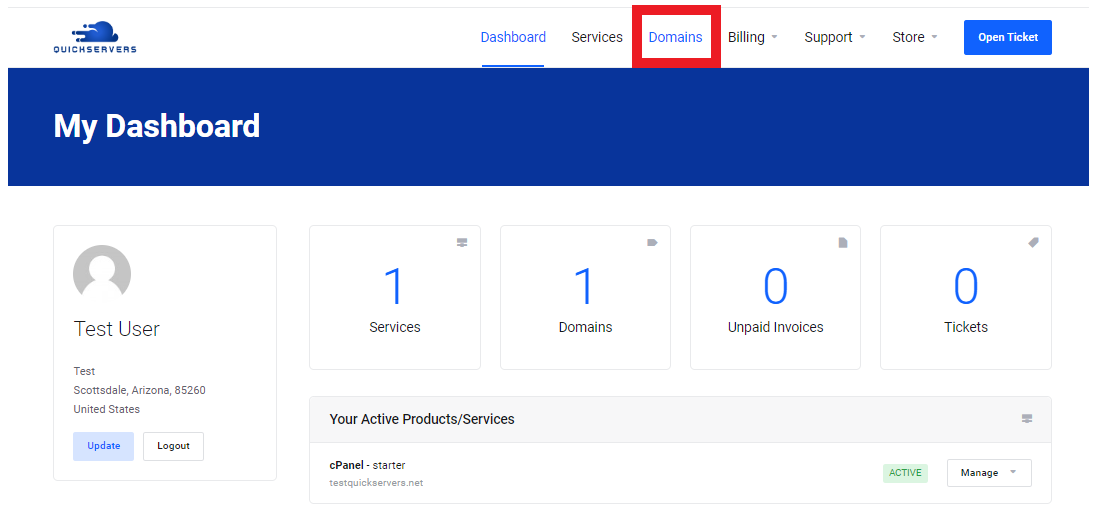
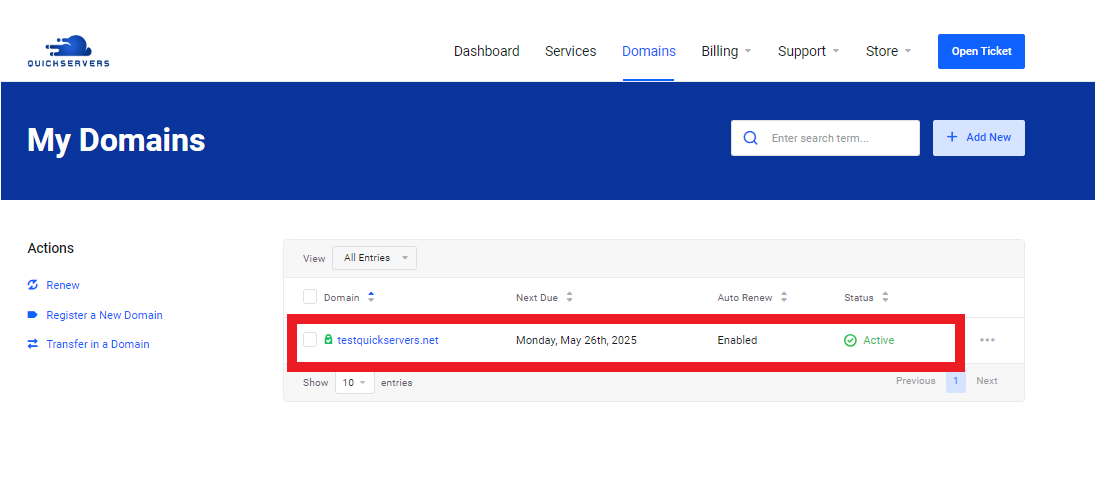
Log in to your domain registrar and update the DNS A record to point to your VPS IP. -
Allow Time for Propagation:
DNS changes can take up to 24-48 hours to propagate globally.
Step 8: Finalize the Migration
-
Secure Your Website with SSL:
Install an SSL certificate for your domain:sudo apt install certbot python3-certbot-apache sudo certbot --apache -
Monitor Performance:
Monitor your website’s performance and resource usage on the VPS.
By following this guide, you can successfully migrate your website to your VPS. For additional help, contact QuickServers support.

