How to Manage Multiple Websites on a Single VPS
Managing multiple websites on a single VPS is an efficient way to use resources effectively. This guide will help you configure your VPS to host and manage several websites.
Step 1: Prepare Your VPS Environment
-
Log In to Your VPS:
Access your VPS via SSH:ssh user@your-vps-ip -
Update System Packages:
Ensure your VPS is up to date:sudo apt update && sudo apt upgrade -y
Step 2: Install a Web Server
-
Choose and Install a Web Server:
Install a web server such as Apache or Nginx. For Apache, run:sudo apt install apache2 -yFor Nginx, use:
sudo apt install nginx -y -
Verify Installation:
Check if the web server is running by accessing your VPS IP in a browser.
Step 3: Set Up Virtual Hosts (Apache) or Server Blocks (Nginx)
-
Create Directories for Each Website:
Create a separate directory for each website:sudo mkdir -p /var/www/website1.com /var/www/website2.com -
Assign Permissions:
Ensure proper ownership and permissions for the directories:sudo chown -R $USER:$USER /var/www/website1.com /var/www/website2.com sudo chmod -R 755 /var/www -
Configure Apache Virtual Hosts:
Create configuration files for each website:sudo nano /etc/apache2/sites-available/website1.com.confAdd the following content, replacing placeholders with actual details:
<VirtualHost *:80>
    ServerAdmin admin@website1.com
    ServerName website1.com
    ServerAlias www.website1.com
    DocumentRoot /var/www/website1.com
    ErrorLog ${APACHE_LOG_DIR}/error.log
    CustomLog ${APACHE_LOG_DIR}/access.log combined
</VirtualHost>
Repeat for additional websites.
-
Enable Virtual Hosts:
Enable each configuration:sudo a2ensite website1.com.confDisable the default site if necessary:
sudo a2dissite 000-default.conf -
Restart Apache:
Apply changes by restarting Apache:sudo systemctl restart apache2 -
Configure Nginx Server Blocks (if using Nginx):
Create configuration files in/etc/nginx/sites-available/and enable them using symbolic links to/etc/nginx/sites-enabled/.
Step 4: Configure DNS for Each Website
-
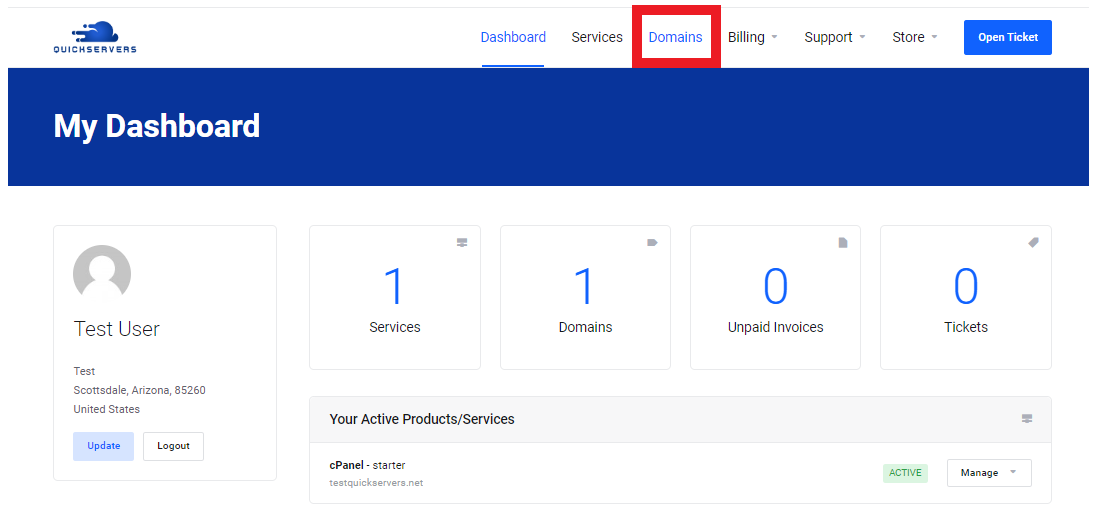
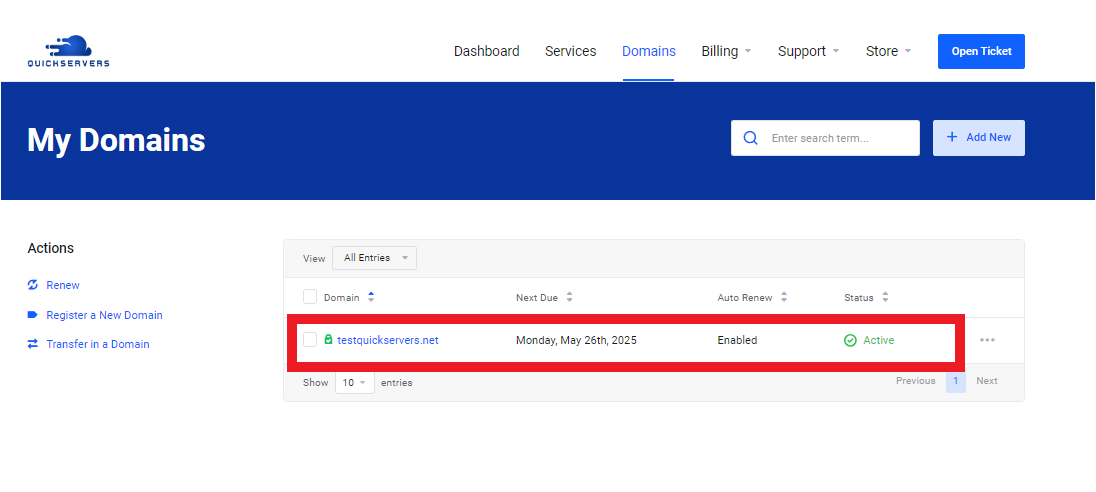
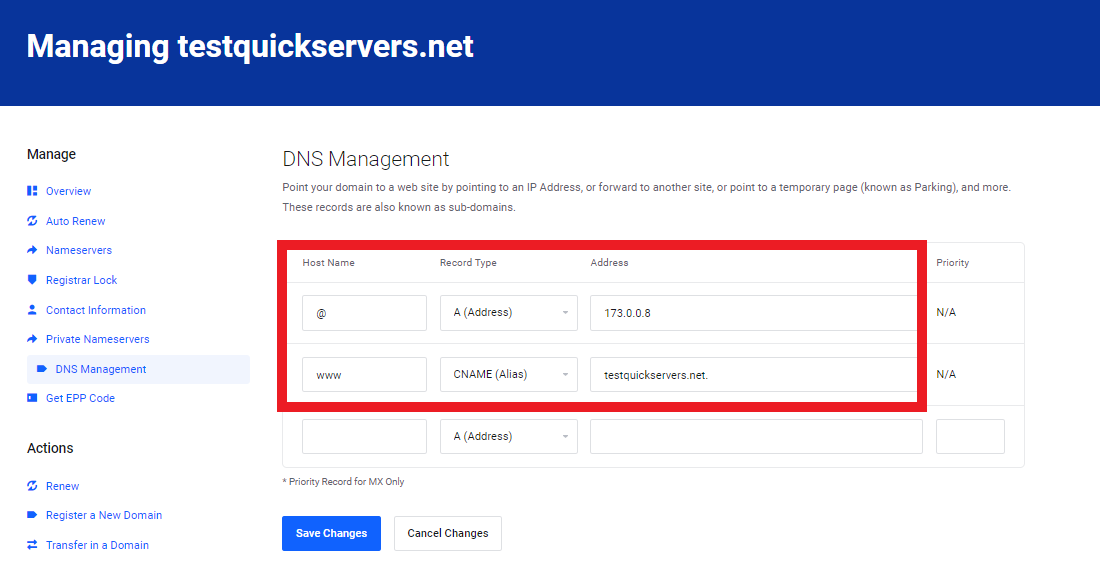
Point Domain Names to Your VPS:
Update the DNS records for each domain to point to your VPS IP. This can be done through your domain registrar’s DNS management panel.

-
Test DNS Configuration:
Use a DNS propagation checker orpingyour domain to confirm it resolves to your VPS.
Step 5: Install and Configure a Database Server (If Needed)
-
Install MySQL or MariaDB:
Install the database server:sudo apt install mysql-server -y -
Create Databases for Each Website:
Log in to MySQL and create a separate database for each website:CREATE DATABASE website1_db; CREATE USER 'website1_user'@'localhost' IDENTIFIED BY 'password'; GRANT ALL PRIVILEGES ON website1_db.* TO 'website1_user'@'localhost'; FLUSH PRIVILEGES;
Step 6: Install SSL Certificates for Each Website
-
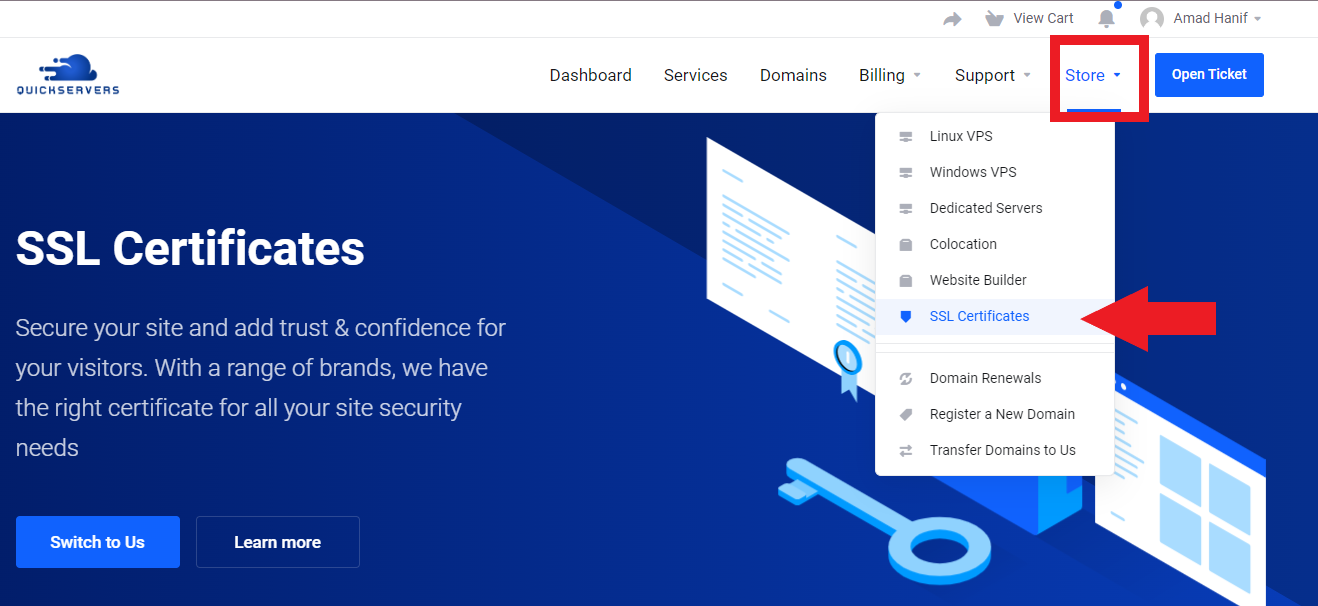
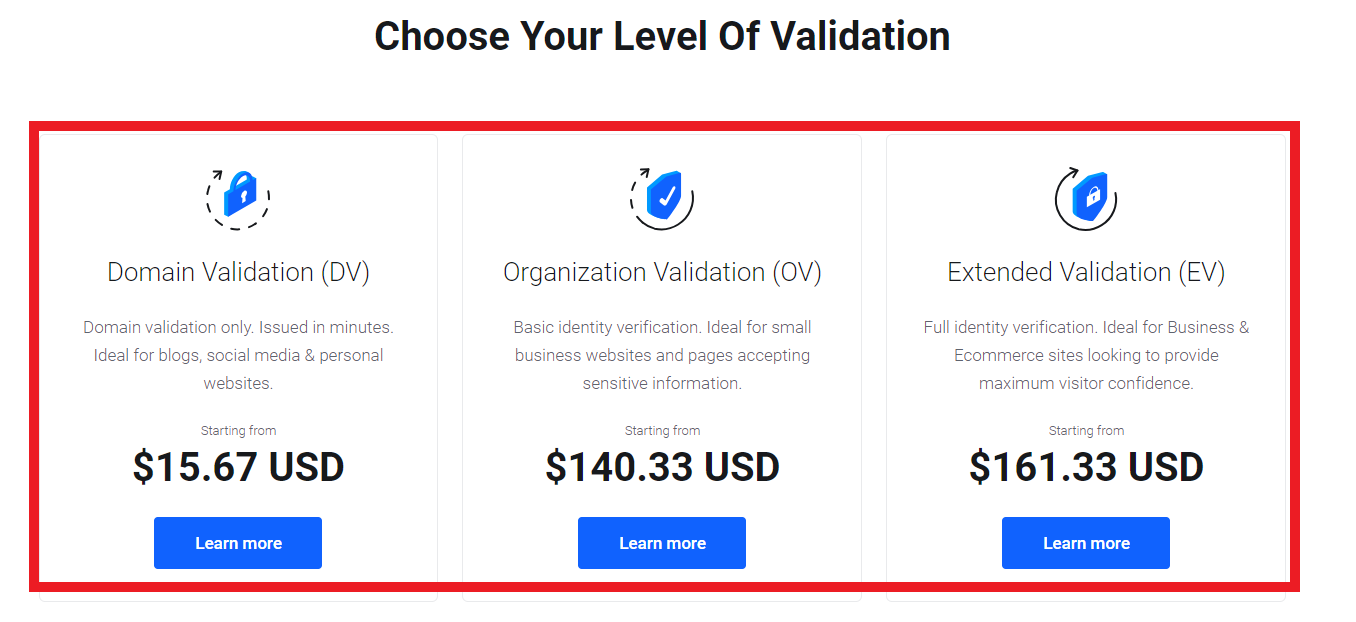
Purchase SSL Certificates from QuickServers:
Obtain SSL certificates for your domains from QuickServers.
-
Install SSL Certificates:
Follow our guide on installing SSL certificates to secure each domain.
Step 7: Monitor and Optimize Performance
-
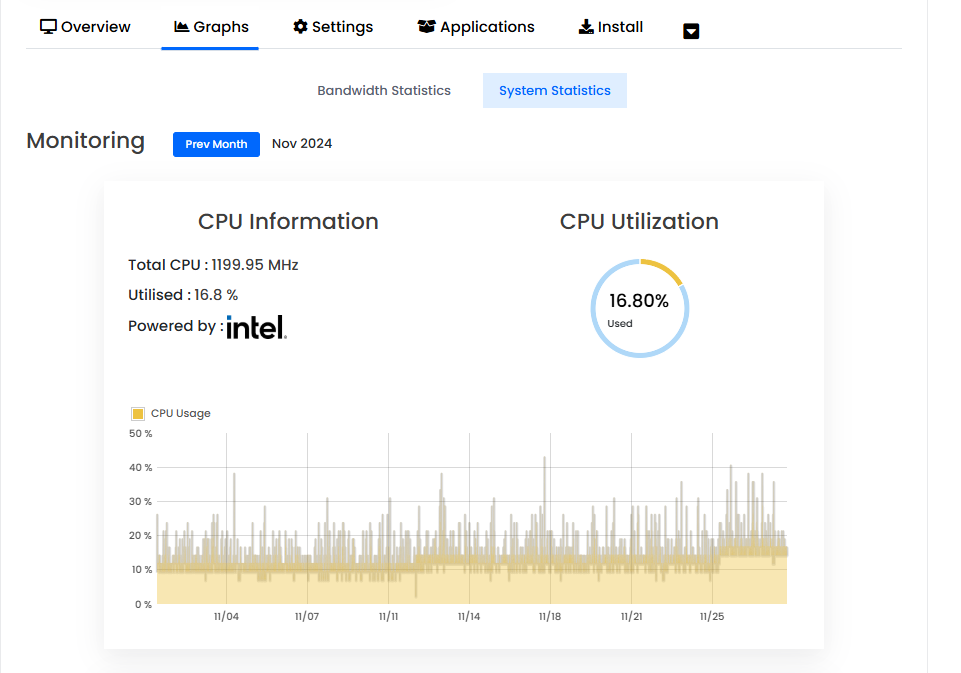
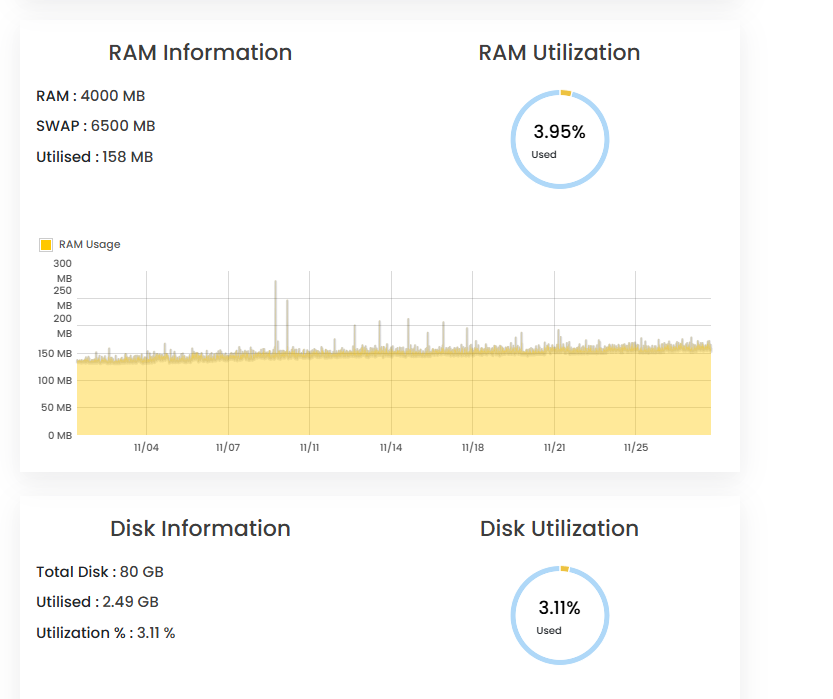
Monitor Resource Usage:
Regularly check CPU, RAM, and disk usage to ensure optimal performance.
-
Optimize Web Server Configuration:
Tweak settings in your web server configuration files to handle traffic efficiently.
Step 8: Backup Websites Regularly
-
Schedule Backups:
Set up automated backups for your website files and databases. -
Verify Backups:
Periodically test backup files to ensure they can be restored successfully.
By following these steps, you can efficiently manage multiple websites on a single VPS. For any additional support, feel free to contact QuickServers.

