Step-by-Step Guide: How to Host a Game Server on Your VPS
Hosting a game server on your VPS is an excellent way to enjoy multiplayer gaming with complete control and customization. This guide provides a step-by-step process for setting up a game server on your VPS.
Step 1: Prepare Your VPS
-
Log In to Your VPS:
Access your VPS using SSH:ssh user@your-vps-ip -
Update Your System:
Keep the system up to date by running:sudo apt update && sudo apt upgrade -y
Step 2: Choose and Install Game Server Software
-
Identify Your Game:
Determine the game you want to host (e.g., Minecraft, Counter-Strike, or Valheim). Each game has specific server software requirements. -
Install Dependencies:
Depending on the game, you may need to install additional software like Java, .NET, or SteamCMD. For example, for a Steam-based game:sudo apt install steamcmd -y -
Download Game Server Files:
Use the official sources or tools like SteamCMD to download the game server files. For example:steamcmd +login anonymous +force_install_dir /path/to/game-server +app_update APP_ID validate +quitReplace
/path/to/game-serverwith the directory where you want to store the server files andAPP_IDwith the specific app ID of the game.
Step 3: Configure the Game Server
-
Access the Game Server Directory:
Navigate to the directory where you installed the server files:cd /path/to/game-server -
Modify Configuration Files:
Edit the server configuration files to set game rules, maximum players, server name, etc. Use a text editor like Nano:nano server.cfg -
Save and Exit:
PressCTRL + Oto save andCTRL + Xto exit.
Step 4: Open Ports for the Game Server
-
Identify Required Ports:
Check the official documentation for the ports your game server needs to function. -
Configure the Firewall:
Open the necessary ports usingufw. For example, if your game requires port 27015:sudo ufw allow 27015 -
Enable the Firewall:
If the firewall isn’t enabled yet, turn it on:sudo ufw enable
Step 5: Start the Game Server
-
Launch the Server:
Start the game server using the appropriate command. For example:./start-server.shReplace
start-server.shwith the start script provided by the game server. -
Run in the Background:
Usescreenortmuxto keep the server running after you log out. Installscreenif necessary:sudo apt install screen -y screen ./start-server.sh -
Detach the Screen:
PressCTRL + A, thenDto detach. Reconnect withscreen -r.
Step 6: Share Your Server Details
-
Obtain Your Server IP and Port:
Share the VPS IP address and port number with your players. They can use this information to connect to your server. -
Test Connectivity:
Attempt to join the server yourself to ensure it's working correctly.
Step 7: Optimize Performance
-
Allocate Sufficient Resources:
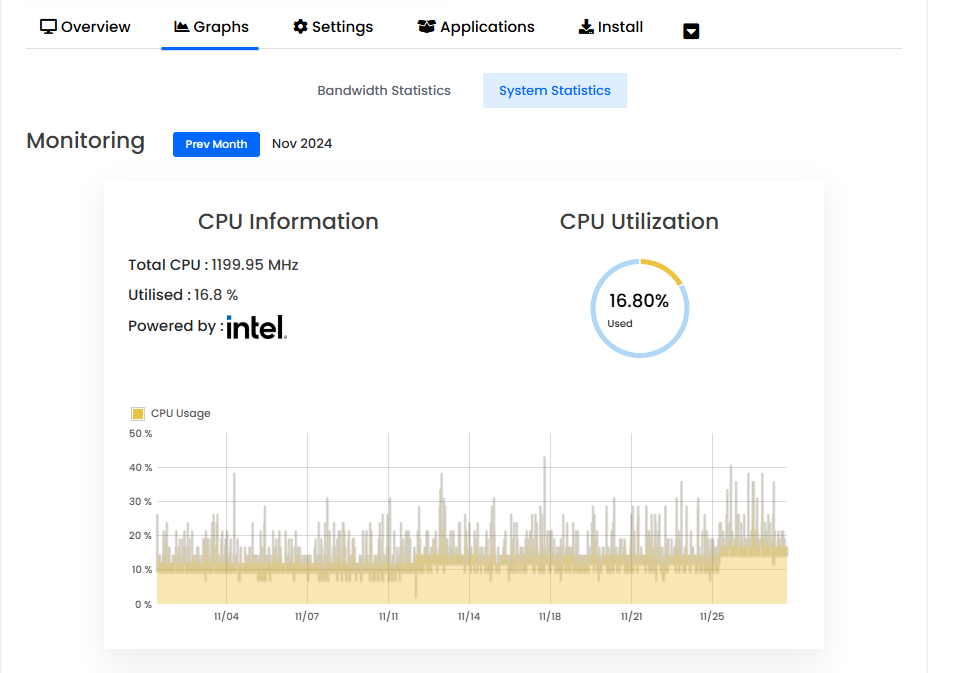
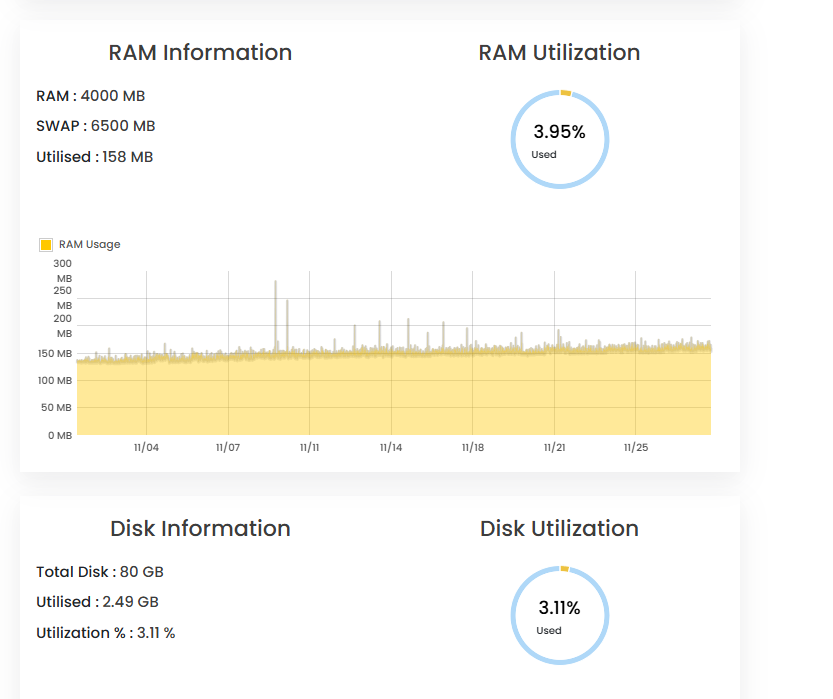
Ensure your VPS has enough CPU, RAM, and storage for smooth gameplay.


-
Monitor Server Performance:
Use tools likehtopto check resource usage:htop -
Reduce Lag:
Optimize server settings, such as view distance or tick rate, based on the number of players.
Step 8: Secure the Server
-
Create Regular Backups:
Schedule automatic backups of server files to prevent data loss. -
Update Server Software:
Keep the game server software updated to patch vulnerabilities. -
Limit Access:
Use strong passwords or whitelist players to restrict access to trusted users.
By following these steps, you can successfully host and manage a game server on your VPS. For additional support, feel free to contact QuickServers. Happy gaming!

