How to Add a Call Booking Feature to Your QuickServers Website
Adding a call booking feature to your website allows visitors to schedule calls with you or your team easily. This can improve customer engagement, streamline appointment scheduling, and enhance user experience. Follow these steps to add a call booking feature to your QuickServers website.
Step 1: Choose a Call Booking Solution
- Select a scheduling tool that fits your needs (e.g., Calendly, Acuity Scheduling, or similar tools).
- Ensure the tool integrates well with your website and supports automated confirmations.
- Look for features like time zone adjustments, automated reminders, and customization options.
Step 2: Create a Call Booking Account
- Sign up for the selected scheduling tool and set up your profile.
- Configure your availability by selecting the days and times you are open for calls.
- Customize booking preferences, such as meeting duration and buffer time between calls.
Step 3: Generate the Booking Link or Embed Code
- After setting up your schedule, generate the booking link provided by the tool.
- If embedding is an option, copy the HTML or iframe embed code for seamless integration.
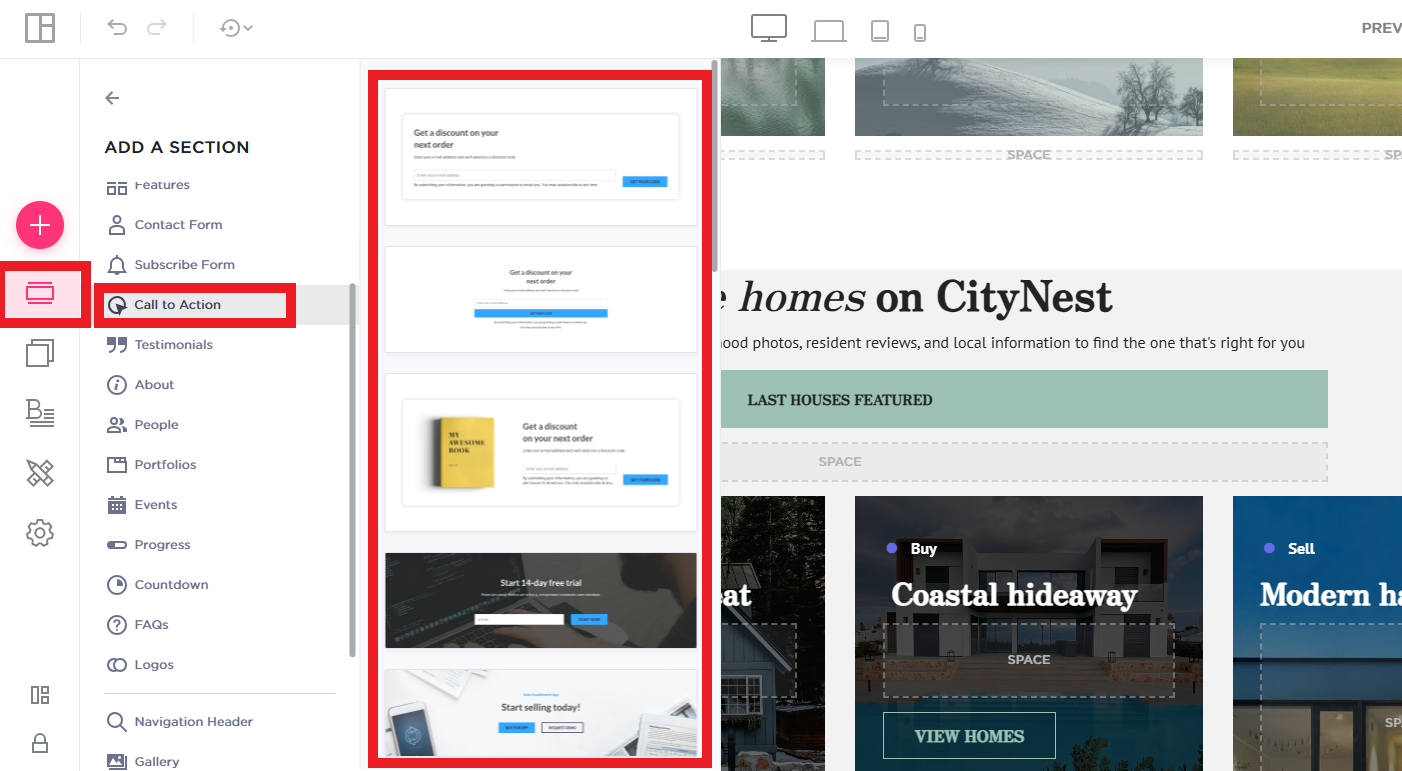
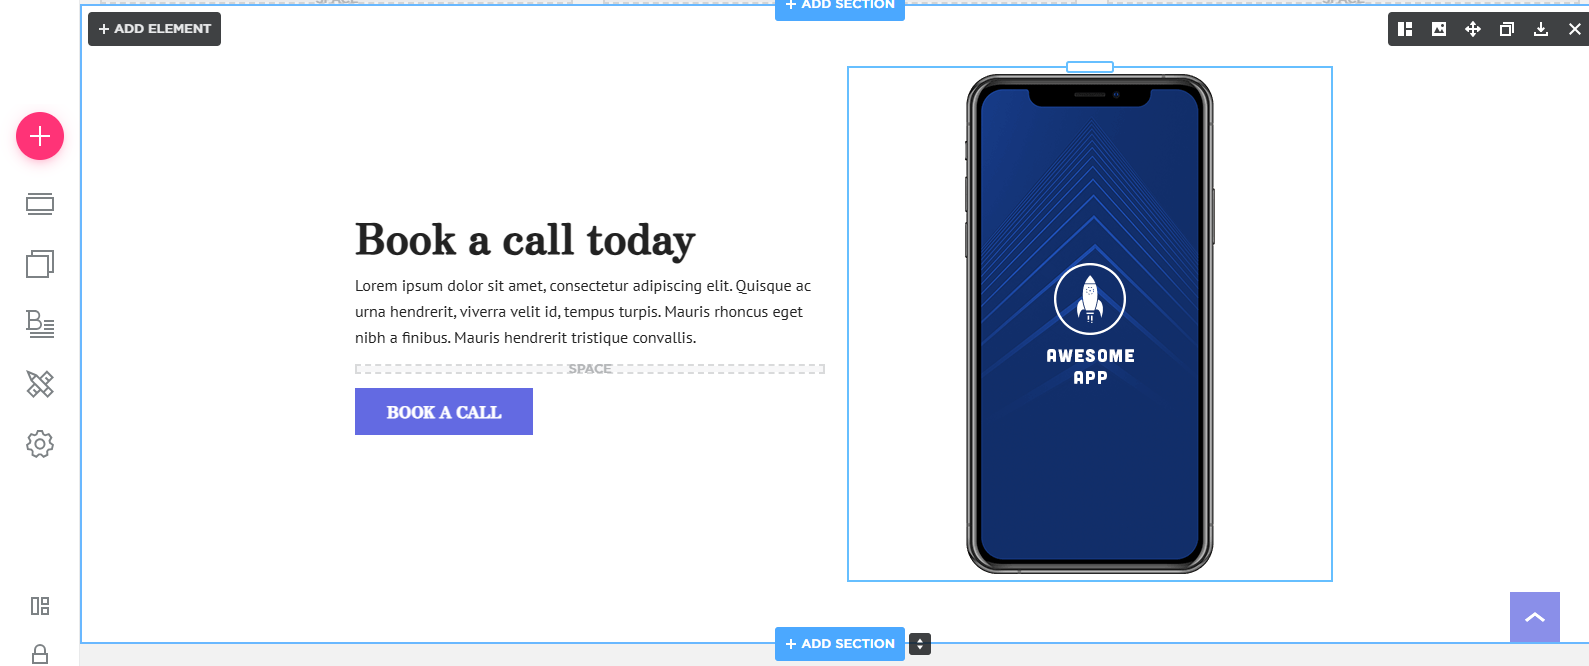
Step 4: Add the Call Booking Button to Your Website
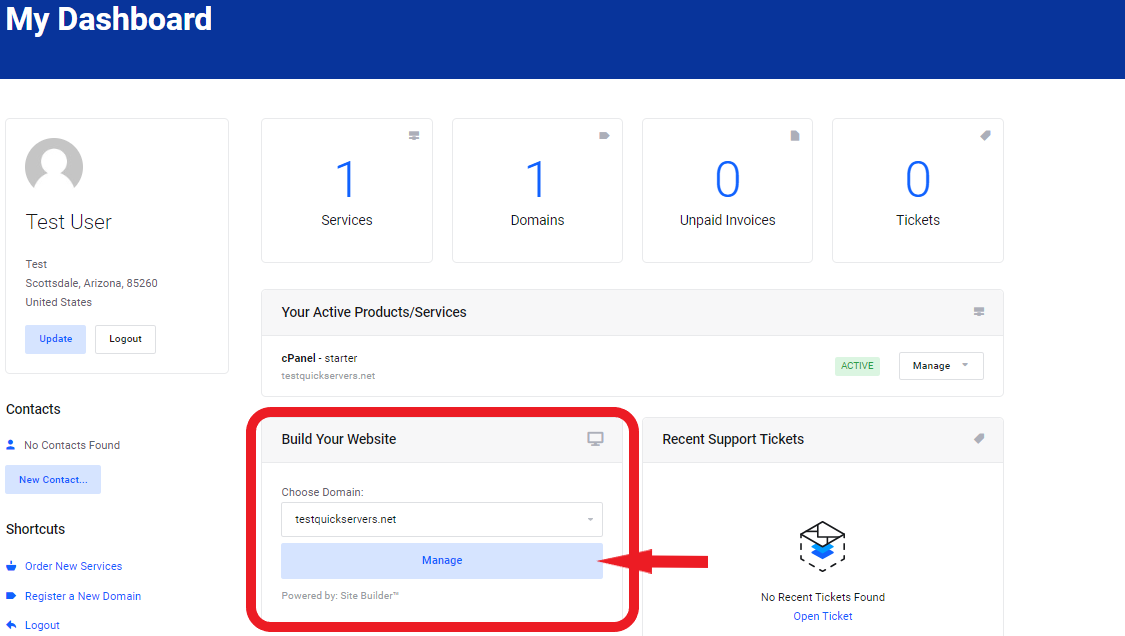
- Log in to your QuickServers website builder and navigate to the page where you want to add the booking feature.
- Insert a "Book a Call" button and link it to your call scheduling page.
- Customize the button text (e.g., "Schedule a Free Consultation" or "Book a Call Now").
- Ensure the button stands out by using a contrasting color and placing it in a visible location.
Step 5: Embed the Call Booking Form (Optional)
- If you want to embed the booking form directly on your website, add an HTML section to your page.
- Paste the embed code from the scheduling tool and adjust the size to fit your layout.
- Test the form to ensure it loads correctly and allows users to book calls without leaving the page.
Step 6: Optimize for Mobile Users
- Check how the call booking feature appears on mobile devices.
- Adjust the button size and placement for easy access on smaller screens.
- Ensure the form remains user-friendly and responsive across all devices.
Step 7: Publish and Test Your Call Booking Feature
- Click "Publish" to make the feature live on your website.
- Test the booking process by scheduling a test call to ensure everything works smoothly.
- Verify that confirmation emails and reminders are sent to users after booking.
Step 8: Promote Your Call Booking Feature
- Announce the new feature through blog posts, social media, and email campaigns.
- Encourage visitors to book a call by highlighting the benefits of speaking with your team.
- Monitor call bookings and make adjustments based on user feedback.
By adding a call booking feature to your QuickServers website, you can enhance customer interaction, improve lead conversion, and provide a seamless way for users to connect with you.
