How to Customize the Footer Section on QuickServers
The footer section of your website plays a crucial role in providing visitors with important links, contact details, and branding elements. A well-designed footer enhances navigation, improves SEO, and adds to the overall professionalism of your website. Follow this guide to customize the footer section on your QuickServers website.
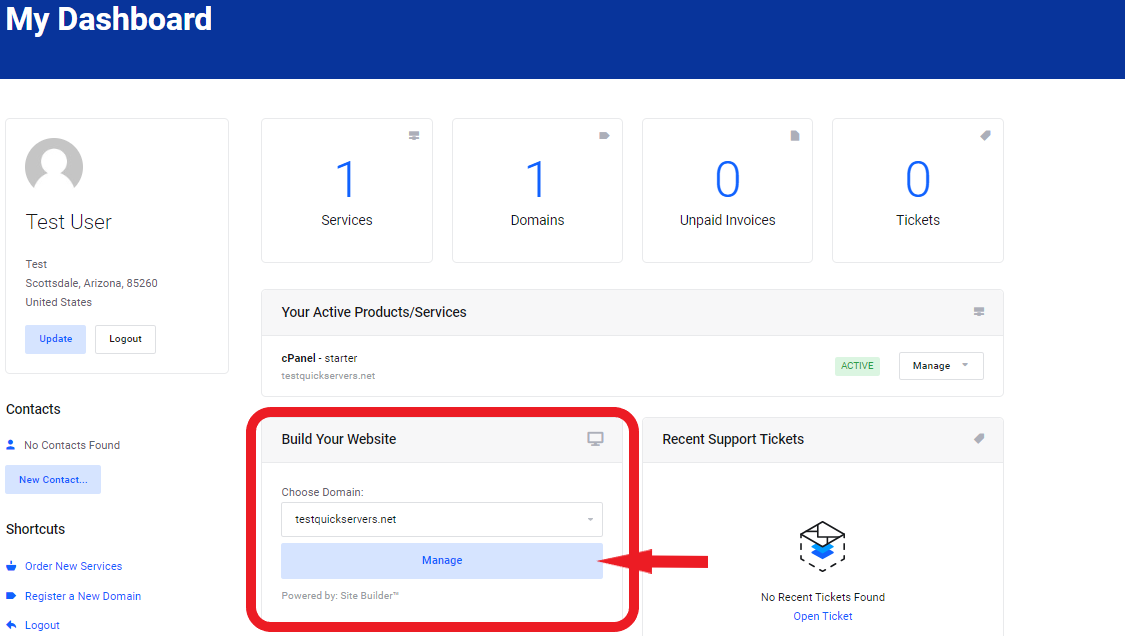
Step 1: Access the Footer Customization Settings
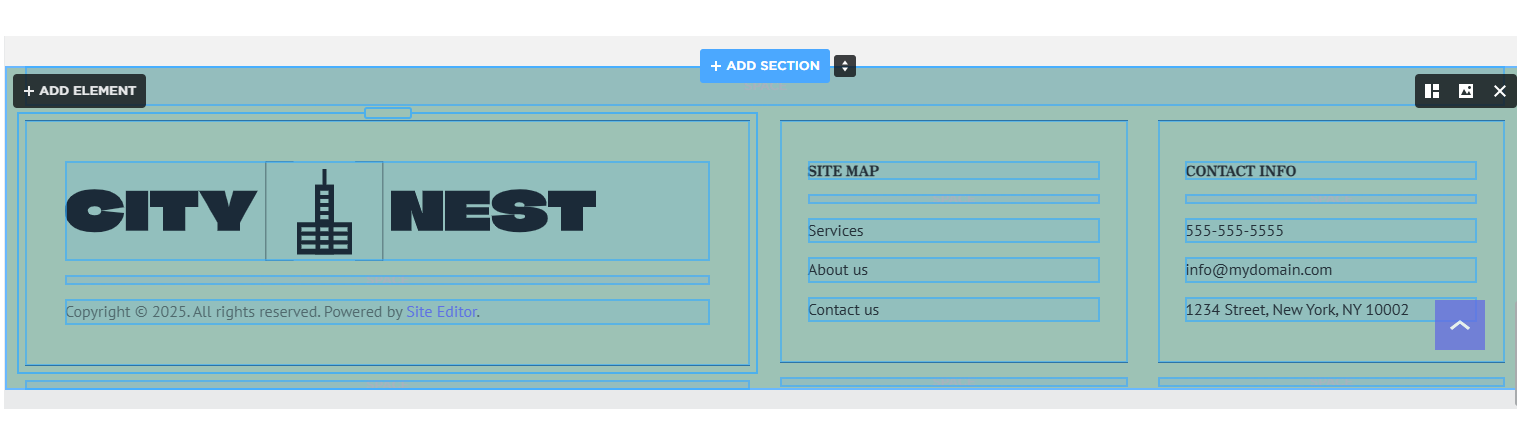
- Navigate to the website editor and locate the footer section at the bottom of your webpage.
- Click on the footer area to open the customization options.
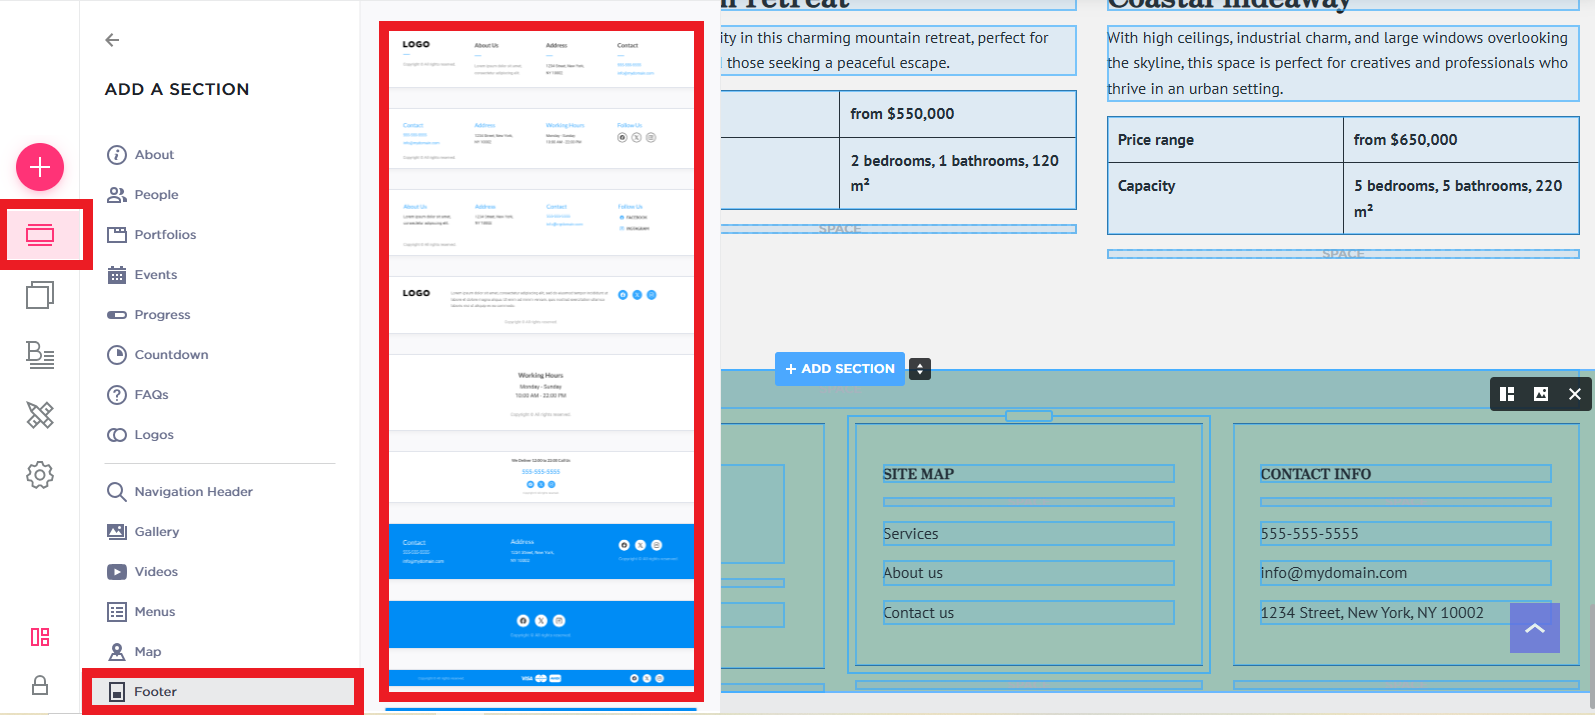
Step 2: Choose a Footer Layout
- Select a layout that aligns with your website’s design and content needs.
- Common footer layouts include single-column, multi-column, or a full-width design.
- Decide how many sections you want in the footer, such as navigation links, contact details, and social media icons.
Step 3: Add Business Information and Contact Details
- Display essential business details like your company name, address, email, and phone number.
- If applicable, include customer support hours or a quick contact form.
- Ensure the information is up to date and easy to read.
Step 4: Customize Footer Links and Navigation
- Add important links such as "About Us," "Privacy Policy," "Terms of Service," and "Contact Us."
- Include quick links to key pages to improve navigation for visitors.
- Use a structured layout with clear labels to maintain an organized appearance.
Step 5: Add Social Media Icons
- Integrate social media links to encourage visitors to connect with your brand.
- Use recognizable icons for platforms like Facebook, Twitter, LinkedIn, and Instagram.
- Ensure the links open in a new tab to keep visitors on your website.
Step 6: Insert a Newsletter Signup Form (Optional)
- If you want to collect email subscribers, add a newsletter signup form to your footer.
- Use a short call-to-action such as "Subscribe for Updates" or "Join Our Mailing List."
- Ensure the form integrates with your email marketing platform.
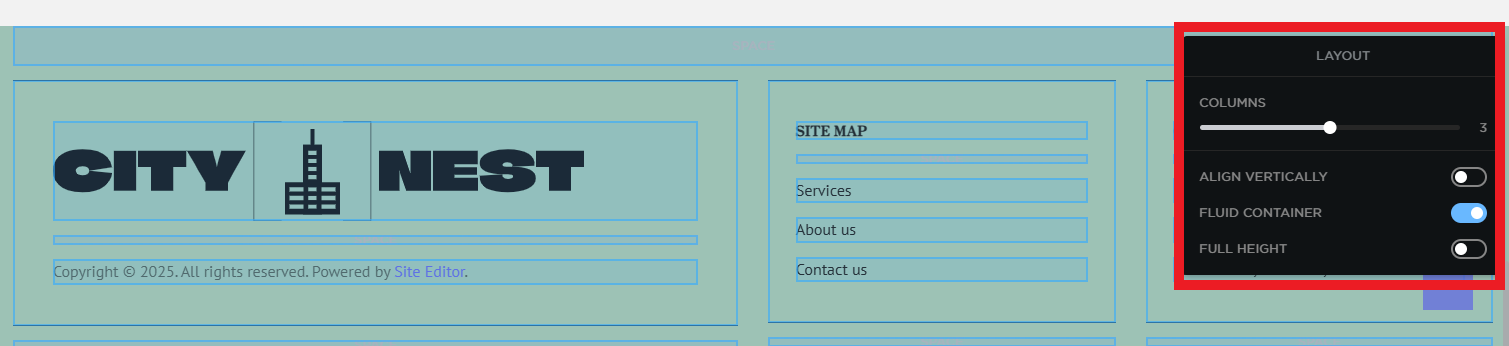
Step 7: Customize the Footer Design
- Adjust the background color, font style, and spacing to match your website’s theme.
- Use contrasting colors to ensure readability while maintaining a clean, professional look.
- Add a copyright notice to establish ownership and credibility.
Step 8: Optimize for Mobile Devices
- Preview your footer on different screen sizes to ensure responsiveness.
- Check that all links, buttons, and forms function correctly on mobile devices.
- Simplify the layout if necessary to improve readability on smaller screens.
Step 9: Save and Publish Your Changes
- Once customization is complete, review the footer to ensure all elements are correctly placed.
- Save your changes and publish the updates to make them live on your website.
- Test the footer by clicking links and checking responsiveness on various devices.
A well-structured footer enhances user experience, improves website navigation, and strengthens your brand’s credibility. By following these steps, you can create a professional and functional footer that adds value to your QuickServers website.
