How to Add a Progress Bar or Loading Animation to Your Website
A progress bar or loading animation enhances user experience by visually indicating that your website is processing content. This is especially useful for pages with large images, videos, or interactive elements. Adding a progress bar or loading animation can reduce bounce rates by keeping visitors engaged while waiting for the page to load. Follow this step-by-step guide to add one to your QuickServers website.
Step 1: Choose the Type of Loading Indicator
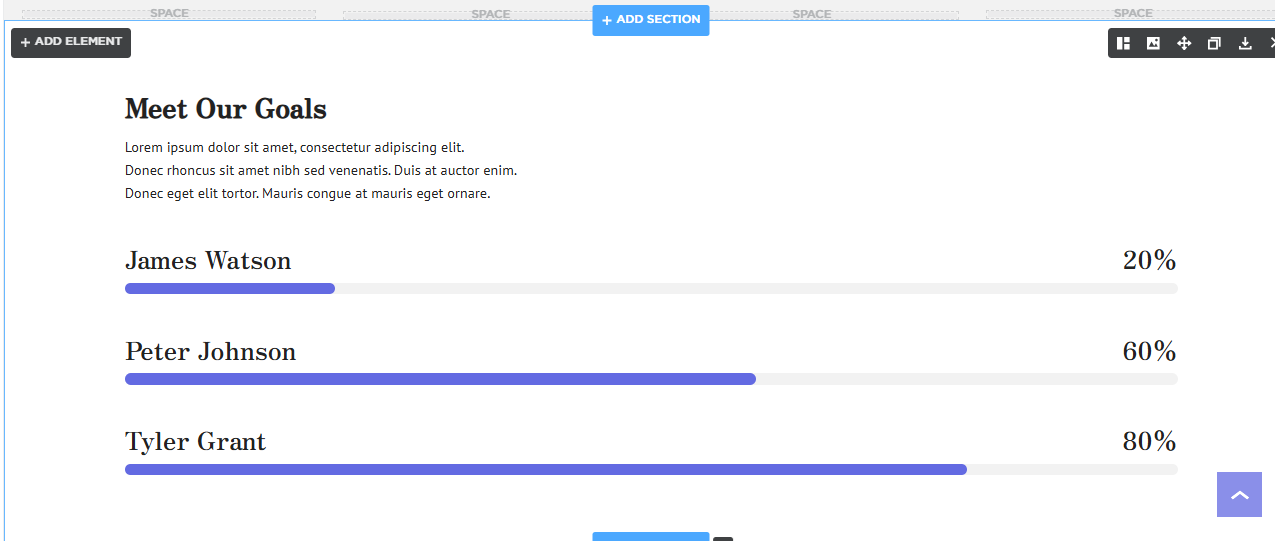
- Progress Bar – A horizontal bar that fills as the page loads.
- Spinner Animation – A rotating or pulsating animation to indicate loading.
- Text-Based Loader – A simple “Loading…” text with an animation effect.
- Custom Animation – A branded loading animation to match your website’s theme.
Step 2: Access Your Website’s Customization Panel
- Navigate to the Sections of your website builder.
- Look for the progress bar section.

Step 3: Test Your Loading Animation
- Preview your website to check if the progress bar or animation appears correctly.
- Ensure it disappears once the page has fully loaded.
- Test on different devices and browsers to confirm responsiveness.
Step 5: Publish and Optimize for Performance
- Once satisfied with the effect, click Publish to make it live.
- Optimize by keeping animations lightweight to avoid slowing down page speed.
- Monitor performance using Google PageSpeed Insights to ensure loading efficiency.
Adding a progress bar or loading animation helps improve user experience and engagement. By following these steps, you can create a seamless and interactive browsing experience for visitors on your QuickServers website.
