How to Design a Hero Section with QuickServers Builder
The hero section of your website is the first thing visitors see, making it crucial to design it in a way that captures attention and communicates your message clearly. A well-designed hero section can help boost user engagement, guide visitors to key content, and reflect your brand identity. Follow this guide to design an impactful hero section using the QuickServers website builder.
Step 1: Understand the Purpose of Your Hero Section
- Determine the main goal of your hero section: Are you promoting a product, encouraging sign-ups, or displaying a special offer?
- Make sure the message aligns with your overall website content.
- Consider your target audience and how the hero section can resonate with them.
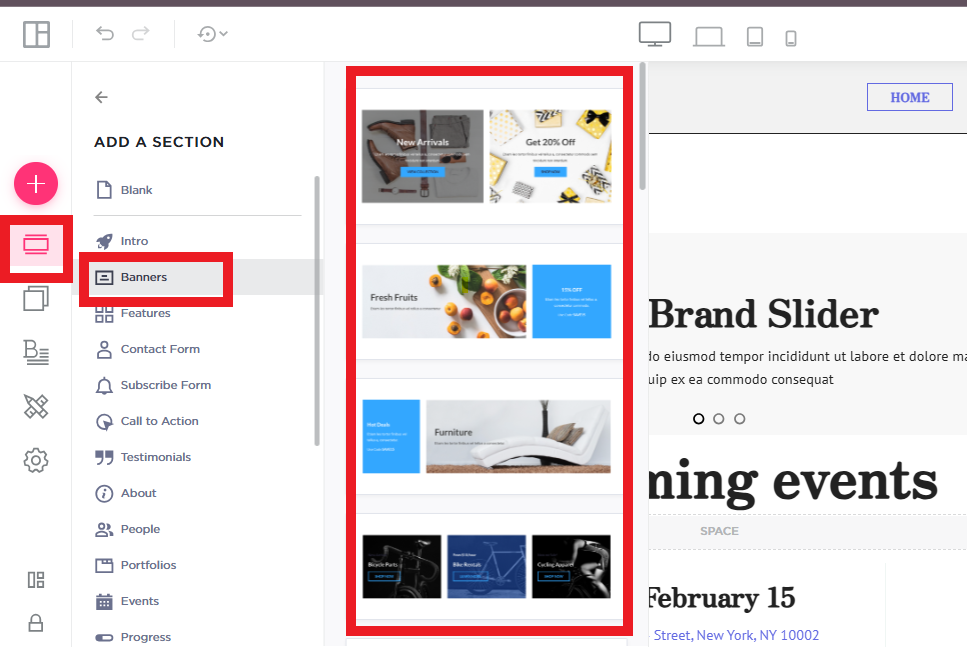
Step 2: Choose a Striking Background
- Select a high-quality image or video that complements your brand and enhances the overall theme.
- Ensure that the background does not overpower your text, so visitors can easily read the message.
- Use tools like image overlays to make the text stand out against the background.
- Optionally, use a gradient or solid color background to keep it simple yet impactful.
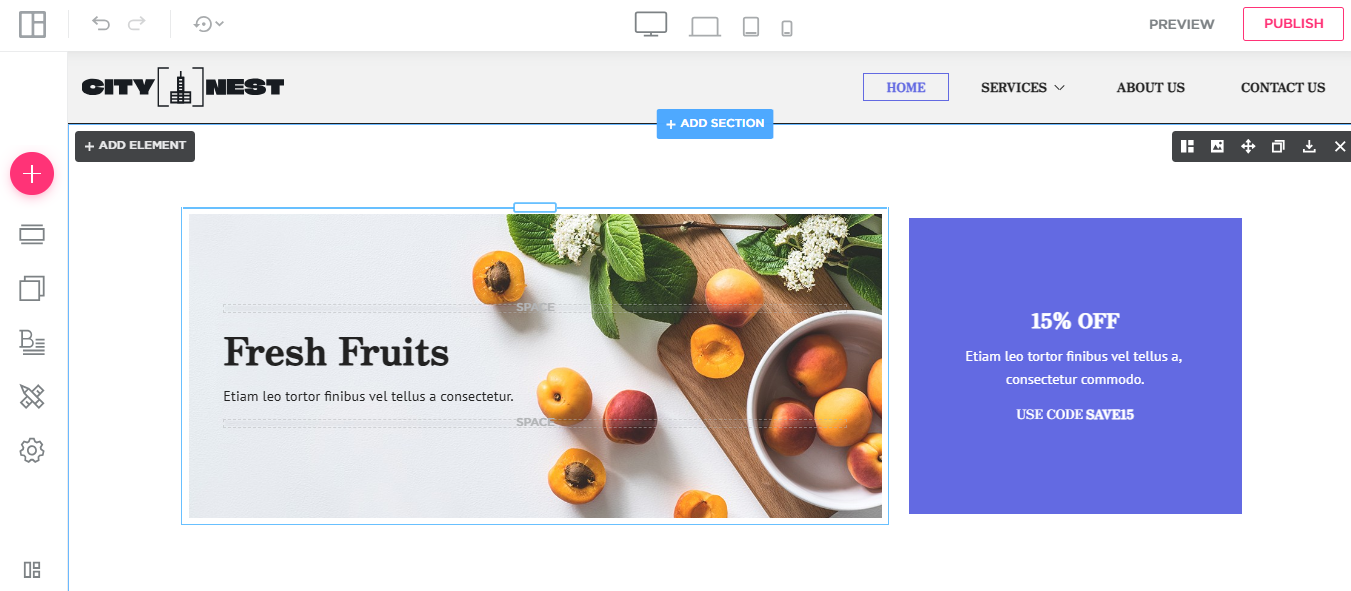
Step 3: Craft a Clear, Compelling Headline
- Write a concise, bold headline that communicates your value proposition or key message.
- Keep the headline short and impactful—aim for no more than 1-2 lines of text.
- Use a font that is easy to read and stands out against the background.
Step 4: Add Supporting Text or Subheading
- Include a brief subheading or descriptive text to provide context for your headline.
- Keep it short and focused on addressing a pain point or offering a solution.
- Ensure that it complements the headline and gives visitors a reason to explore further.
Step 5: Include a Clear Call-to-Action (CTA)
- Add a prominent CTA button that guides users to the next step, whether it’s signing up, learning more, or making a purchase.
- Use action-oriented text like "Get Started," "Learn More," or "Sign Up Now."
- Make sure the CTA stands out using contrasting colors and proper spacing.
Step 6: Optimize for Mobile
- Test your hero section on mobile devices to ensure the layout is responsive.
- Resize text and buttons for easy readability and interaction on smaller screens.
- Ensure the background image or video scales properly on different devices.
Step 7: Add Finishing Touches
- Consider adding subtle animations to your hero section, such as fade-ins, slide-ins, or parallax scrolling for added interactivity.
- Use clear, legible fonts that match your overall design aesthetics.
- Keep your design clean and avoid clutter—focus on the key elements.
By following these steps, you’ll create an eye-catching hero section that resonates with visitors and guides them toward taking the next step on your website. Implementing these best practices will ensure that your QuickServers website stands out and drives conversions effectively.
