How to Create a Call-to-Action Section for Conversions
A Call-to-Action (CTA) section is one of the most important elements to help convert website visitors into leads or customers. Using a website builder, you can easily add and customize a CTA section to encourage your visitors to take action. Here's how you can do it.
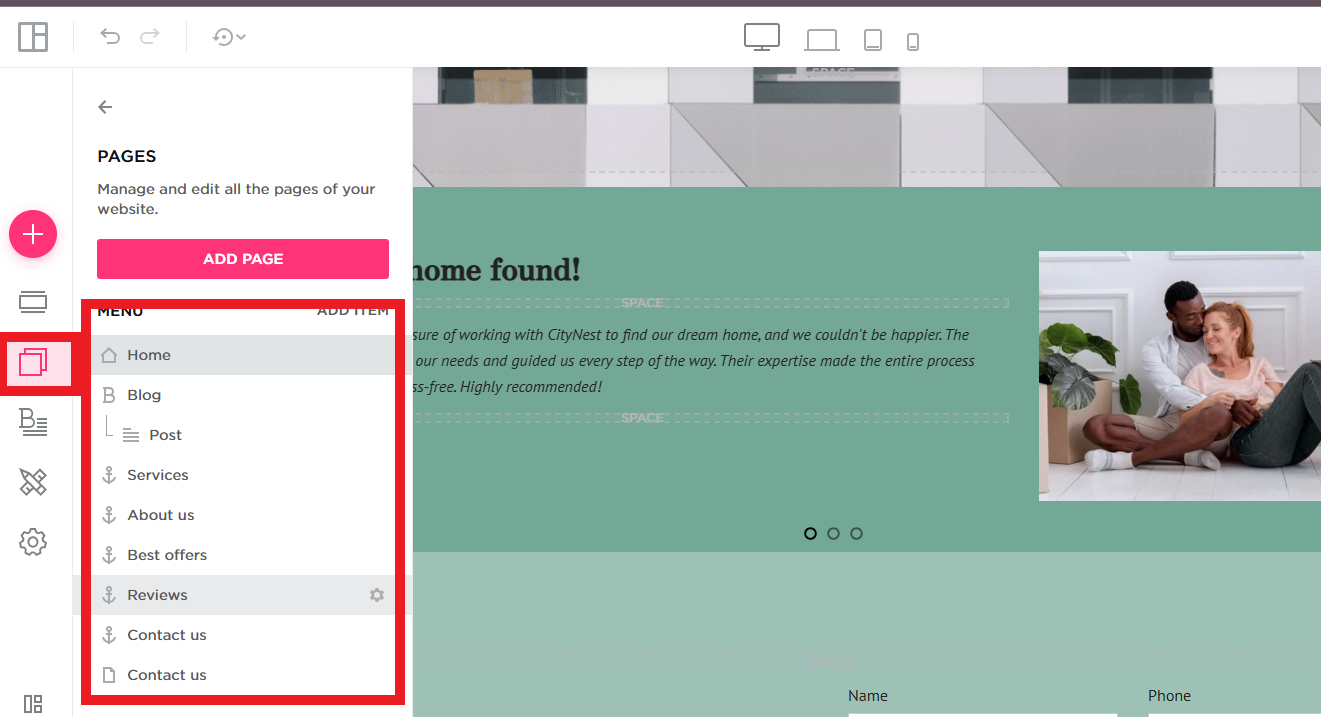
Step 1: Open the Page Where You Want to Add the Call-to-Action Section
Before you start, choose the page where you want your CTA to appear.
- Go to your website builder's dashboard.
- Select the page you wish to edit.
- Make sure the page is ready for the addition of the CTA section.
Step 2: Navigate to the Section in the Editor
Once you have the page open, it’s time to navigate to the section in the editor where you can add the CTA.
- Open the page editor and find the “Sections” area.
- Browse through the section options available for customization.
- Select the area of the page where you want the CTA section to be placed.
Step 3: Click on "Call to Action"
In the section options, locate the "Call to Action" feature to add it to your page.
- Click on the "Call to Action" option to select it.
- This will prepare your page for the addition of a custom CTA section.
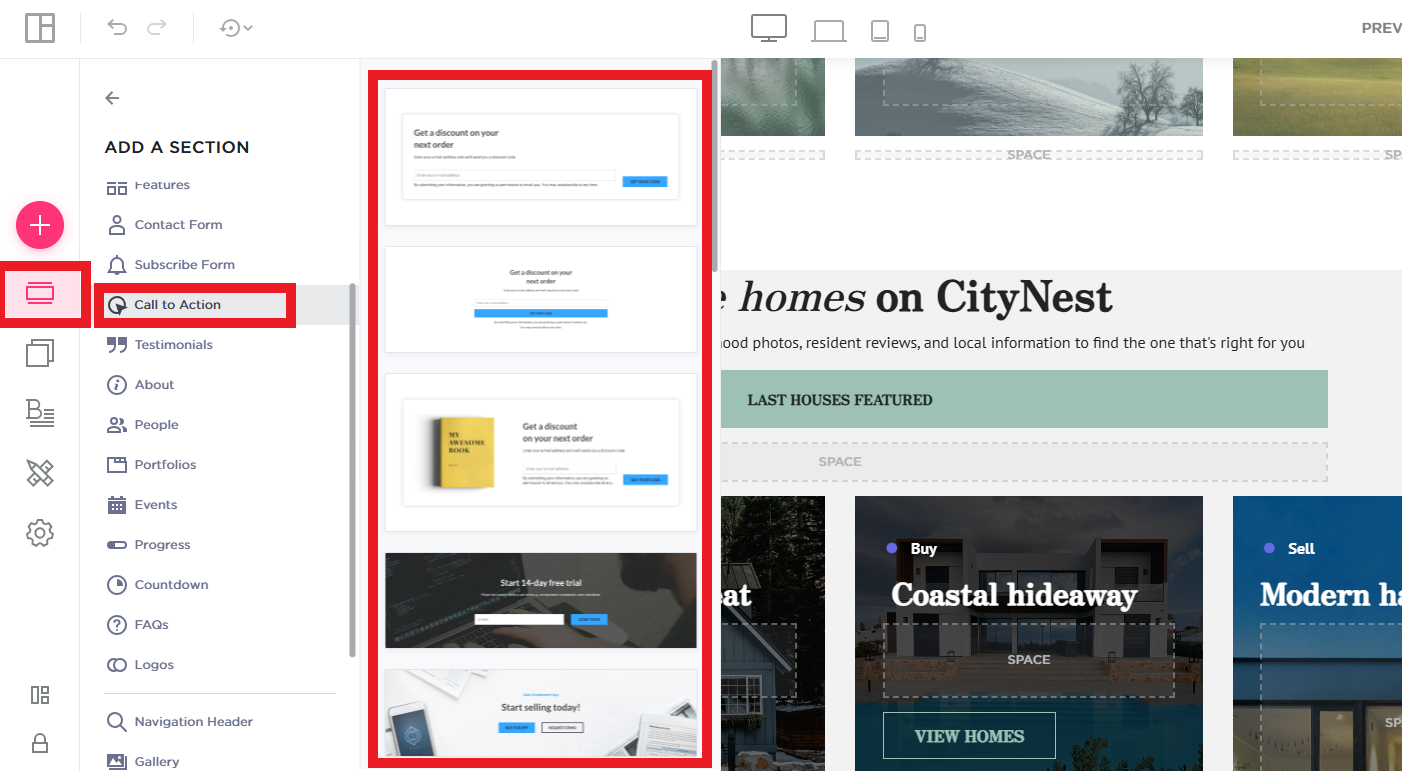
Step 4: Choose a Style and Drag and Drop It
Once you select the "Call to Action" option, you'll be prompted to choose a style for your CTA.
- Browse through the available styles for the CTA section.
- Choose the style that best suits the look and feel of your website.
- Drag and drop the selected CTA style into the desired section on your page.
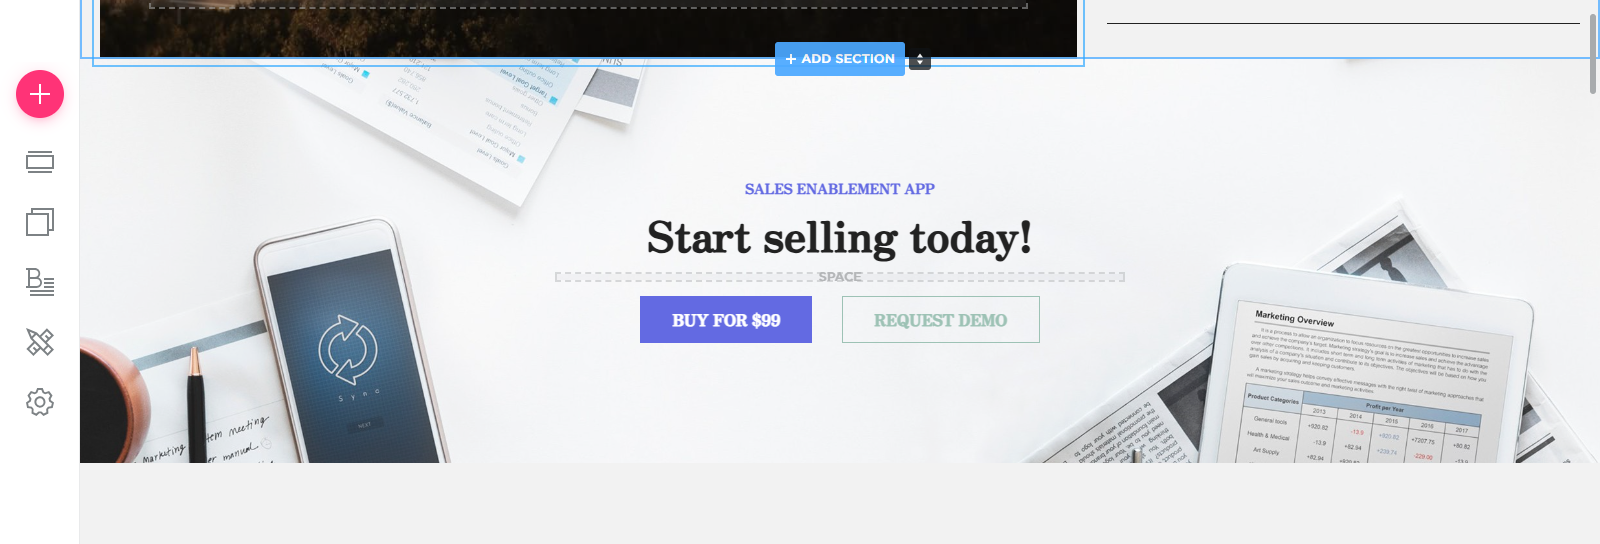
Step 5: Customize It According to Your Needs
Now that the CTA section is in place, it’s time to customize it.
- Edit the text within the CTA, such as “Sign Up Now,” “Get Started,” or “Learn More.”
- Customize the font, color, and size to match your brand’s theme.
- Add any additional elements, such as buttons, links, or images, to enhance the CTA’s effectiveness.
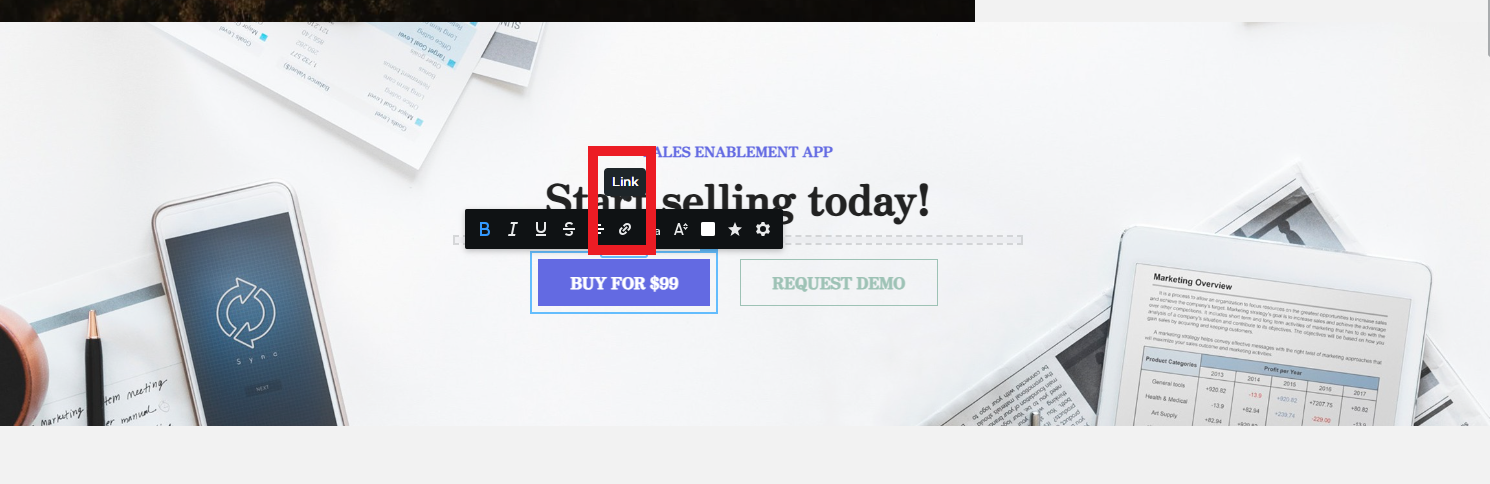
Step 6: Link the CTA to a Target Page
- Click on the button settings and select "Add Link."
- Enter the URL of the page where you want users to go (e.g., contact form, checkout page).
- Ensure the link opens in a new tab if necessary, especially for external links.
Step 7: Optimize for Mobile Users
- Preview the button on different devices to ensure it looks good on mobile screens.
- Adjust padding, size, and positioning for a seamless user experience.
- Test the button's functionality to confirm it directs users correctly.
Step 8: A/B Test and Improve Performance
- Experiment with different button colors, sizes, and text to see what drives more clicks.
- Monitor user behavior using website analytics to measure conversion rates.
- Adjust placement and wording based on visitor interactions and feedback.
Step 9: Publish and Monitor Your CTA Button
- Once satisfied with the design and functionality, click "Publish" to make it live.
- Regularly check performance metrics to ensure the CTA remains effective.
- Update the button periodically to match promotions, campaigns, or business goals.
A strong CTA button can dramatically increase conversions by guiding visitors toward key actions. By following these steps, you can enhance user engagement and boost business growth on your QuickServers website.
