How to Integrate a Booking System for Appointments on QuickServers
Integrating a booking system on your QuickServers website allows potential clients to schedule appointments seamlessly. Since QuickServers' website builder does not support advanced booking systems, the best way to accept appointments is through a contact form. This guide will walk you through setting up a contact form for appointment requests.
Step 1: Add a New Contact Form to Your Website
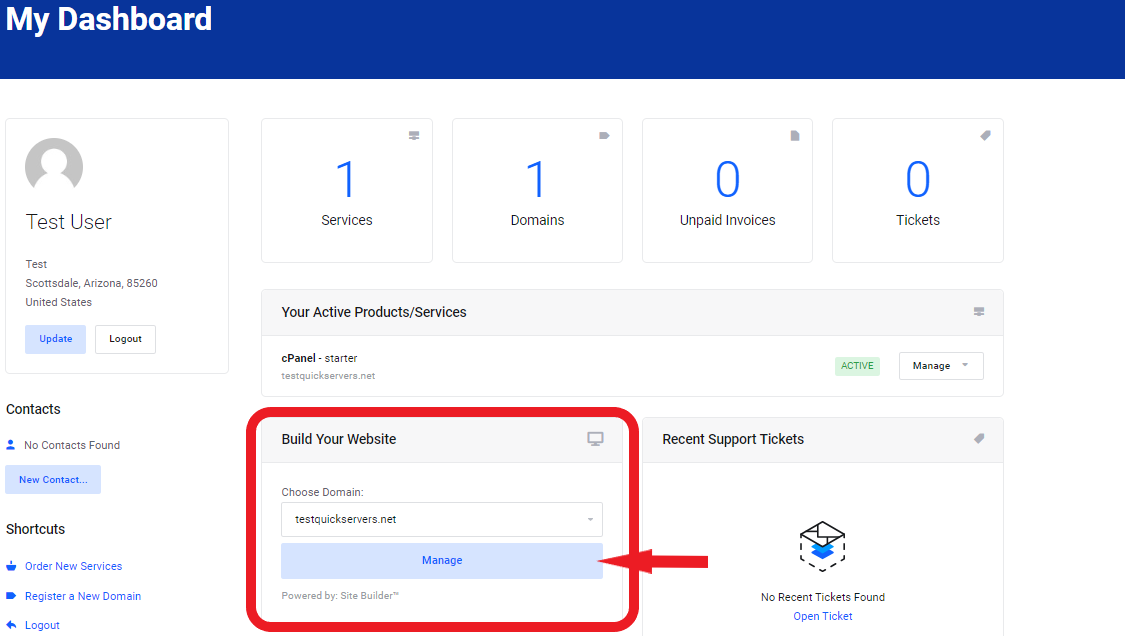
- Log in to your QuickServers website editor.
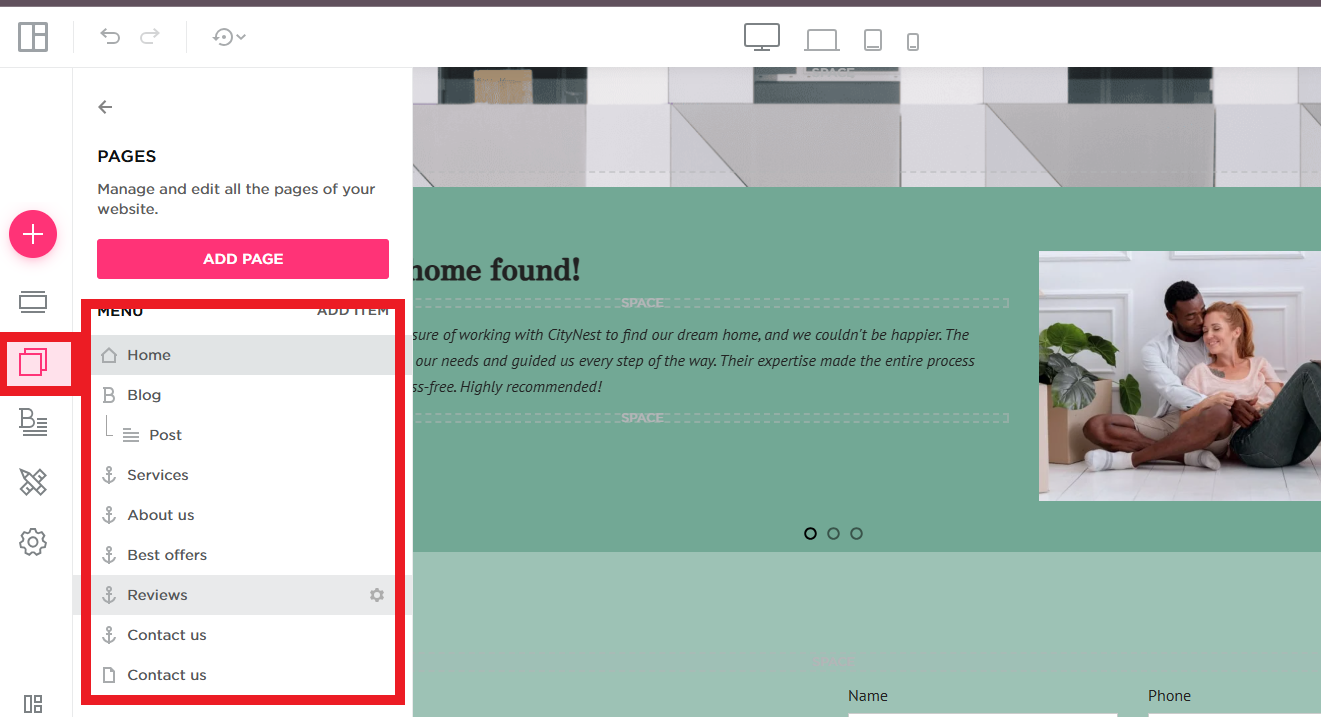
- Navigate to the page where you want to add the booking form, such as "Contact Us" or "Book an Appointment."
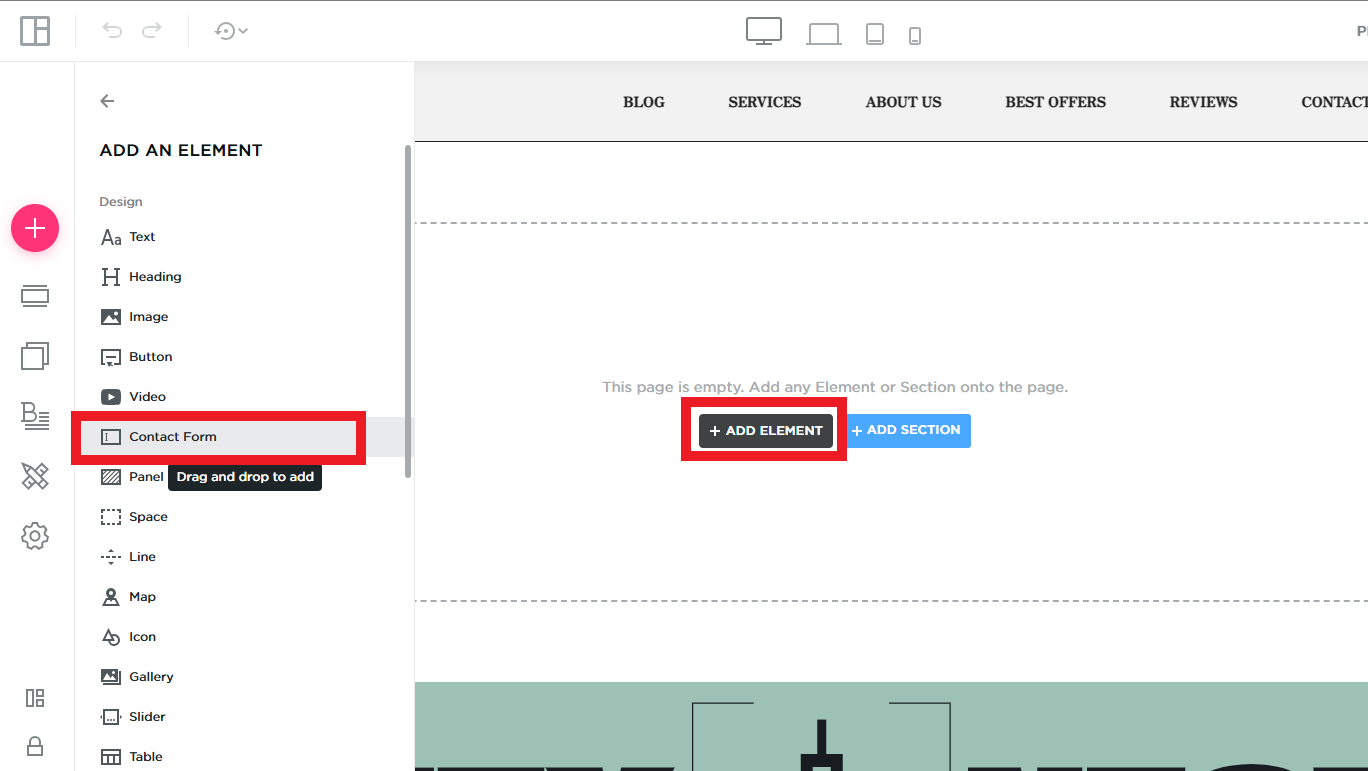
- Click on the option to add a new section and select "Contact Form."
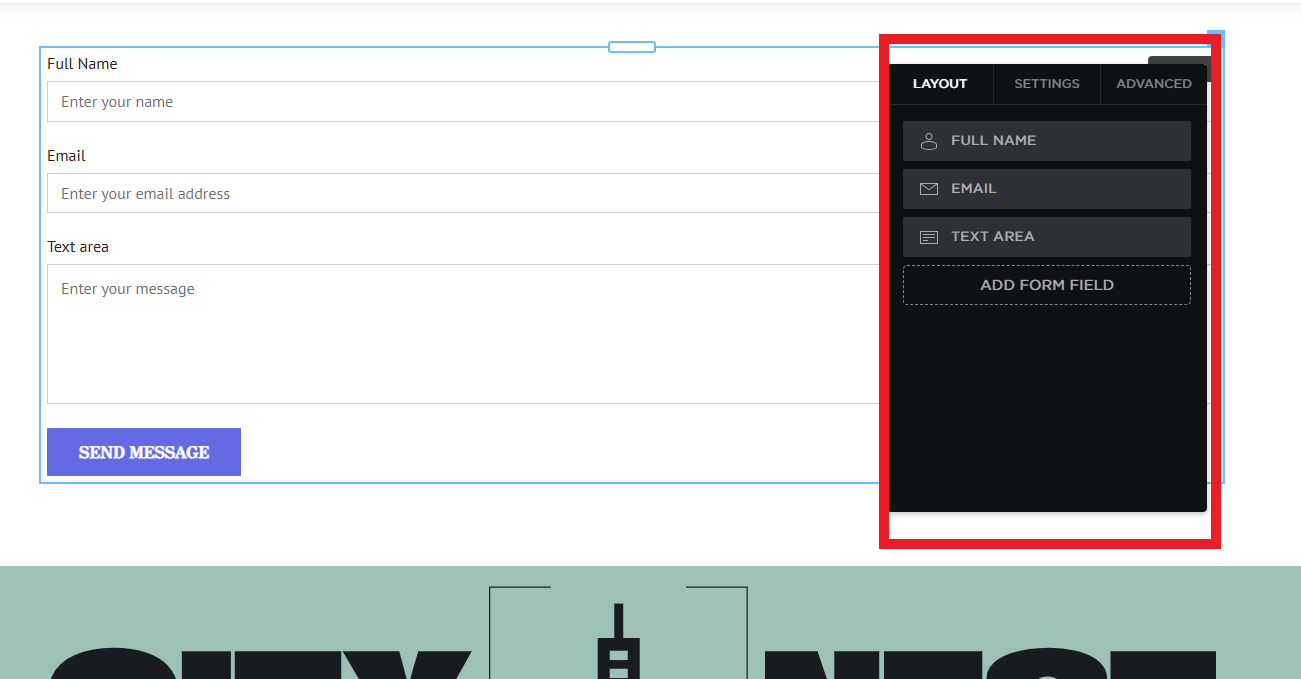
- Choose a form layout that suits your needs, ensuring it includes fields for name, email, phone number, and preferred appointment date/time.
Step 2: Customize the Contact Form for Bookings
- Edit the form fields to include necessary details such as:
- Name
- Email Address
- Phone Number
- Preferred Appointment Date
- Preferred Appointment Time
- Additional Comments
- Adjust the form labels and placeholders to guide visitors in filling out the form correctly.
- Ensure the required fields are marked as mandatory to avoid incomplete submissions.
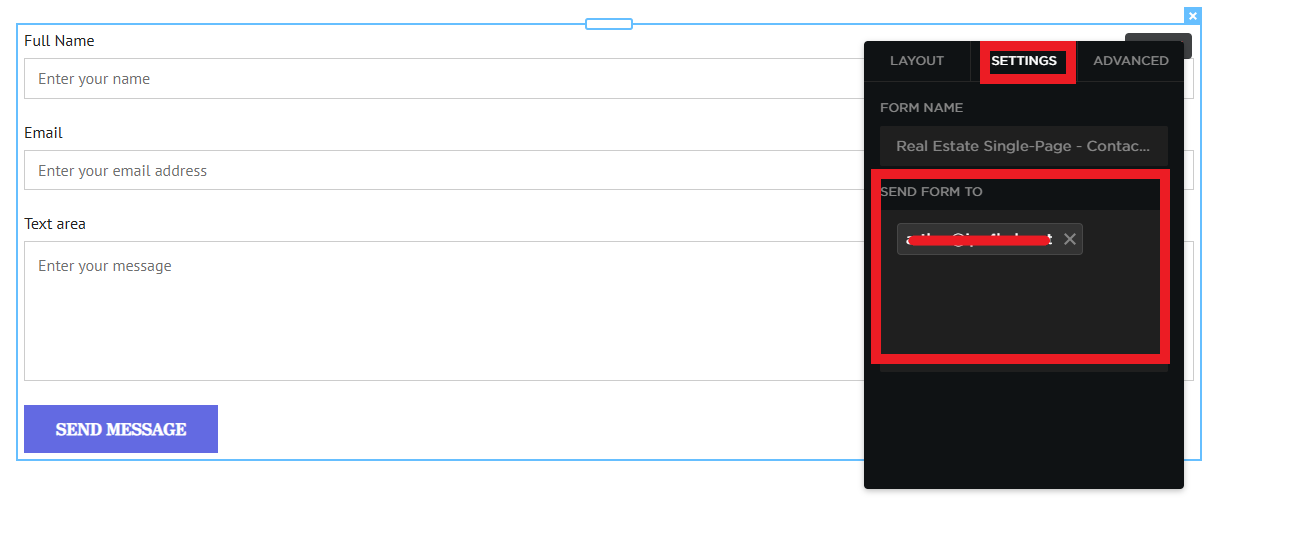
Step 3: Set Up Email Notifications for Appointment Requests
- Configure the form to send appointment requests to your business email.
- Set up an auto-response message to confirm that the user's request has been received.
- Ensure the email subject line is clear, such as "New Appointment Request from Your Website."
Step 4: Display the Booking Form Prominently
- Place the booking form on a dedicated "Appointments" or "Book Now" page.
- Consider adding a call-to-action button linking to the form on your homepage.
- Use contrasting colors to make the button stand out and encourage users to book an appointment.
Step 5: Test the Contact Form
- Fill out the form as a test user and submit it.
- Verify that the appointment request email is delivered correctly.
- Check the auto-response message to ensure it is clear and professional.
Step 6: Promote Your Booking System
- Add a booking link to your website's navigation menu.
- Share the appointment page link on social media and in email marketing campaigns.
- Encourage customers to use the form for scheduling instead of calling or emailing manually.
By following these steps, you can create a simple yet effective booking system on your QuickServers website using a contact form.
