How to Add Custom Shapes and Dividers for Unique Page Design
Adding custom shapes and dividers to your website helps create a visually appealing layout and improves content separation. With QuickServers’ website builder, you can enhance your page design by incorporating unique shapes and dividers. This guide will show you how to add and customize these elements effectively.
Step 1: Access the Website Editor
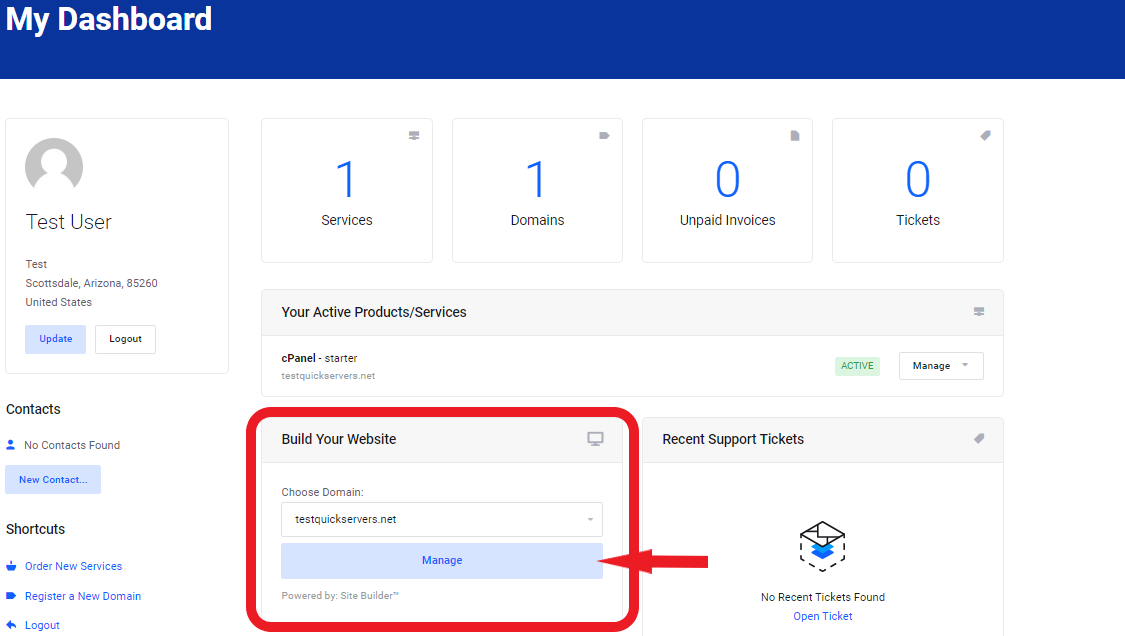
- Log in to your QuickServers website editor.
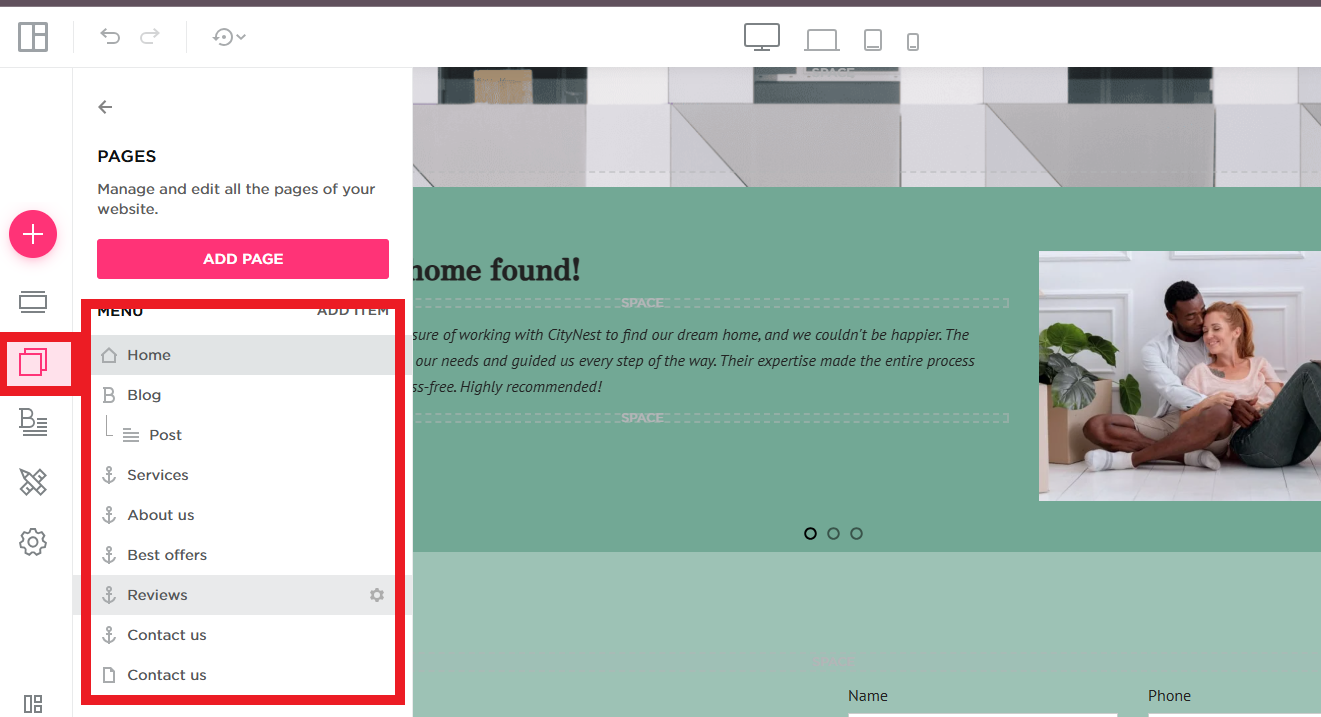
- Navigate to the page where you want to add shapes or dividers.
- Click on the option to add a new section or edit an existing one.
Step 2: Choose a Shape or Divider Option
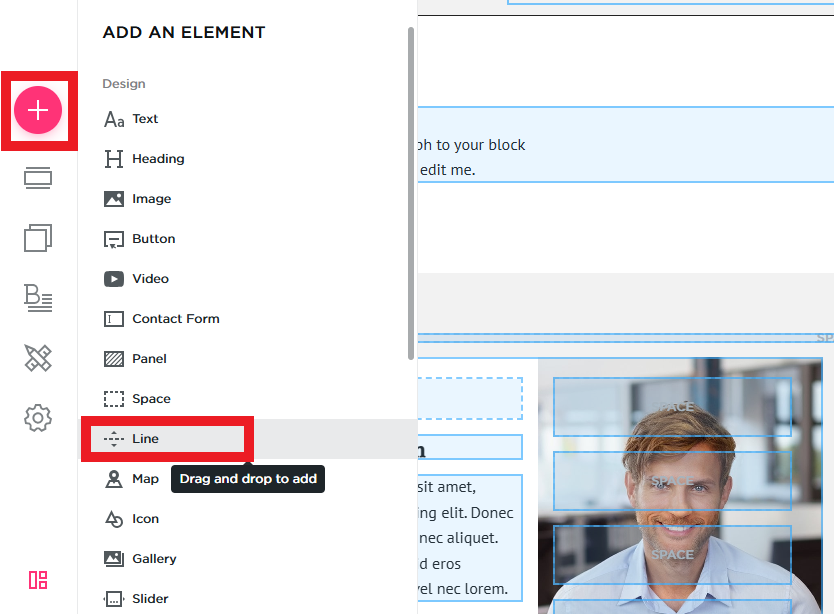
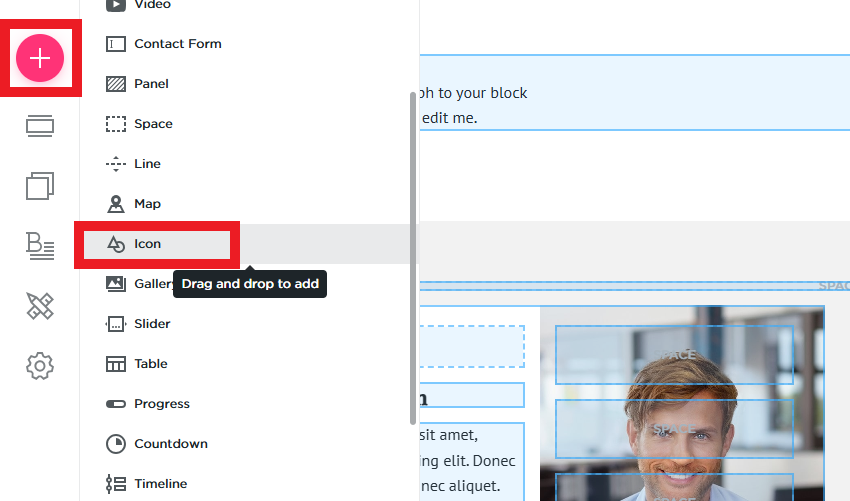
- Browse the available design elements for shapes or dividers.
- Select a horizontal divider to separate sections cleanly.
- Choose a decorative shape to add visual interest to your design.
- If there are no predefined shapes, consider using image uploads or background overlays to create unique section dividers.
Step 3: Customize the Shape or Divider
- Adjust the width and height to match your desired design.
- Change the color to complement your website’s theme.
Step 4: Preview and Optimize for Mobile
- Click the preview option to check how the shapes and dividers appear on different screen sizes.
- Ensure that elements remain responsive and do not overlap with content.
- Make adjustments as needed for a seamless design across all devices.
Step 5: Save and Publish Your Changes
- After finalizing your design, save your edits.
- Publish the page to make the custom shapes and dividers visible to visitors.
- Revisit the page periodically to update or refine the design for a fresh look.
By adding custom shapes and dividers, you can create a unique and professional design that enhances readability and user experience on your QuickServers website.
