How to Display a "Recent Projects" Section on Your Website
If you want to showcase your work and let your visitors explore your latest projects, adding a "Recent Projects" section is an excellent idea. Here’s a simple guide to help you create and display a "Recent Projects" section on your website.
1. Navigate to the Sections and Find the Portfolio Option
- Open your website editor or content management system (CMS).
- Look for the section or layout settings.
- Find the "Portfolio" or "Recent Projects" option in the available sections or widgets.
- Click on it to add the section to your page.

2. Choose a Style and Drag-and-Drop It
- After selecting the portfolio option, you’ll typically be presented with multiple layout styles.
- Browse through the available styles and pick one that suits your website’s design.
- Drag and drop the chosen style onto your page where you want the "Recent Projects" section to appear.
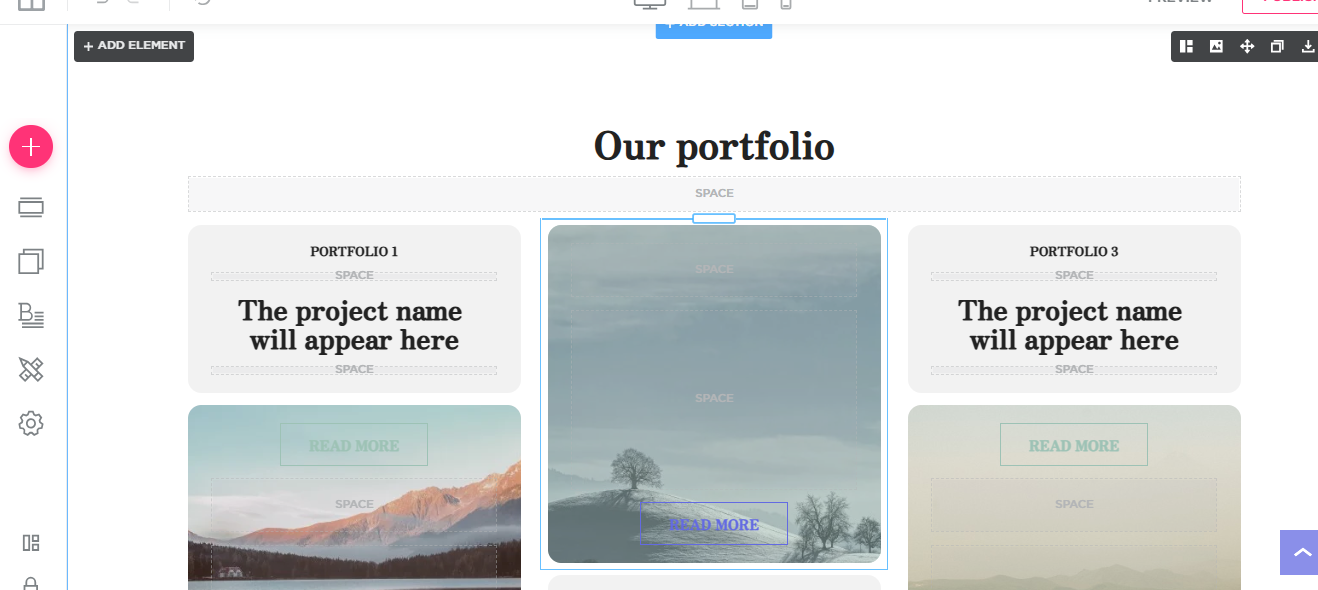
3. Choose Images and Titles
- Once the style is in place, start adding images from your recent projects.
- Upload high-quality images that best represent your work.
- Add clear and concise titles to each project. These titles should give your visitors a sense of what the project is about.
- Optionally, you can also include short descriptions to provide more context.
