How to Add a Gallery Section on Quick Server
A gallery section is an excellent way to showcase multiple images or works in an organized and visually appealing format. Quick Server offers an easy way to add a gallery to your site. Here's a step-by-step guide on how to do it effectively.
1. Access the Dashboard
- Log in to your Quick Server account.
- From the dashboard, navigate to the page where you want to add the gallery section.
- Ensure you are in the editor mode to make changes to the layout of your page.

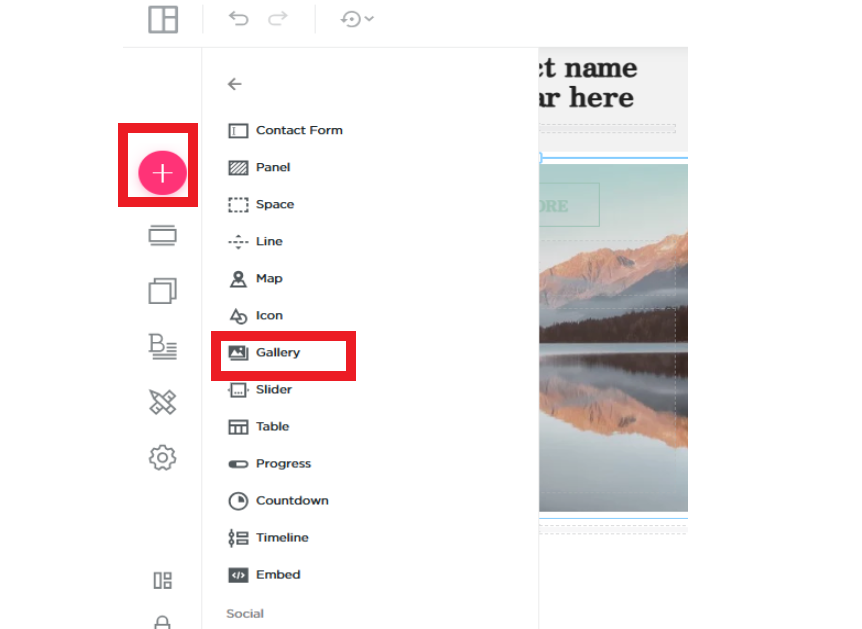
Step 2. Look for the Elements Tab
- In the dashboard, locate and click on the "Elements" tab.
- The "Elements" tab contains various widgets, content blocks, and media options.
- Browse through the list and look for the option labeled "Gallery."
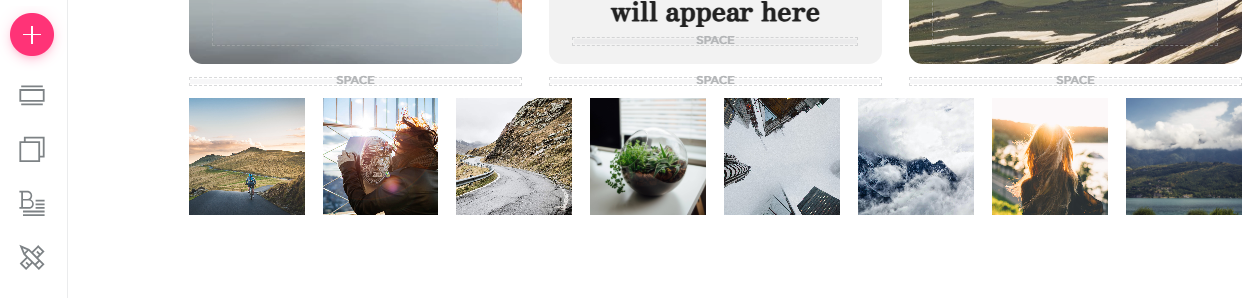
Step 3. Drag and Drop the Gallery Block
- After selecting your desired gallery layout, drag and drop it into the section of the page where you want it to appear.
- Position the gallery block so it complements your page structure and aligns with the overall design.
Step 4. Upload Your Images
- Once the gallery block is in place, it’s time to add images.
- Click on the gallery block to open the image uploader.
- Upload the images you wish to feature in the gallery, either individually or in bulk.
- Ensure the images are high-quality and optimized for web use.
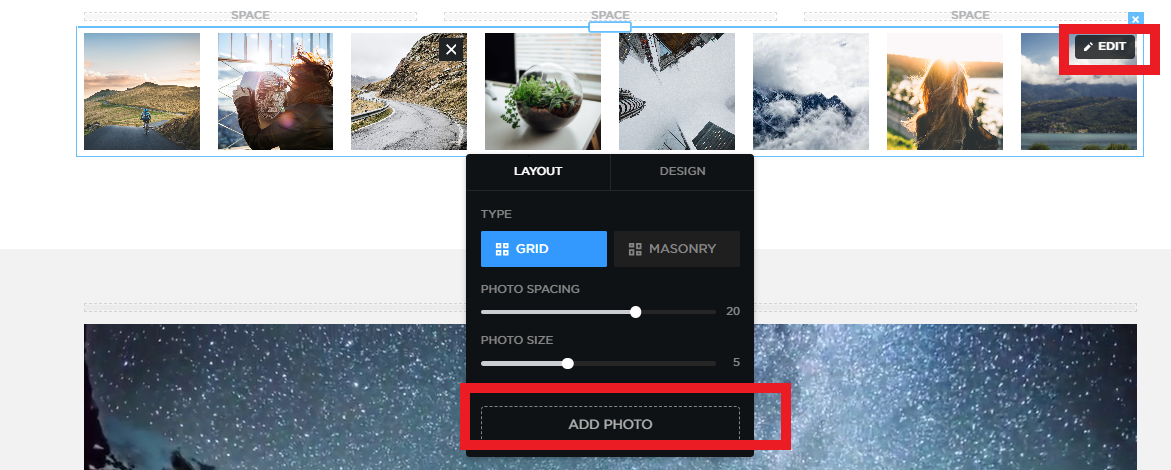
Step 5. Organize and Categorize Images
- If you have a large number of images, you can organize them into categories or albums.
- Add titles, captions, and descriptions to each image for better context.
- Customize the layout to adjust the number of columns, spacing, and hover effects for your images.
Step 6. Customize Gallery Settings
- After uploading your images, adjust the gallery settings as needed.
- Choose options such as image size, lightbox effect (to view images in full-screen mode), and transition effects when switching between images.
- Set autoplay or manual controls for the gallery, depending on your preference.
Step 7. Preview and Adjust
- Before finalizing, preview the gallery to ensure it looks great across all devices.
- Check the responsiveness of the gallery on mobile, tablet, and desktop views.
- Make any final adjustments to ensure the gallery is visually appealing and easy to navigate.
Step 8. Publish Your Gallery Section
- Once you’re satisfied with the gallery's appearance and functionality, click "Publish" to make it live on your website.
- Ensure the gallery section blends well with the rest of your site’s content and design.
