How to Create an Interactive Before-and-After Image Slider
An interactive before-and-after image slider is a great way to showcase transformations, such as website redesigns, product changes, or service improvements. You can create this slider by using the built-in image slider tool. Follow this guide to add a before-and-after image slider to your website.
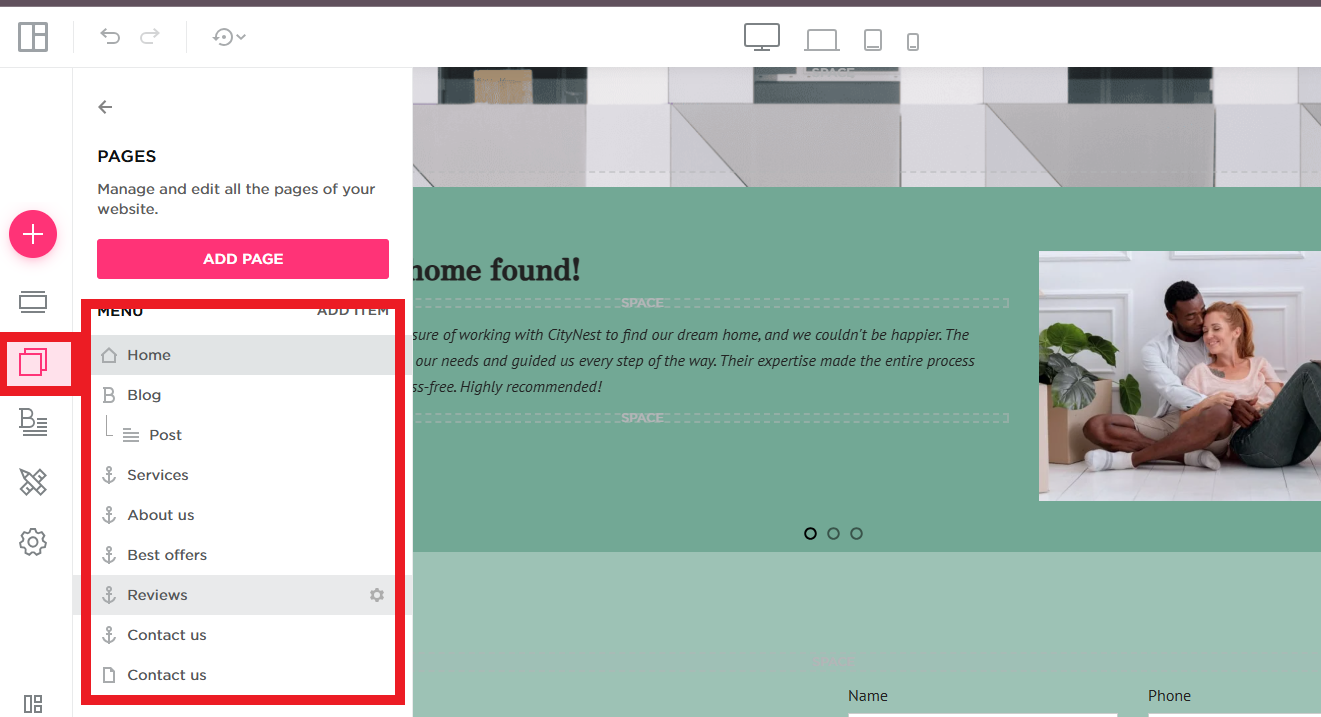
Step 1: Log in to Your QuickServers Website Editor
- Log in to your QuickServers account and open the website editor.
- Navigate to the page where you want to add the before-and-after slider (typically the homepage, portfolio, or services page).
- Click on the page to edit it.

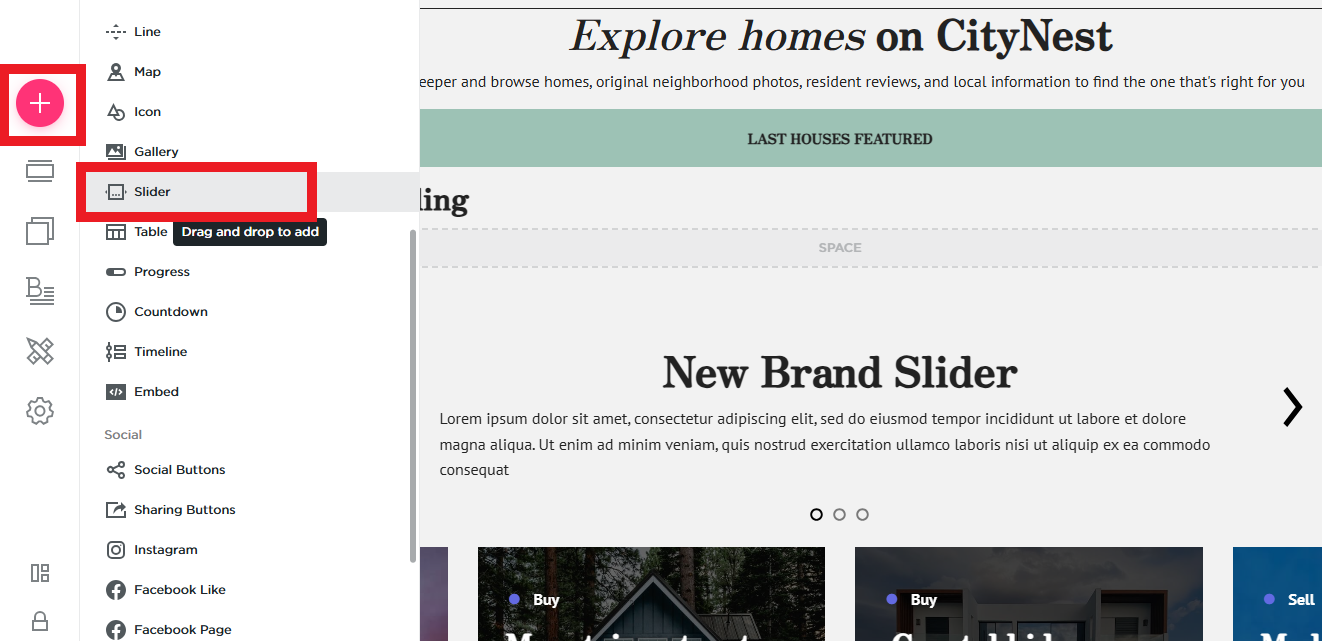
Step 2: Add an Image Slider to the Page
- Find the image slider element in your website builder’s toolbar.
- Drag and drop the image slider onto the page where you want to display the before-and-after images.
- The slider will allow you to add multiple images for a smooth sliding effect.
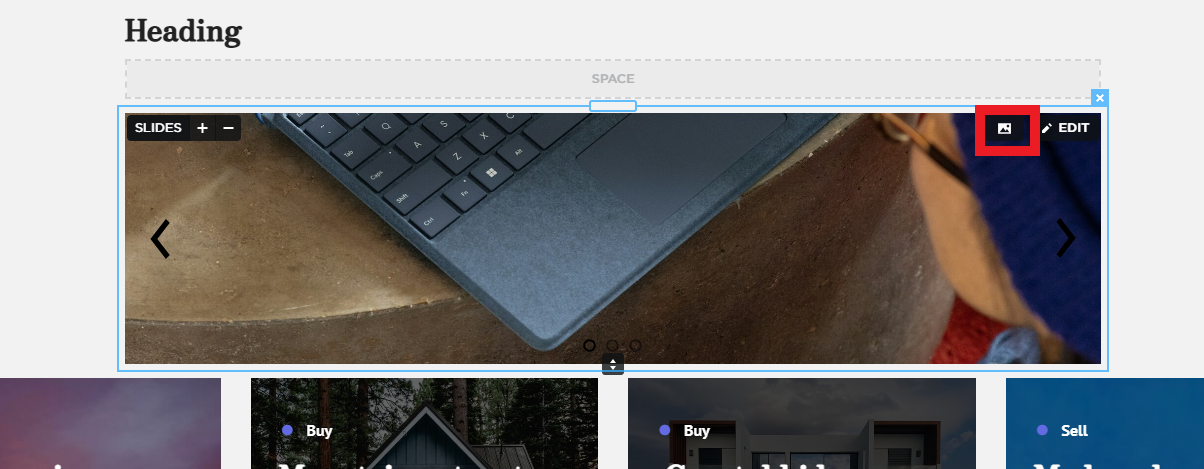
Step 3: Upload the Before-and-After Images
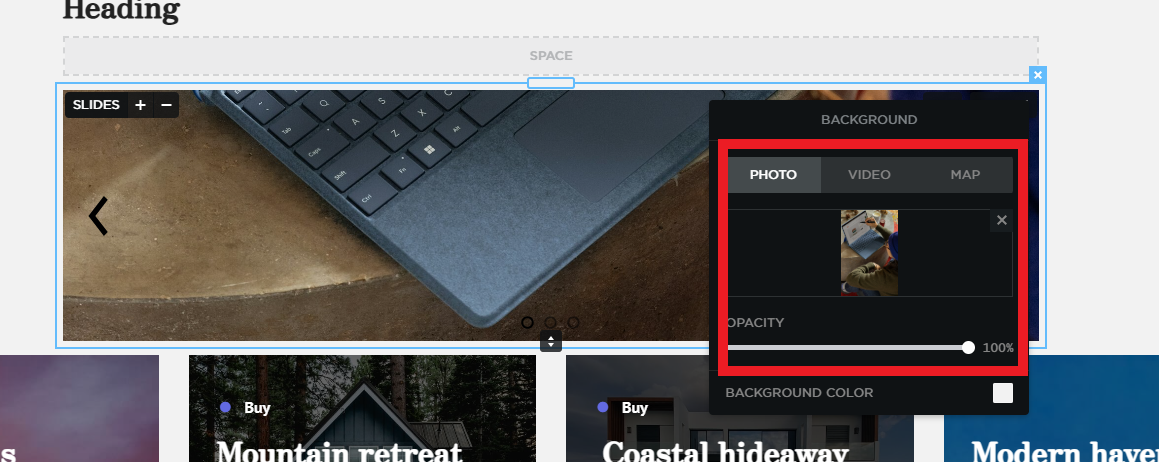
- Click on the slider element to access its settings.
- For the first slide, upload the "Before" image. This should be the image showing the original version of whatever transformation you want to display.
- For the second slide, upload the "After" image. This should be the transformed or updated version of the image.
- Ensure the images are high resolution and formatted properly (preferably JPEG or PNG).
Step 4: Adjust the Image Size and Alignment
- Ensure both images are the same size to create a consistent appearance when they slide between each other.
- Use the image slider settings to adjust the size and alignment to fit the layout of your website.
- You may also want to adjust the slider's width and height to match the surrounding content.
Step 5: Customize the Slider for Better Interactivity
- Look for any available options in the slider settings to enhance interactivity.
- Some website builders allow you to add drag functionality or transition effects.
- If drag functionality is available, enable it so visitors can easily slide between the before-and-after images manually.
- You can also enable automatic image transitions to give the effect of a before-and-after comparison.
Step 6: Add Captions or Descriptions (Optional)
- To provide more context for the images, add captions or descriptions to each slide.
- Click on the image slider and find the option to add text to each slide.
- You can describe what changed between the before and after images, such as new features, improvements, or upgrades.
Step 7: Save and Preview the Slider
- After adding the images and adjusting the settings, save your work and preview the page to ensure everything looks good.
- Make sure the slider works smoothly and that both images load properly.
- Test the interactivity of the slider to ensure it functions as expected.
Step 8: Publish the Changes
- Once you're satisfied with the appearance and functionality of the slider, publish your changes.
- Refresh your website to view the live before-and-after image slider in action.
By following these steps, you can create an engaging and interactive before-and-after image slider on your QuickServers website. This will provide visitors with a dynamic way to view your transformations and demonstrate the value of your services or products.
