How to Publish Your Website in One Click
Publishing your website is the final step before it goes live to the public. Most website builders make it incredibly easy to publish your site with just one click. Here's a step-by-step guide to help you publish your website effortlessly.
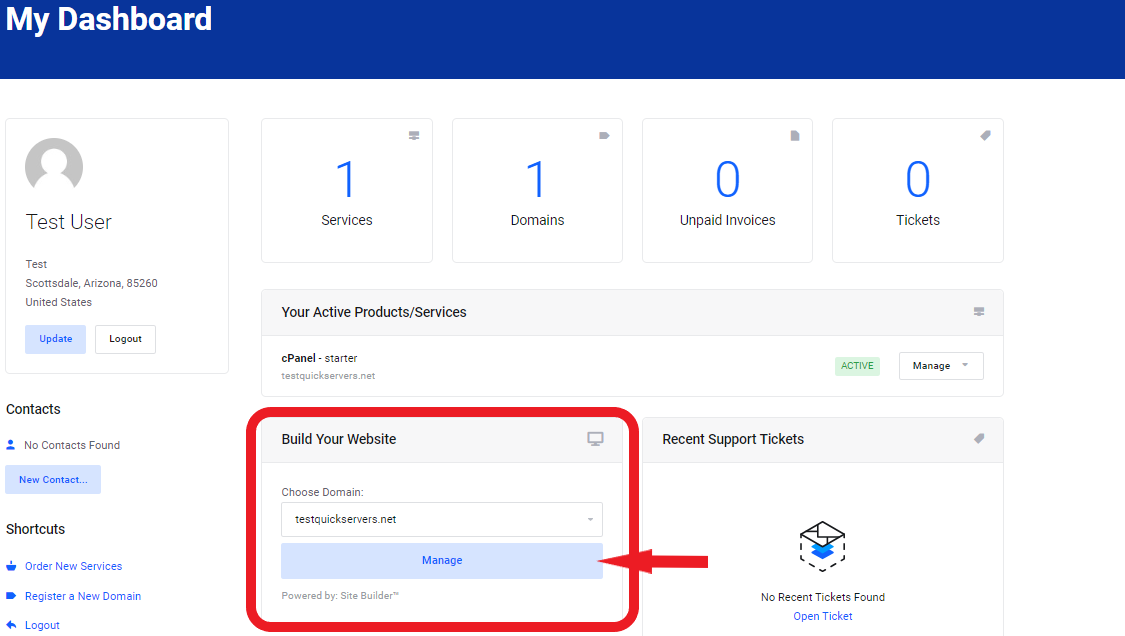
Step 1: Log In to Your Website Dashboard
- Log in to your website’s dashboard using your credentials.
- The dashboard is the central hub where you can manage all aspects of your site, from content to design and settings.
- Ensure that your site is complete and ready for public viewing before proceeding to publish.
Step 2: Final Review of Your Website
- Before clicking the publish button, thoroughly review all pages and content on your site.
- Double-check for any grammatical errors, broken links, or missing images.
- Make sure that your site looks polished and professional.
Step 3: Preview Your Website
- Use the “Preview” option in the dashboard to see how your site will appear to visitors.
- Make sure everything is in place, and test all functionality, such as links, forms, and interactive elements.
- Test the website on both desktop and mobile views to ensure it’s responsive.
Step 4: Locate the Publish Button
- Once you’re satisfied with the preview, navigate to the “Publish” button in your website builder’s dashboard.
- The “Publish” button is typically located in the top-right corner of the editor or in the site settings.
- In some builders, you may find the button under the “Settings” or “Site” section.
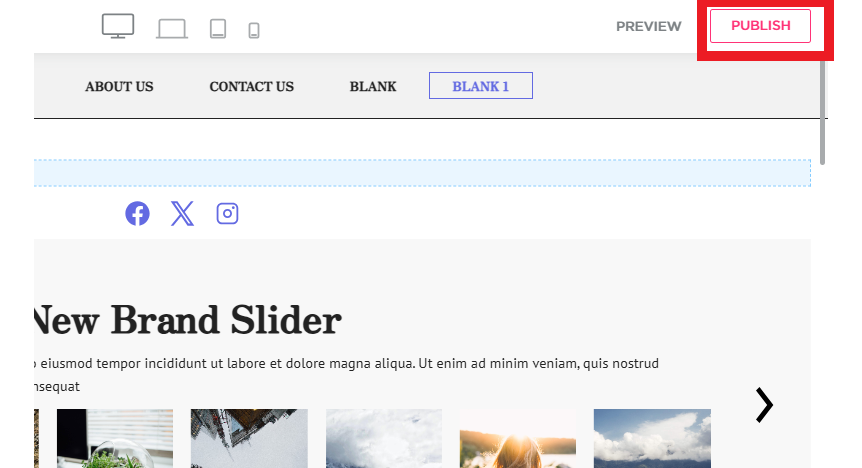
Step 5: Click the Publish Button
- Once you're ready, simply click the “Publish” button to make your website live.
- Some platforms may prompt you to confirm your decision before the website is published.
- If prompted, click “Yes” or “Confirm” to finalize your action.
Step 6: Choose a Domain (If Required)
- If you haven’t already connected a custom domain, some website builders will ask you to select one at this stage.
- You can use a free subdomain provided by the platform or connect your own custom domain name if you have one.
- Follow the instructions to either select a domain or set up a new one.
Step 7: Wait for Confirmation
- After clicking “Publish,” your website will be processed and made live.
- Most platforms will provide a confirmation message once the process is complete, letting you know that your site is now publicly available.
- Some platforms may also send you an email confirmation of the successful publish.
Step 8: Share Your Website
- After publishing, share your website’s URL with friends, family, or through your social media channels.
- Announce that your site is live and invite people to explore the content you’ve created.
- You can also test the website on different devices to ensure everything looks good across the board.
Step 9: Monitor Your Website
- After publishing, it’s important to monitor your site regularly to ensure it’s functioning as expected.
- Check for any issues such as broken links, slow loading times, or errors, and address them promptly.
- Keep your website updated with fresh content and ensure all forms, buttons, and other interactive elements are working correctly.
