How to Create a Custom Form for Customer Feedback
Gathering customer feedback is essential for improving your services and understanding your audience's needs. By adding a custom feedback form to your QuickServers website, you can make it easy for visitors to share their thoughts, suggestions, and experiences. Follow this step-by-step guide to create and customize a feedback form on your website.
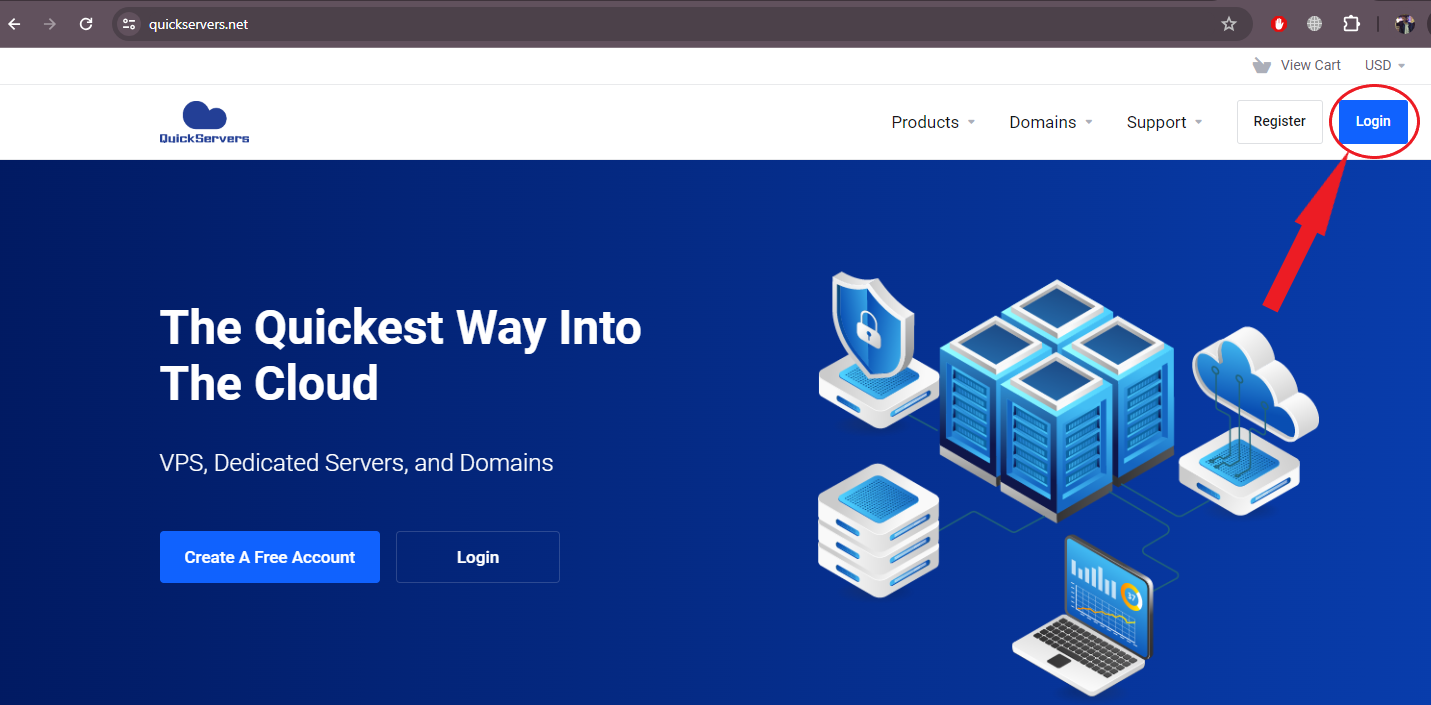
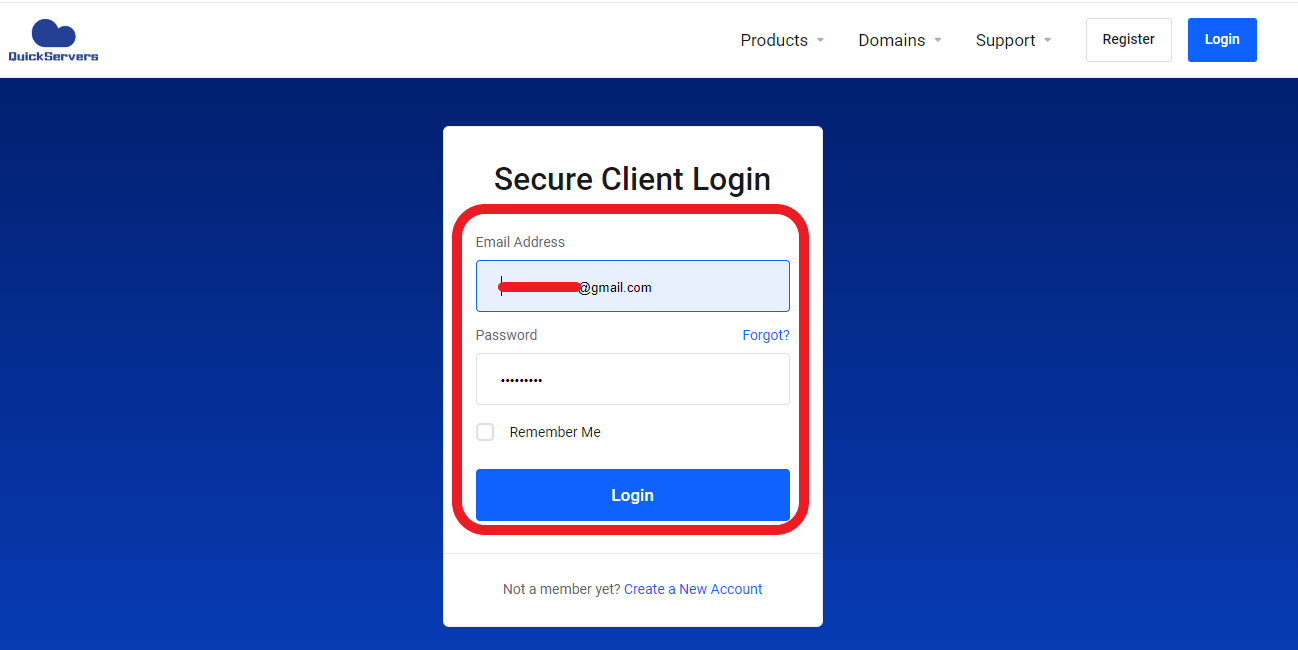
Step 1: Log in to Your QuickServers Website Editor
- Log in to your QuickServers account and open the website editor.
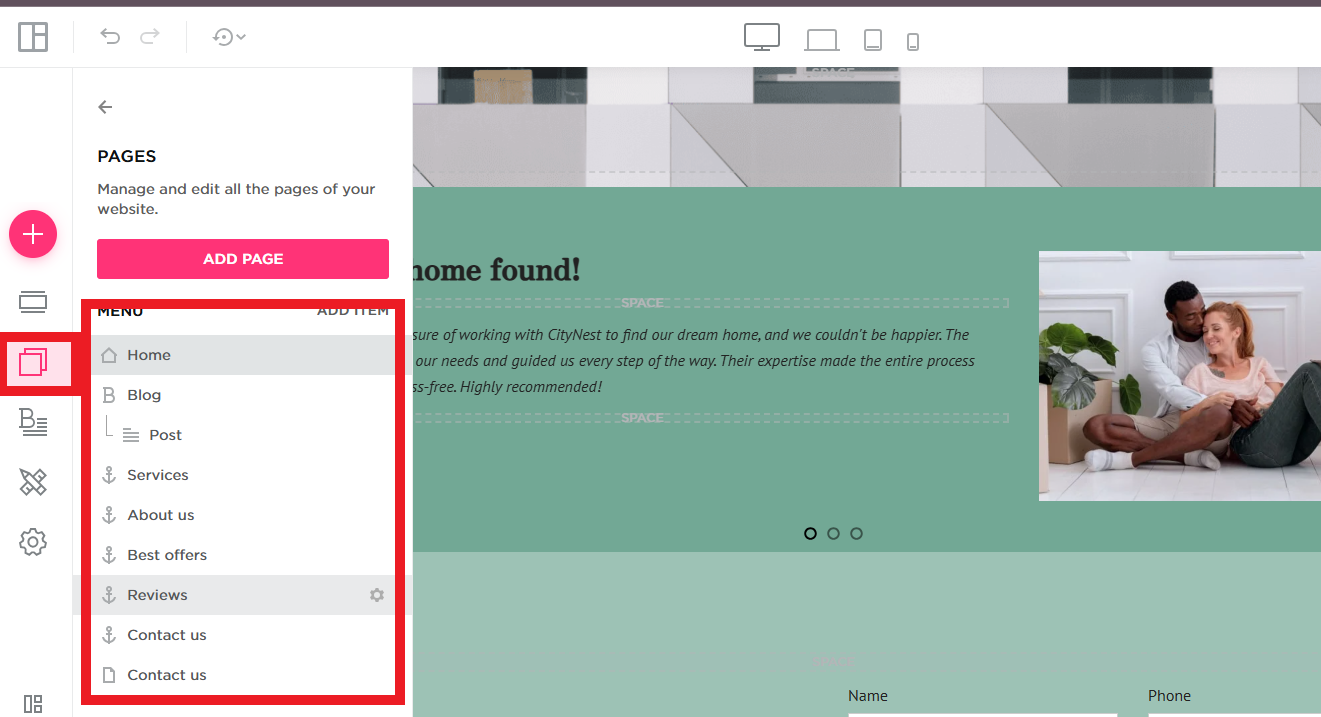
- Navigate to the page where you want to place the customer feedback form (such as a "Contact Us" or "Feedback" page).

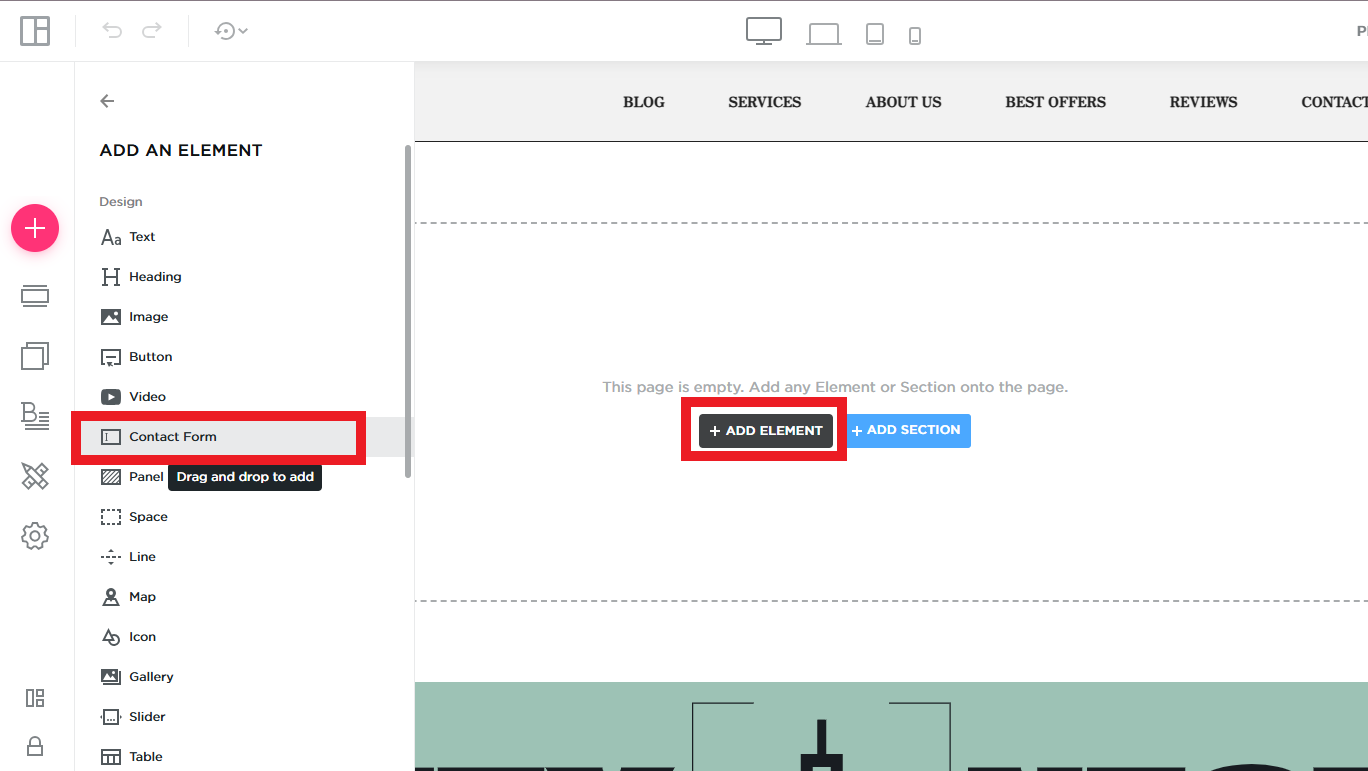
Step 2: Add a New Form Section
- Locate the form builder or form element in your website editor.
- Drag and drop the form onto the page where you want it to appear.
- A basic form with default fields (such as Name, Email, and Message) will be added automatically.
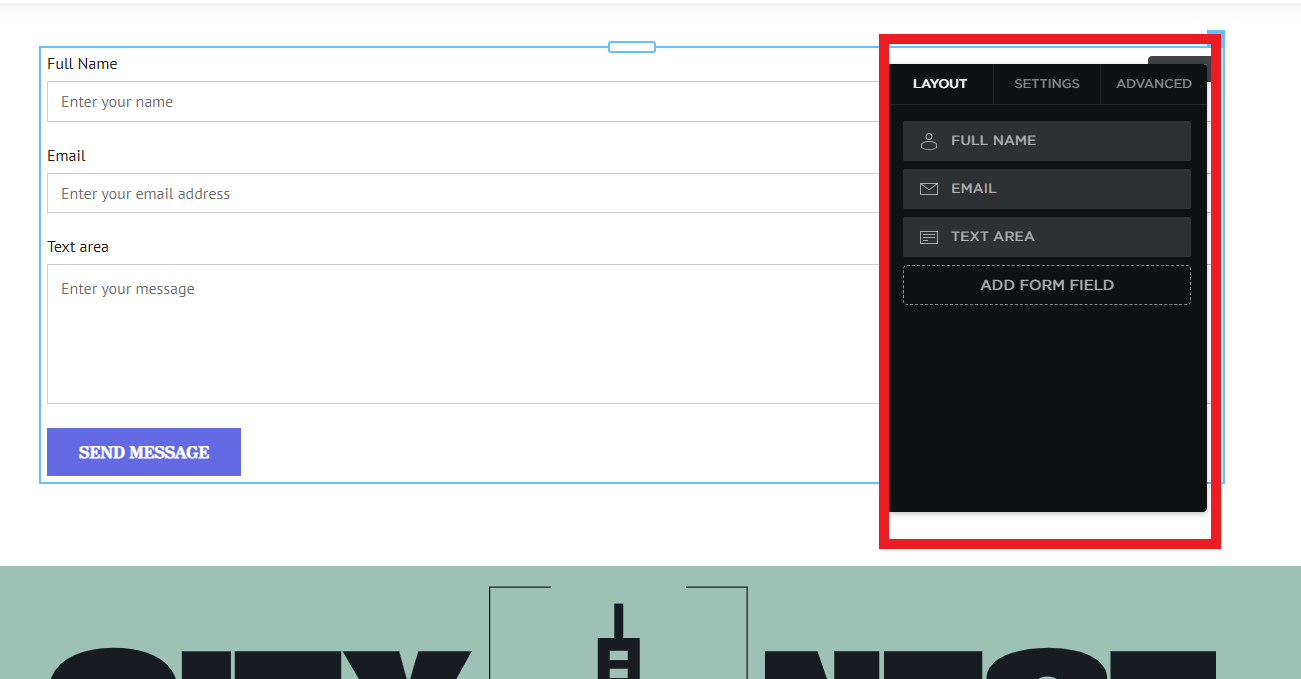
Step 3: Customize the Form Fields
- Click on the form element to access the settings.
- Add fields that are relevant to customer feedback, such as:
- Full Name (Text field) – Allows users to enter their name.
- Email Address (Email field) – Lets you respond to customers if needed.
- Rating Scale (Dropdown or multiple-choice) – Enables customers to rate their experience (e.g., 1–5 stars).
- Feedback Message (Text area) – Gives customers space to write their comments.
- Suggestions for Improvement (Optional text field) – Lets customers provide ideas for enhancements.
Step 4: Adjust Form Settings
- Ensure all required fields are correctly labeled.
- Mark important fields as "Required" so users cannot submit an incomplete form.
- Set the button text to "Submit Feedback" or a similar phrase to make it clear.
Step 5: Customize the Form Design
- Adjust the form’s width and alignment to match your website’s style.
- Choose a font and color scheme that aligns with your brand.
- Use spacing and padding to make the form easy to read.
Step 6: Set Up a Confirmation Message
- Configure the form to display a confirmation message after submission.
- Example: "Thank you for your feedback! We appreciate your input and will review it soon."
- You may also redirect users to a thank-you page for a more personalized experience.
Step 7: Save and Test the Feedback Form
- Click "Save" to store your changes.
- Preview the page to ensure the form looks and functions correctly.
- Test the form by submitting a sample entry to confirm that responses are being collected properly.
Step 8: Publish Your Feedback Form
- Once you're satisfied with the form, click "Publish" to make it live on your website.
- Share the feedback form link on your website, social media, or emails to encourage customers to participate.
By following these steps, you can create a custom feedback form on your QuickServers website to engage with visitors and gather valuable insights to improve your services.
