How to Design an Elegant Pricing Page on QuickServers
A well-designed pricing page helps potential customers understand your offerings and choose the best plan for their needs. With a clear, attractive layout, you can increase conversions and make pricing details easy to digest. Follow this step-by-step guide to create an elegant pricing page on your QuickServers website.
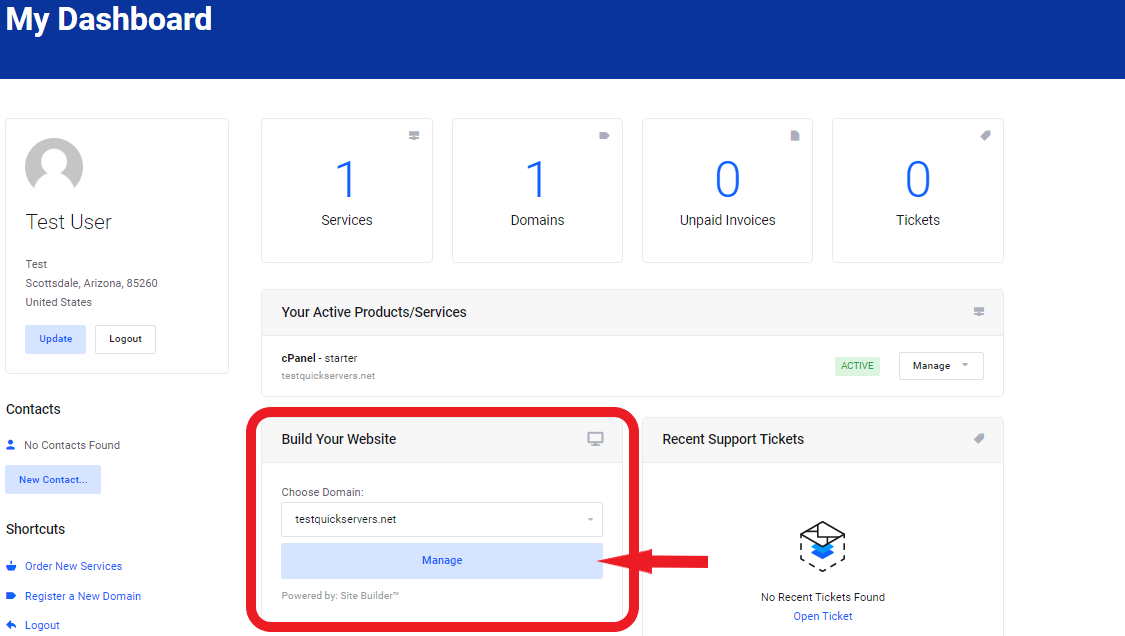
Step 1: Log in to Your QuickServers Website Editor
- Log in to your QuickServers account and open the website editor.
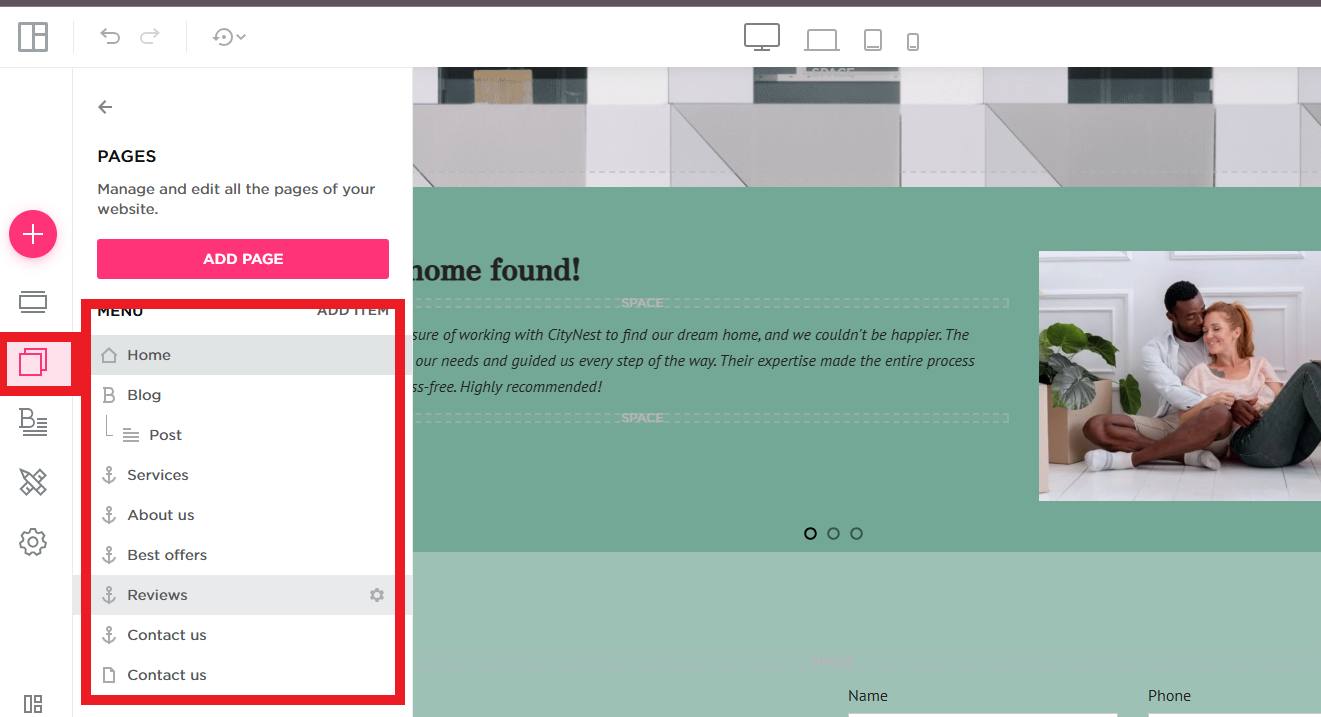
- Navigate to the page where you want to display pricing, or create a new page titled "Pricing" or "Plans."
Step 2: Choose a Simple and Clean Layout
- Use a grid or column layout to display pricing plans side by side.
- Ensure there is enough white space to make the page look clean and organized.
- Align elements neatly so the information is easy to scan.
Step 3: Add Pricing Tables or Sections
- Insert a table for each pricing tier (e.g., Basic, Standard, and Premium).
- Use headings for each plan name to make the structure clear.
- Include a call-to-action button under each plan, such as “Get Started” or “Choose Plan.”

Step 4: Clearly List Features for Each Plan
- Outline what customers will get with each plan in a bulleted list.
- Highlight key differences between the plans to help users make informed choices.
- Consider adding checkmarks or icons to make the list visually appealing.
Step 5: Use Contrasting Colors for Pricing Information
- Make the pricing amount stand out with bold or larger text.
- Use contrasting colors for different plans to create visual distinction.
- Ensure the page design aligns with your brand colors and website theme.
Step 6: Add a "Most Popular" or "Recommended" Label
- If one plan is the best value, highlight it with a "Most Popular" or "Best Choice" tag.
- Use a slightly larger size or different color to make it stand out.
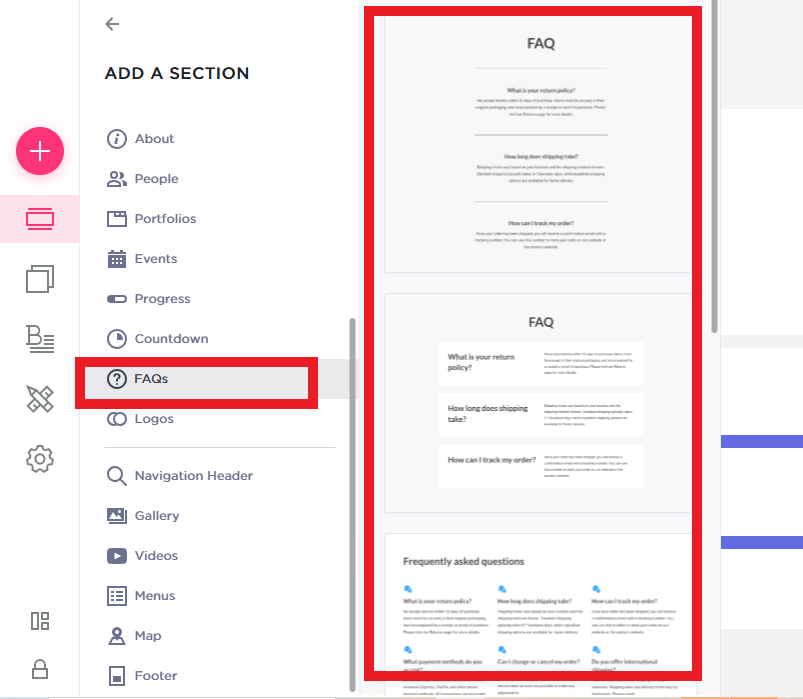
Step 7: Include a FAQ Section Below the Pricing
- Address common questions, such as:
- What is included in each plan?
- Can I upgrade or downgrade later?
- Is there a money-back guarantee?
- Keep answers short and to the point.
Step 8: Optimize for Mobile Devices
- Preview the page on mobile to ensure pricing tables and text display correctly.
- Adjust spacing and font sizes so the page remains easy to read on smaller screens.
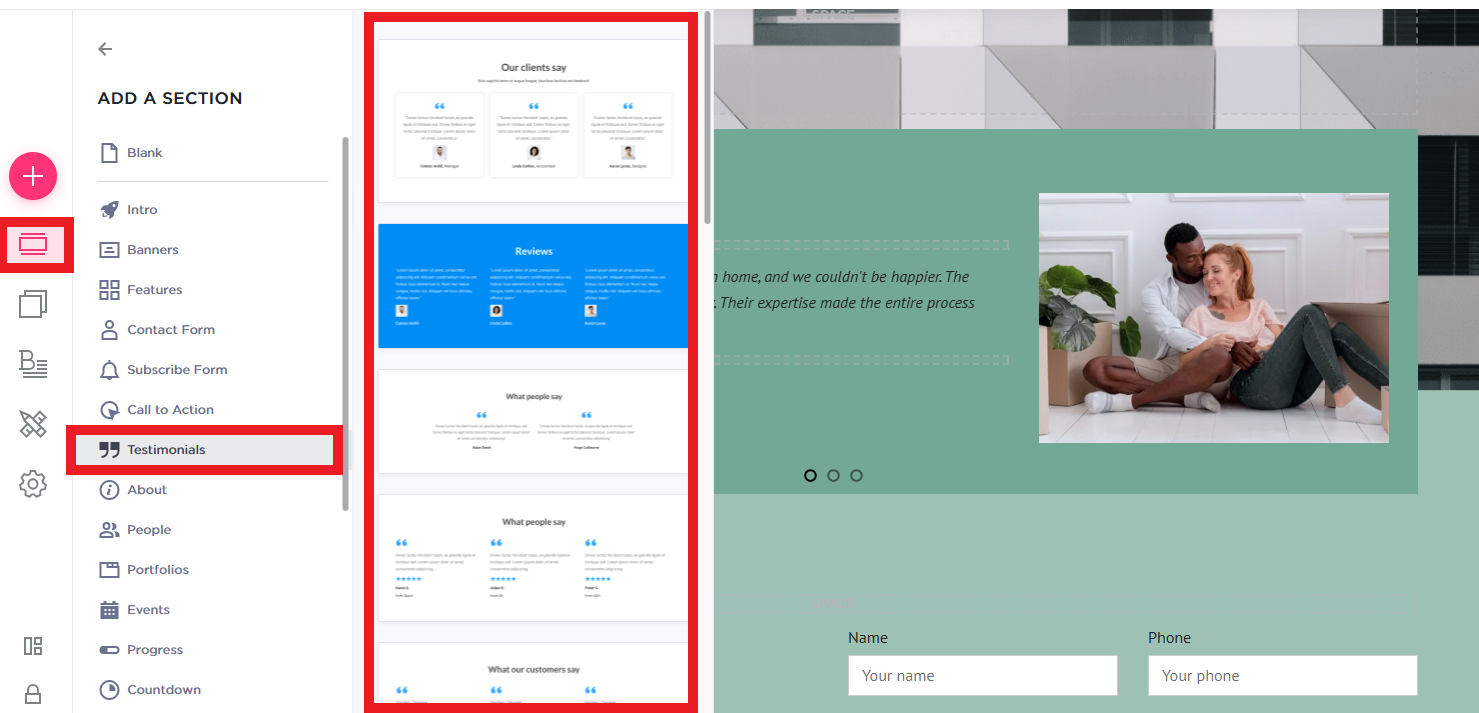
Step 9: Add Trust Signals (Optional)
- Display customer testimonials or reviews to increase trust.
- Include logos of well-known clients or security badges if applicable.
- Mention any money-back guarantee or customer support availability.
Step 10: Save, Preview, and Publish the Page
- Click "Save" to store changes.
- Preview the page to check for readability and functionality.
- Once satisfied, click "Publish" to make your pricing page live.
By following these steps, you can design a professional and elegant pricing page on your QuickServers website, making it easy for customers to compare plans and take action.
