How to Add a Countdown Deal Timer for Limited-Time Offers
Adding a countdown timer to your QuickServers website is an effective way to create urgency and drive more conversions. Whether you’re running a flash sale, a holiday promotion, or a special event, a countdown timer encourages visitors to take action before time runs out. Follow this step-by-step guide to add a countdown deal timer for limited-time offers.
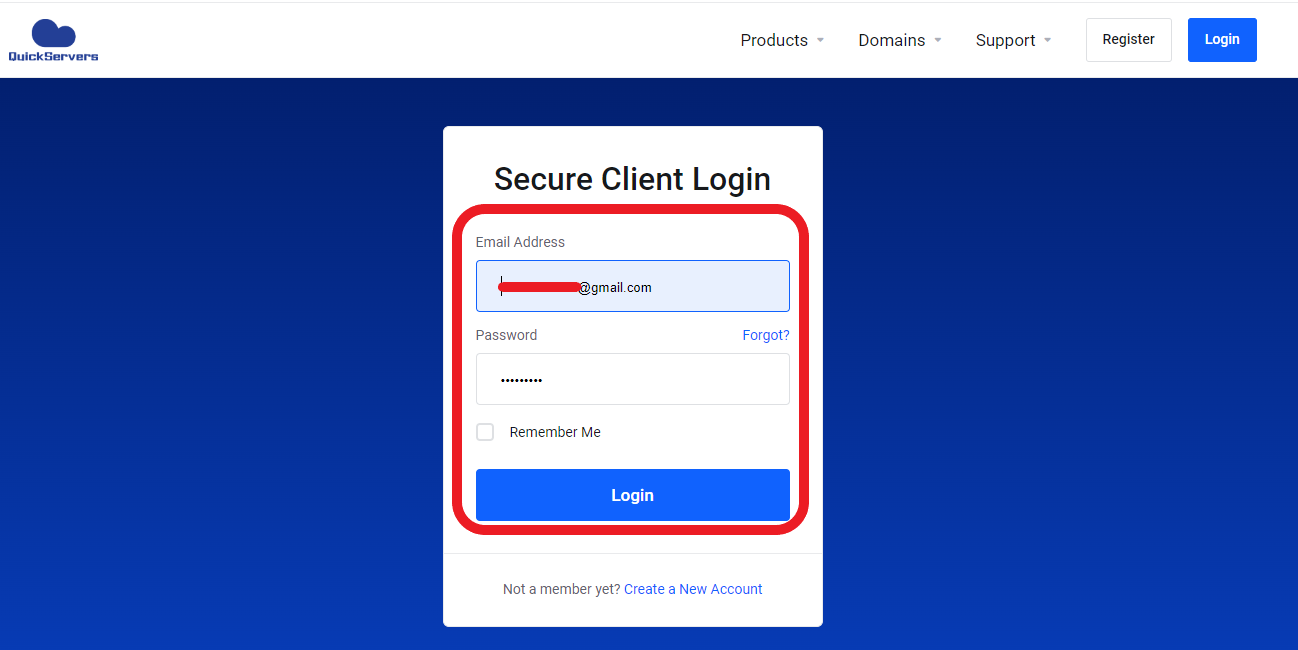
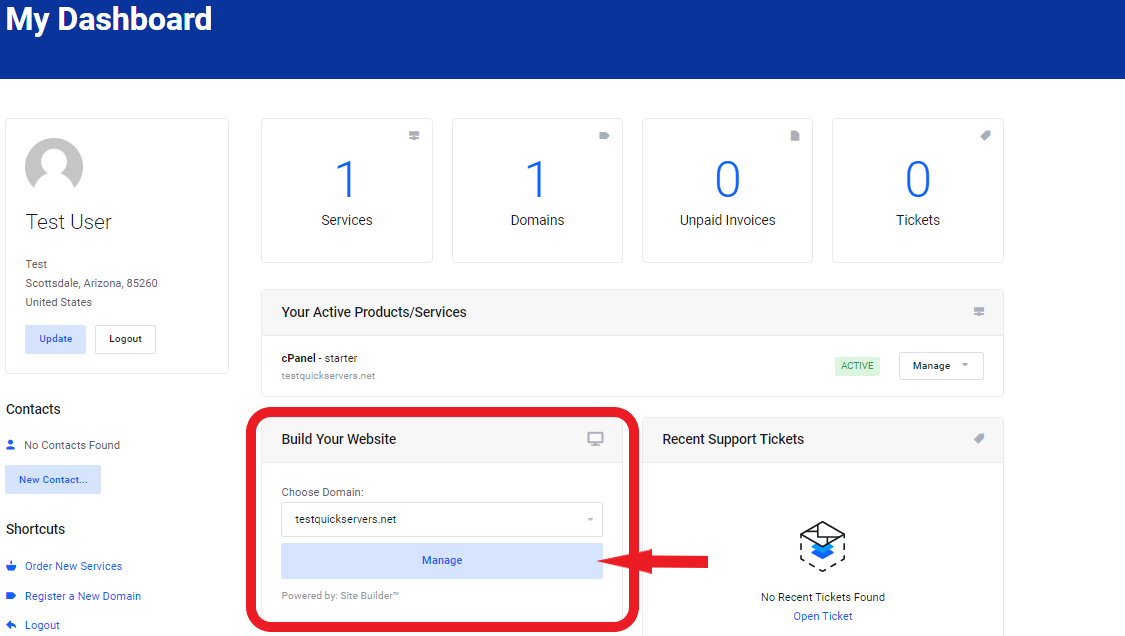
Step 1: Log in to Your QuickServers Website Editor
- Sign in to your QuickServers account.
- Open the website editor and navigate to the page where you want to display the countdown timer.
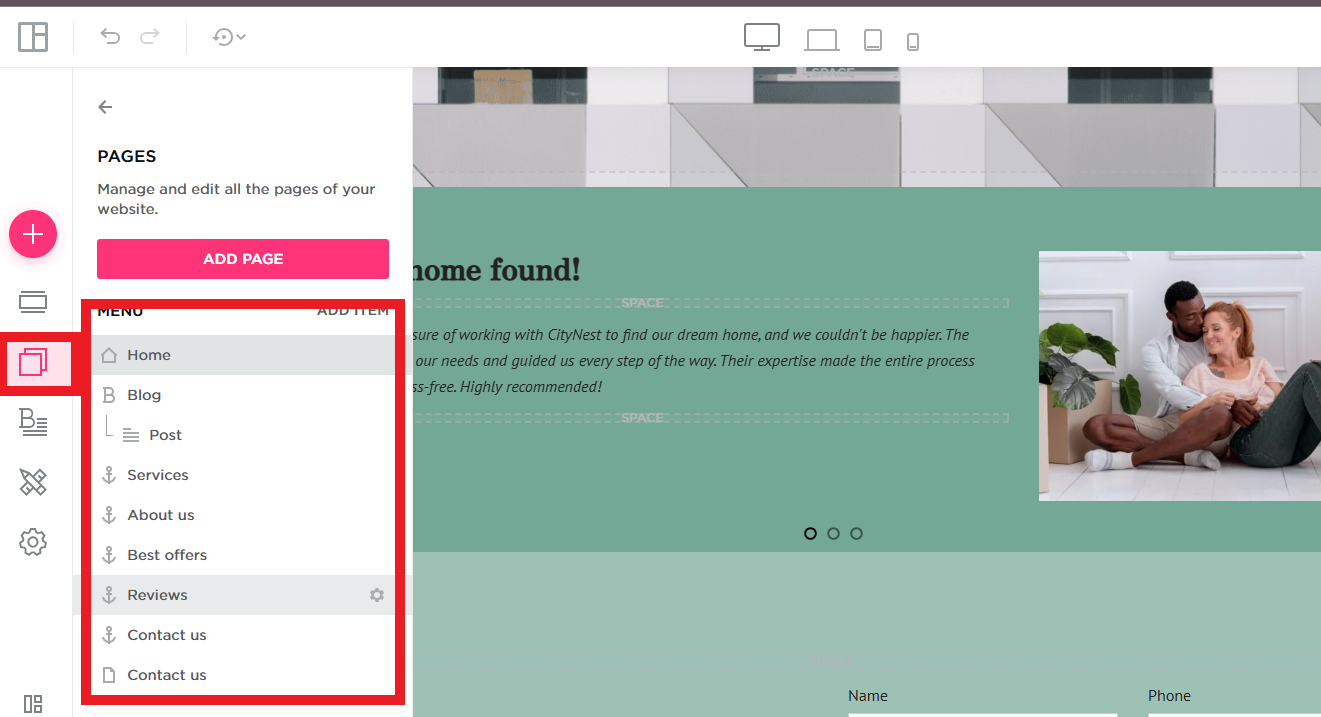
Step 2: Choose a Section to Place the Countdown Timer
- Place the countdown timer in a prominent location, such as:
- The homepage banner for maximum visibility.
- A dedicated promotional page for special deals.
- Product pages to emphasize time-limited discounts.
- Ensure the section has enough space for the timer to be easily noticeable.
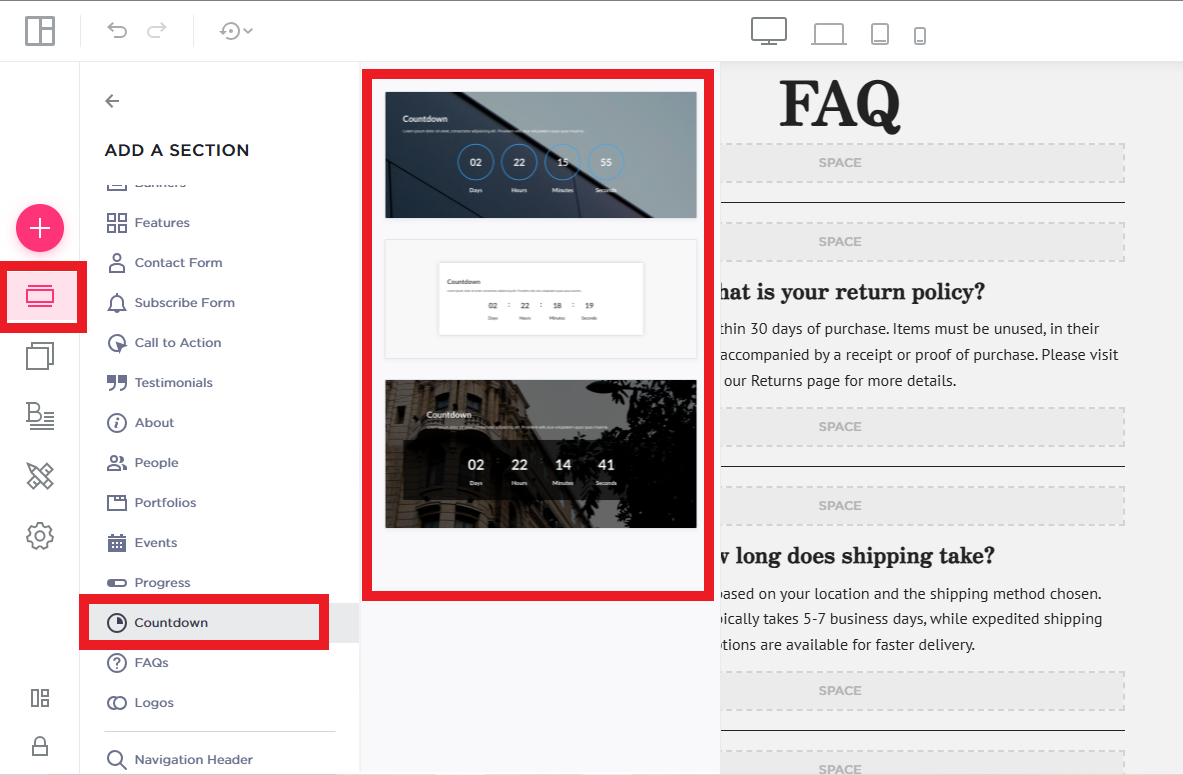
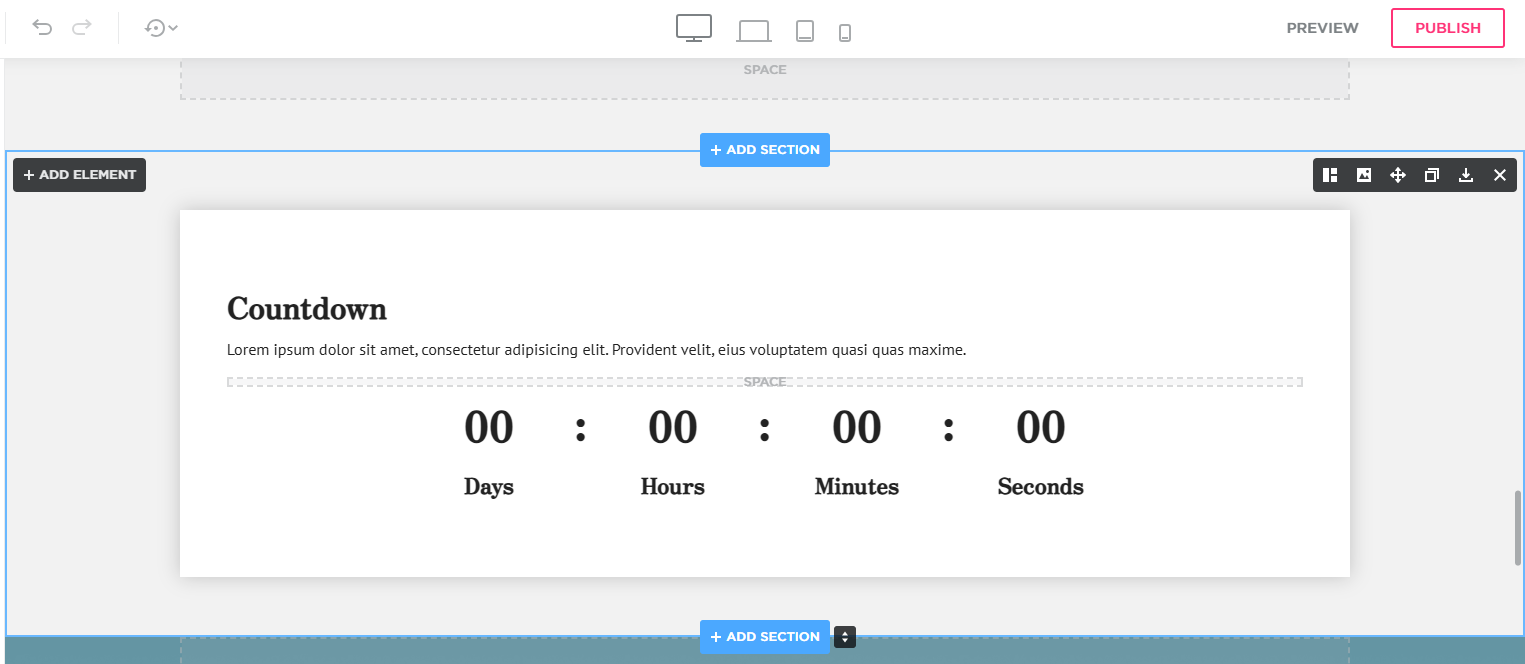
Step 3: Add a Countdown Timer Element
- Look for a countdown timer widget or module in the website builder’s elements section.
- Drag and drop the countdown timer onto your page.
- Position it prominently where visitors can easily see it, such as at the top of the page or near the call-to-action.
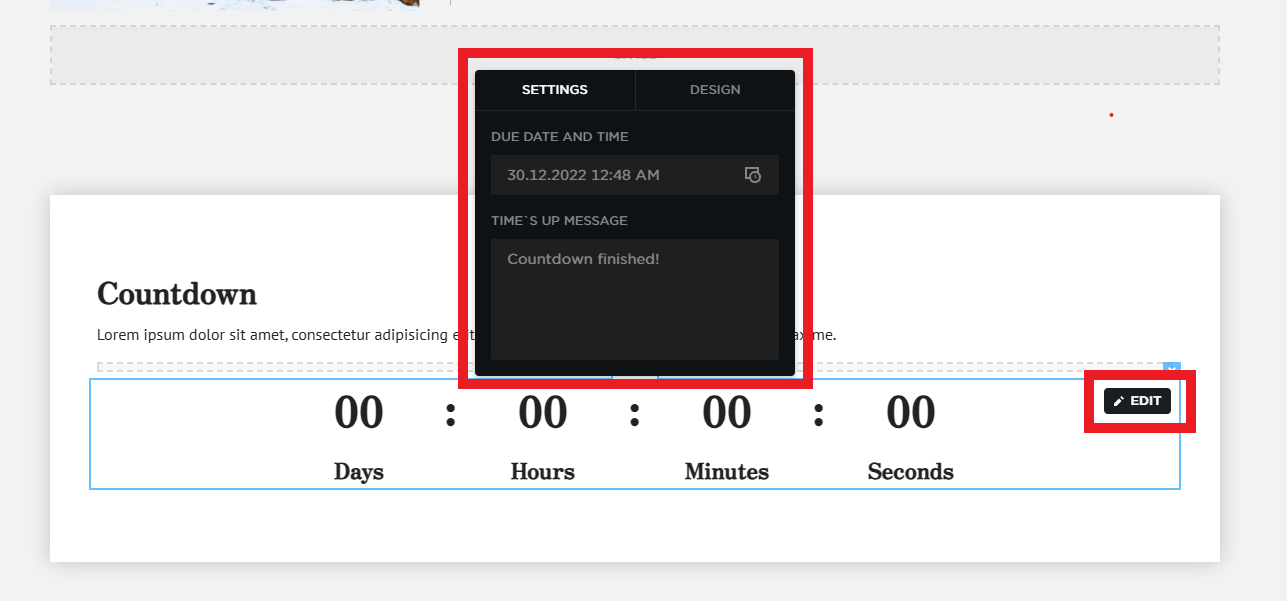
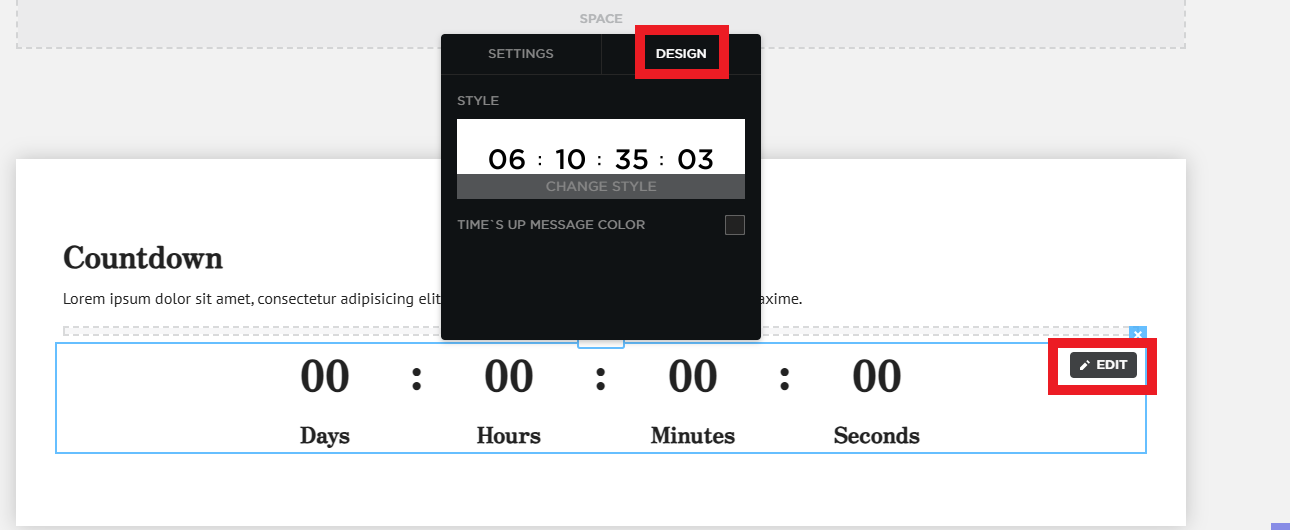
Step 4: Customize the Countdown Timer
- Set the start and end date/time for the timer.
- Choose the format (days, hours, minutes, seconds).
- Customize the design by adjusting colors, fonts, and styles to match your website’s branding.
Step 5: Add a Text Element for the Countdown
- You can also use a text element to manually display the remaining time.
- Format the text to show the deal expiration date, such as:
- "Offer ends in: 2 Days, 5 Hours, 30 Minutes!"
- "Limited-time deal! Only available until [insert date]."
Step 6: Update the Timer Manually (If Necessary)
- If your sale runs for multiple days, update the countdown text daily or at key intervals.
- If running a short-term sale (e.g., one day), set a clear end time to avoid confusion.
Step 7: Enhance the Visual Appeal of the Timer
- Use bold fonts and bright colors to make the countdown text stand out.
- Add an eye-catching background or a highlighted section for visibility.
- Place a call-to-action (CTA) button near the timer, such as:
- "Shop Now"
- "Claim Your Discount"
- "Limited-Time Offer – Act Fast!"
Step 8: Add a Sense of Urgency with Supporting Text
- Use persuasive language to encourage immediate action, such as:
- "Hurry! This deal won’t last!"
- "Only a few hours left—don’t miss out!"
- "Exclusive offer ends soon!"
Step 9: Preview and Publish the Countdown Timer
- Click "Save" to apply changes.
- Preview the page to ensure the countdown timer is visible and formatted correctly.
- Once satisfied, click "Publish" to make the page live.
By adding a countdown timer, you can create urgency and encourage visitors to take advantage of limited-time deals, boosting sales and engagement on your QuickServers website.
