How to Set Up a Charity Donation Page on QuickServers
A charity donation page is a powerful way to raise funds for a cause, nonprofit organization, or community initiative. With QuickServers, you can create a dedicated donation page that encourages visitors to contribute. Follow this step-by-step guide to set up a donation page on your QuickServers website.
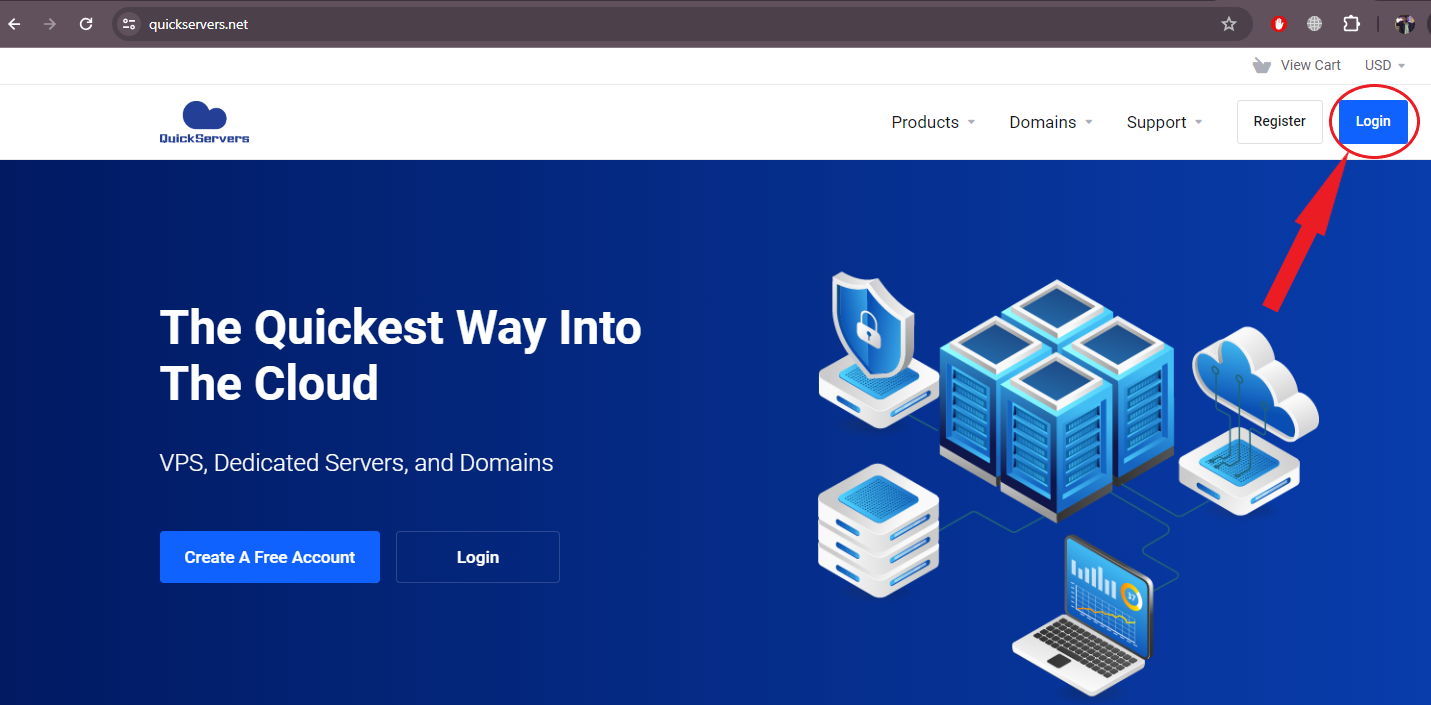
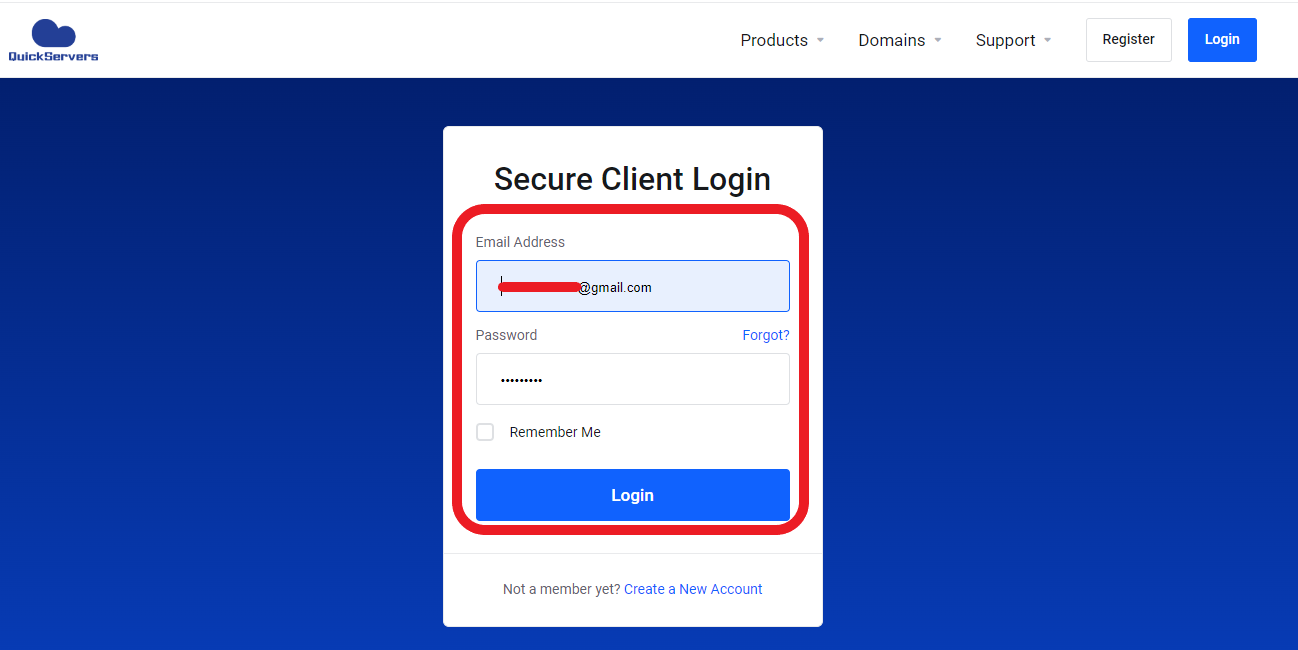
Step 1: Log in to Your QuickServers Website Editor
- Sign in to your QuickServers account.
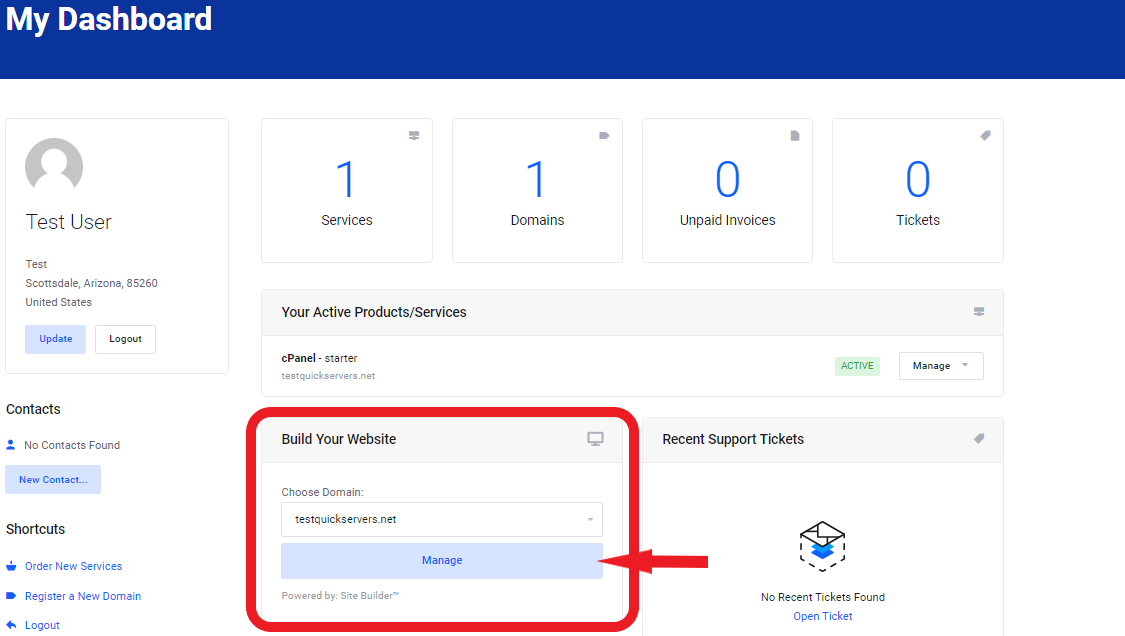
- Open the website editor and navigate to the page where you want to add the donation section.
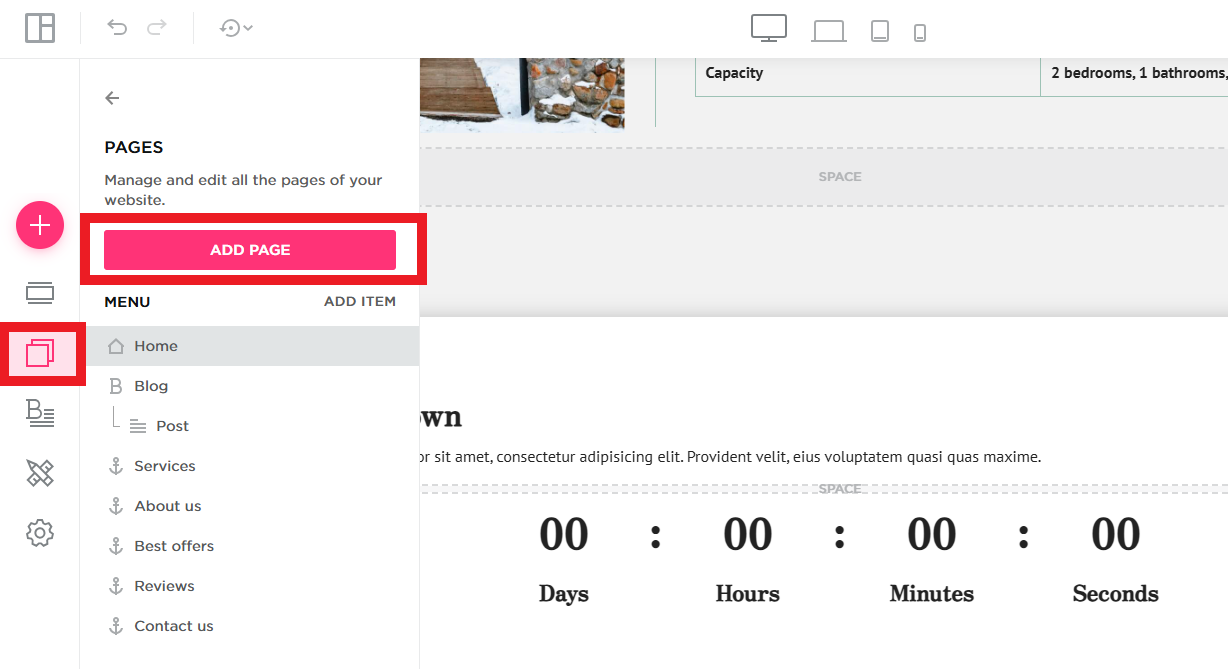
- If you prefer, create a new page dedicated to donations.

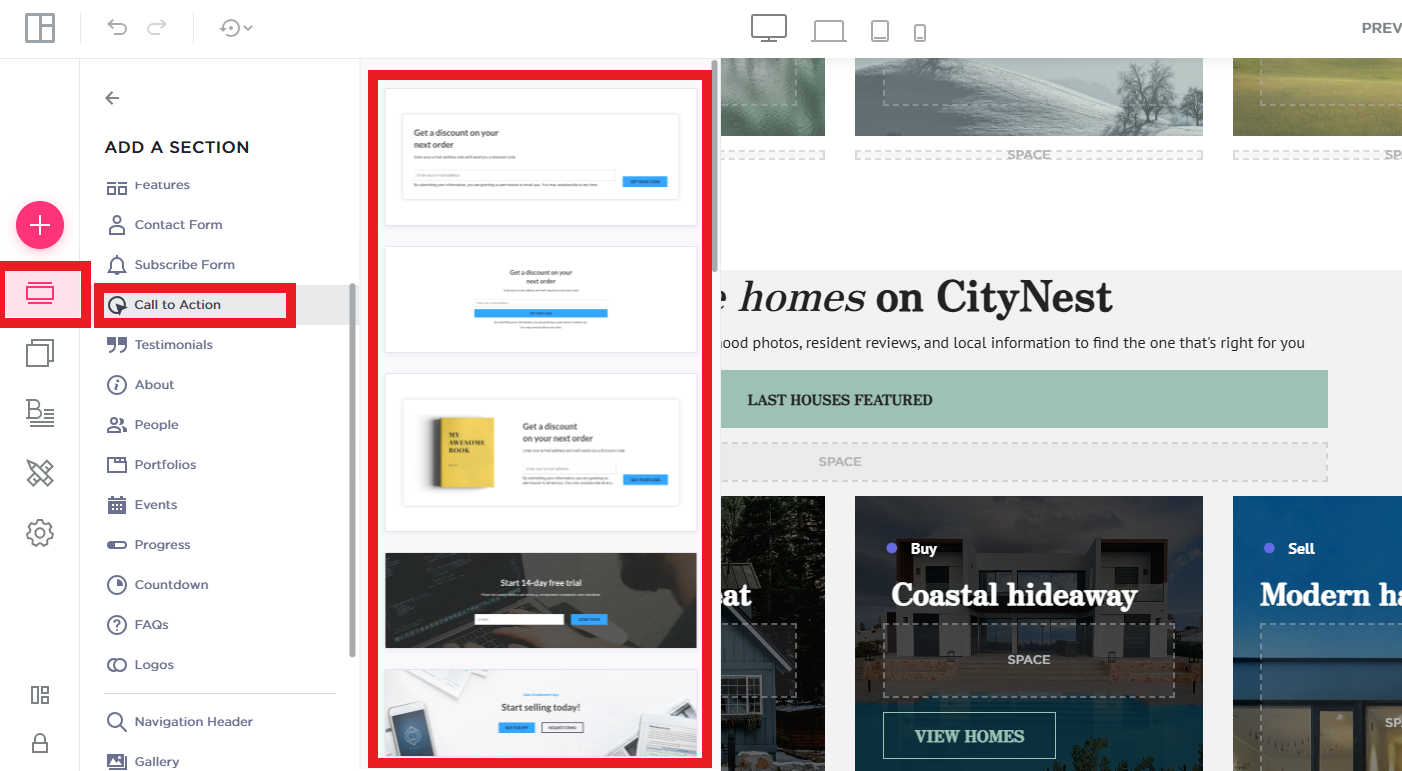
Step 2: Add a Donation Message and Call-to-Action
- Insert a text element and write a compelling message explaining your cause.
- Use persuasive and engaging language to encourage donations.
- Include a strong call-to-action (CTA), such as:
- "Support Our Cause – Donate Now!"
- "Your Contribution Makes a Difference!"
- "Help Us Reach Our Goal – Give Today!"
Step 3: Include a Payment or Donation Link
- Since direct donation processing isn’t available within the website builder, you’ll need to use a third-party donation service.
- Create an account with a trusted donation platform (such as PayPal, Stripe, or a nonprofit payment gateway).
- Copy the donation link and insert it into a button element on your page.
- Customize the button text to encourage clicks, such as:
- "Donate Securely Now"
- "Give Today"
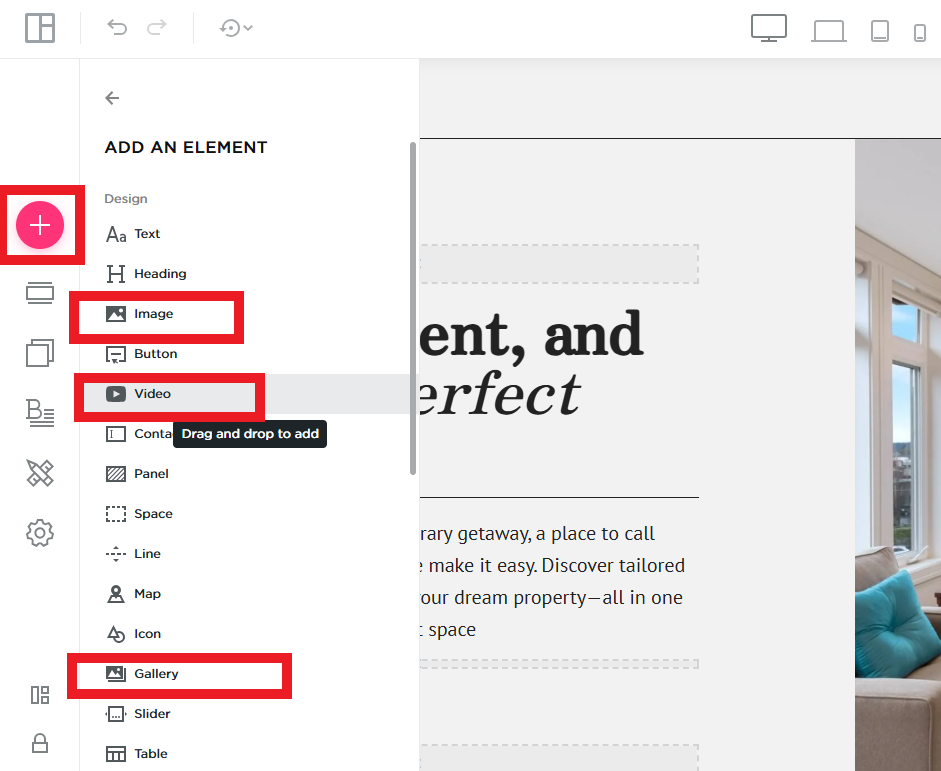
Step 4: Add an Image or Video for Engagement
- Upload images that showcase your charity’s mission, such as photos of people or communities benefiting from donations.
- If available, add a short video explaining your cause to build an emotional connection with potential donors.
Step 5: Display Donation Tiers and Impact Statements
- Clearly outline different donation amounts and what they support.
- Example donation tiers:
- $10 – Provides meals for a family for a day.
- $25 – Supports education for a child for one month.
- $50 – Helps supply medical aid to those in need.
- This helps donors understand the impact of their contributions.
Step 6: Add Social Sharing Options
- Encourage visitors to spread the word by sharing the donation page.
- Add social media icons or a simple text message like:
- "Share this page and help us reach more people!"
Step 7: Publish and Promote Your Donation Page
- Click "Save" to ensure all changes are applied.
- Preview the page to make sure everything is formatted correctly.
- Click "Publish" to make your charity donation page live.
- Share the page link on social media, email campaigns, and other platforms to drive donations.
By following these steps, you can create an effective charity donation page on your QuickServers website, making it easy for visitors to contribute to your cause.
