How to Add an Interactive Comparison Table for Products on QuickServers
An interactive comparison table helps visitors easily compare features, pricing, and specifications of different products or services. While the QuickServers website builder doesn’t have a dedicated comparison table feature, you can create one using a table element or a structured layout. Follow this step-by-step guide to add a product comparison table to your QuickServers website.
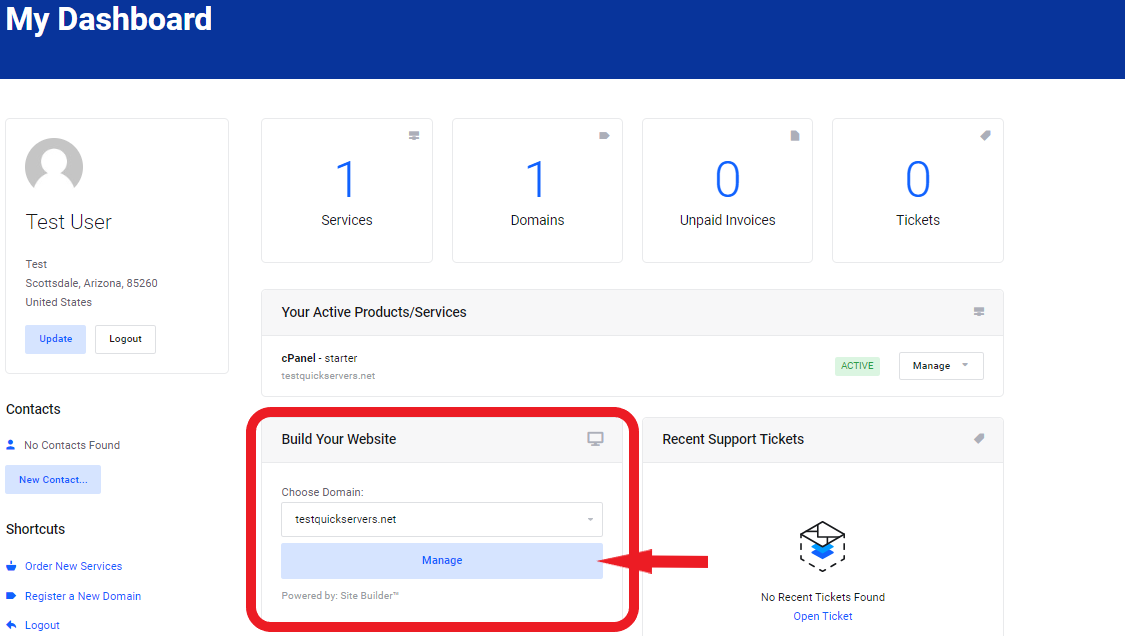
Step 1: Log in to Your QuickServers Website Editor
- Sign in to your QuickServers account.
- Open the website editor and navigate to the page where you want to add the comparison table.
- If needed, create a new page specifically for product comparisons.
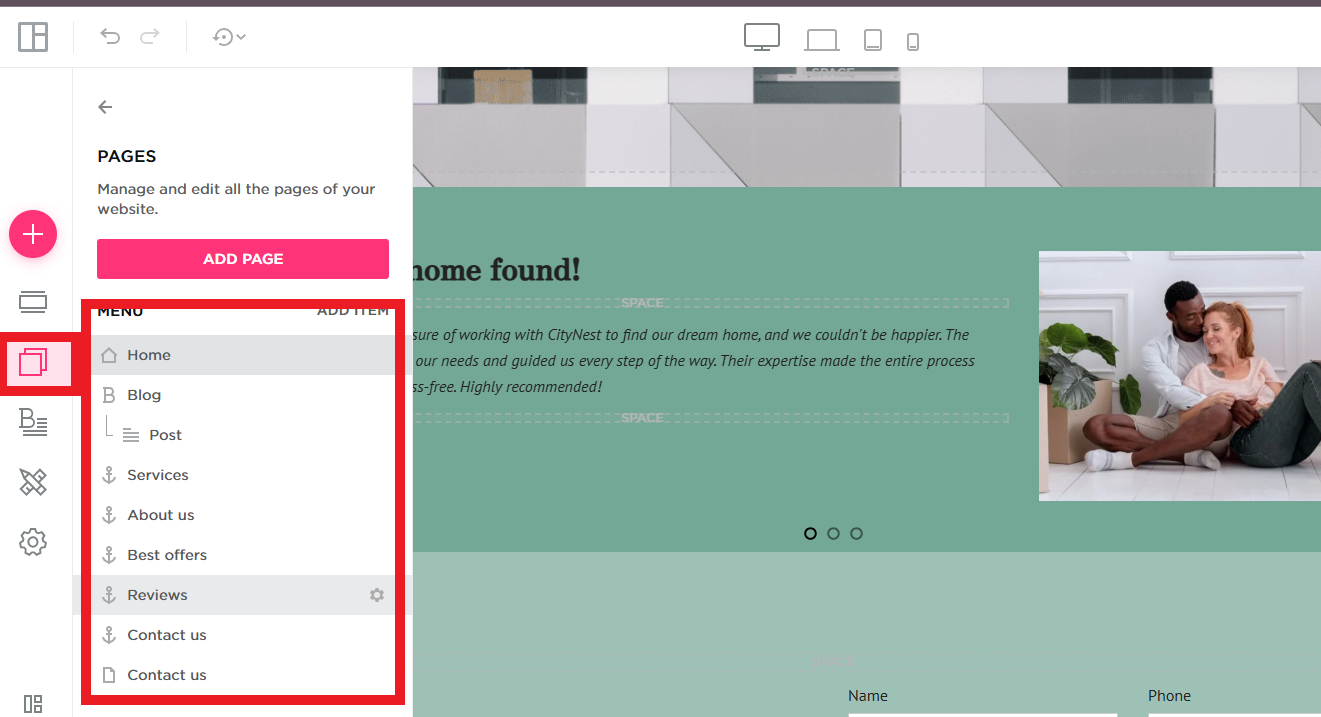
Step 2: Choose a Layout for Your Comparison Table
- You can create a comparison table using a grid layout or a structured table format.
- Consider using:
- A simple table with rows and columns.
- Side-by-side boxes for a more visual comparison.
- Highlighted sections for key differences.
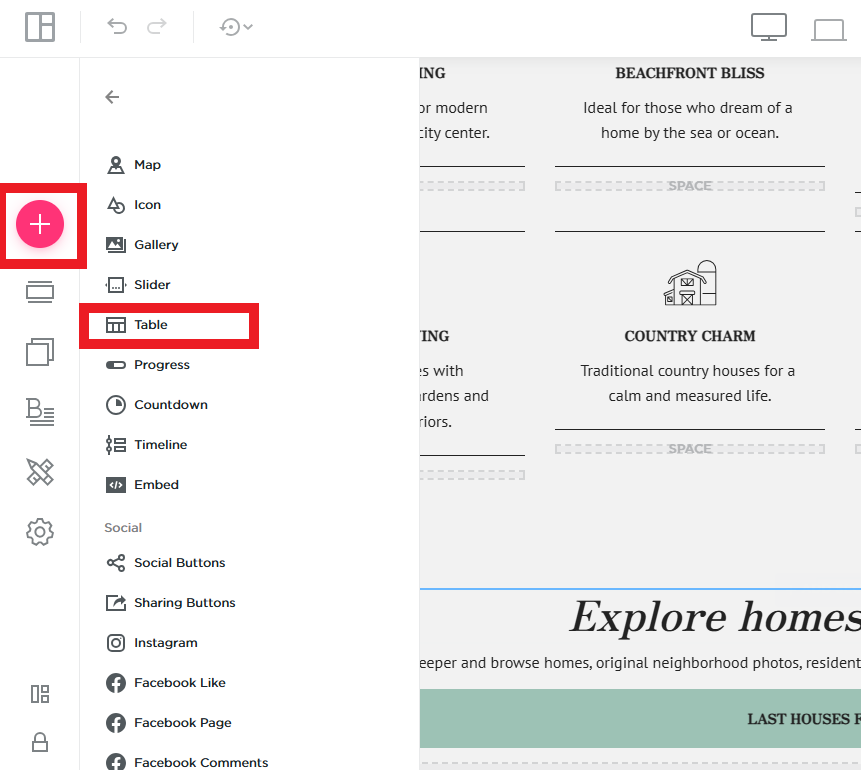
Step 3: Add a Table or Grid to Your Page
- Insert a table or use a multi-column layout.
- Define the columns based on key comparison points, such as:
- Product Name
- Features
- Price
- Customer Rating
- Availability
- Ensure the table is easy to read and visually structured for quick comparisons.
Step 4: Customize the Table for Better Readability
- Use bold text to highlight key features.
- Add checkmarks (✔) or crosses (✖) to indicate feature availability.
- Use color backgrounds or shading to separate product sections.
- Keep the text concise for clarity.
Step 5: Add Interactive Elements (Optional)
- If your website builder allows, add hover effects to display additional details when users move their cursor over a feature.
- Use clickable buttons below each product for quick navigation to purchase or learn more.
- Highlight the most recommended or best-value product with a label like "Best Choice" or "Most Popular."
Step 6: Optimize for Mobile Responsiveness
- Preview the page to ensure the table displays correctly on mobile devices.
- Adjust column widths or switch to a stacked layout for better readability on smaller screens.
Step 7: Save and Publish Your Comparison Table
- Click "Save" to ensure all changes are applied.
- Review the table formatting to confirm it is user-friendly and visually appealing.
- Click "Publish" to make the comparison table live on your QuickServers website.
By following these steps, you can create an interactive product comparison table that enhances the user experience and helps customers make informed purchasing decisions.
