How to Create an Elegant Wedding Website on QuickServers
A beautifully designed wedding website can serve as the perfect way to share important details, collect RSVPs, and create excitement for your special day. With QuickServers, you can easily create an elegant wedding website that reflects your style and provides guests with everything they need to know.
Step 1: Choose a Theme That Matches Your Wedding Style
- Select a clean and elegant template that suits your wedding theme.
- Opt for soft colors, romantic fonts, and high-quality images.
- Ensure the design is mobile-friendly so guests can access it from any device.
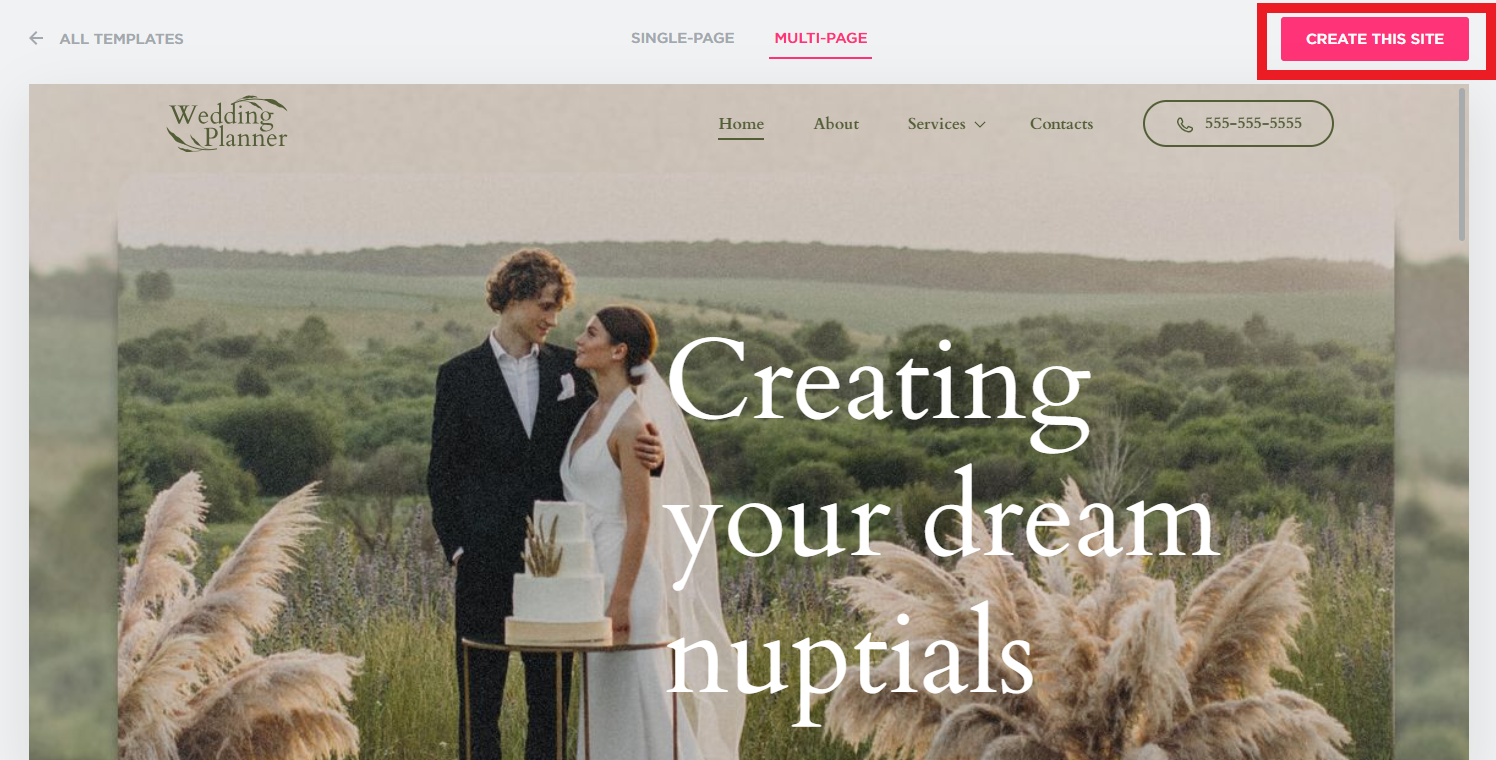
Step 2: Add a Welcome Section with a Personal Touch
- Include a heartfelt message or a short love story about how you met.
- Feature a stunning couple’s photo as the homepage background.
- Use an easy-to-read font that complements the wedding aesthetic.
Step 3: Provide Event Details Clearly
- List the date, time, and venue details prominently.
- Add a Google Maps integration for easy navigation.
- Include accommodation options for out-of-town guests.
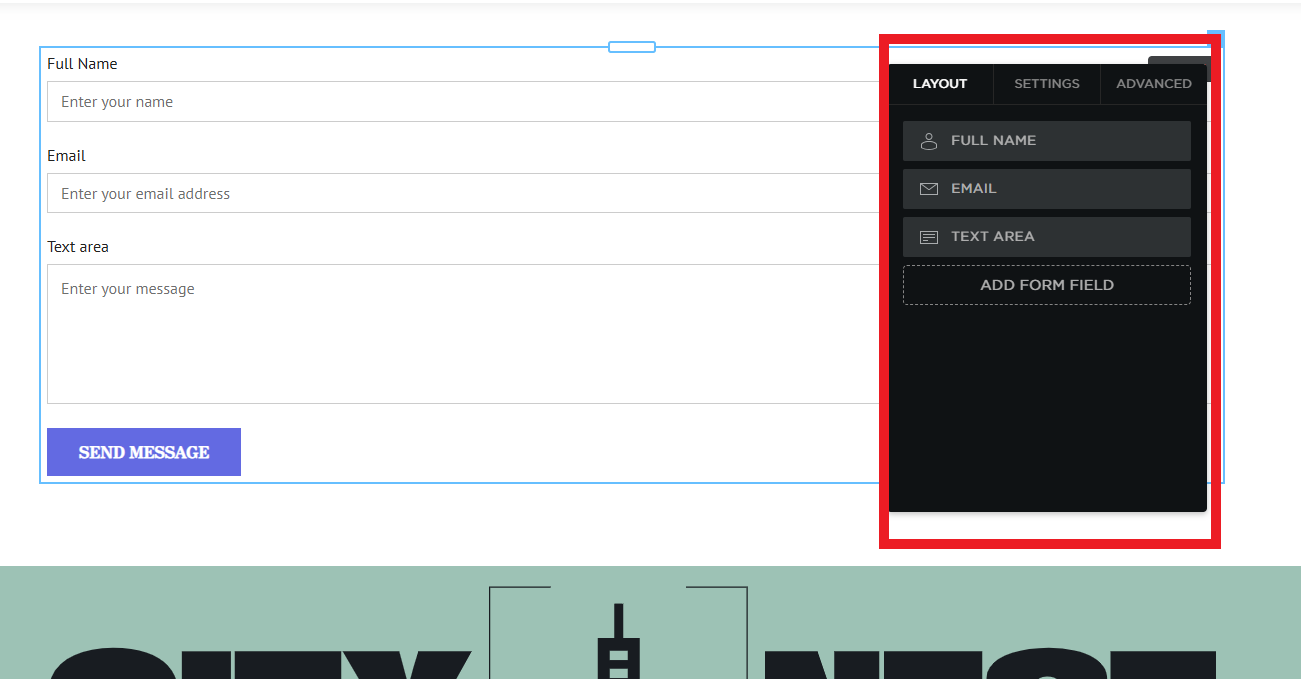
Step 4: Set Up an RSVP Form for Guest Responses
- Use a contact form to allow guests to RSVP easily.
- Include fields for names, number of attendees, and meal preferences.
- Add a confirmation message to acknowledge responses.

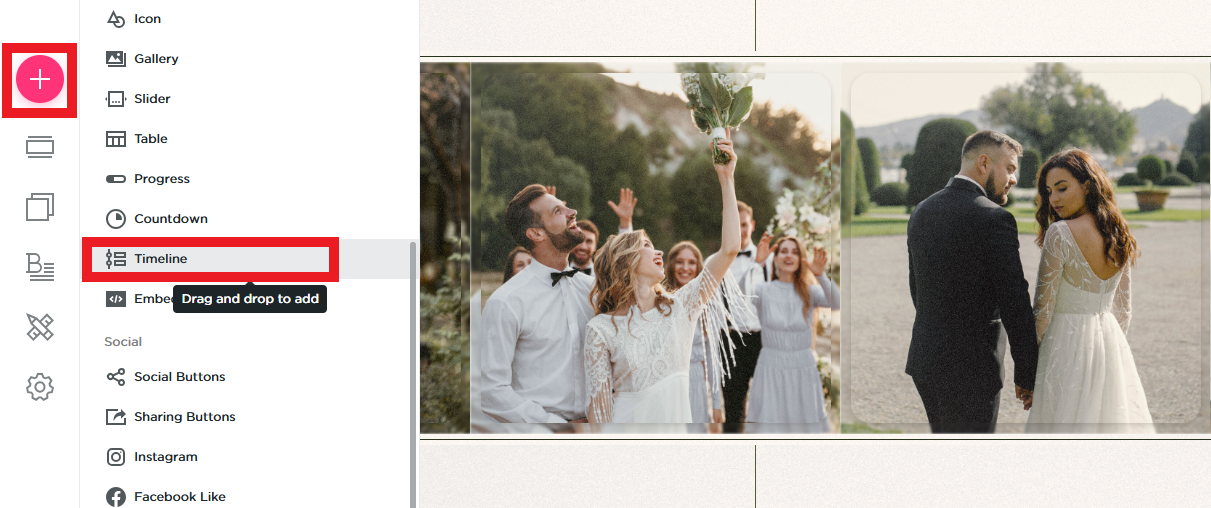
Step 5: Create a Wedding Timeline
- Outline the key events, such as the ceremony, cocktail hour, and reception.
- Specify dress codes or special instructions for guests.
- Use icons or stylish dividers to enhance readability.
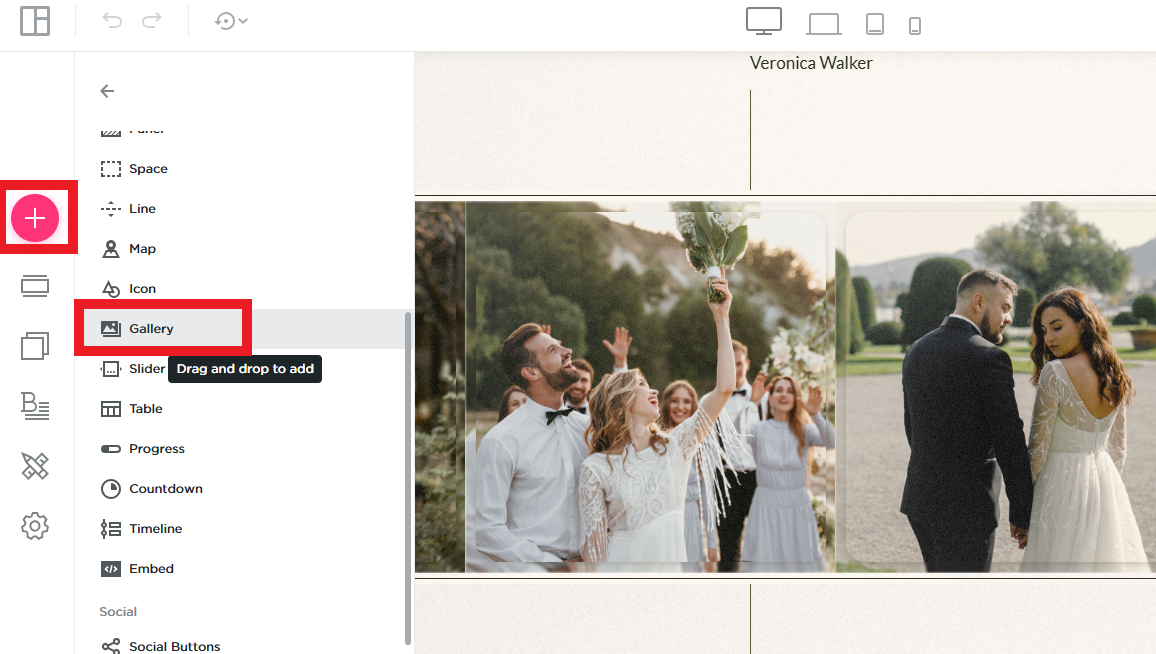
Step 6: Add a Photo Gallery to Share Memories
- Upload engagement photos or memorable pictures from your journey together.
- Arrange images in a grid or slideshow format for an elegant display.
- Optimize images to ensure fast loading times.
Step 7: Include a Gift Registry Section
- Provide links to online gift registries for easy shopping.
- Mention any special requests, such as charity donations instead of gifts.
- Keep the section simple and tasteful to match the wedding theme.
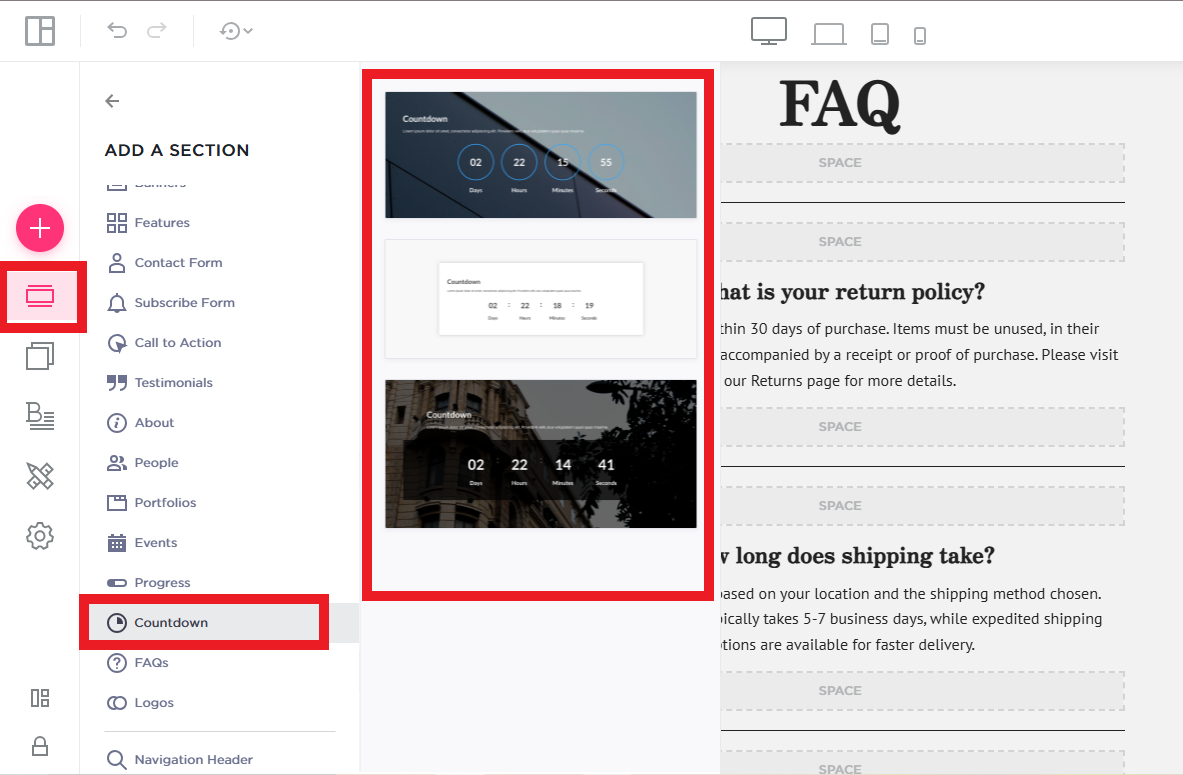
Step 8: Add a Countdown Timer for Excitement
- Display a countdown timer to build anticipation for the big day.
- Choose a stylish design that blends with the website aesthetics.
- Keep it updated to ensure accuracy.
Step 9: Personalize with a Custom Domain Name
- Choose a wedding-themed domain name that’s easy to remember.
- Use your names or initials to make it personal.
- Ensure the domain is simple and easy for guests to type.
Step 10: Preview and Publish Your Wedding Website
- Double-check all details for accuracy and completeness.
- Test the website on different devices to ensure a seamless experience.
- Publish the website and share the link with guests via invitations or social media.
By following these steps, you can create a stunning wedding website on QuickServers that keeps your guests informed and excited. Let your wedding website reflect your love story while providing all the essential details in an elegant and organized way.
