How to Customize Website Buttons for Higher Click Rates
Customizing your website buttons is an essential part of improving user interaction and increasing conversions. Here’s a simple guide to help you customize buttons for higher click rates on your website.
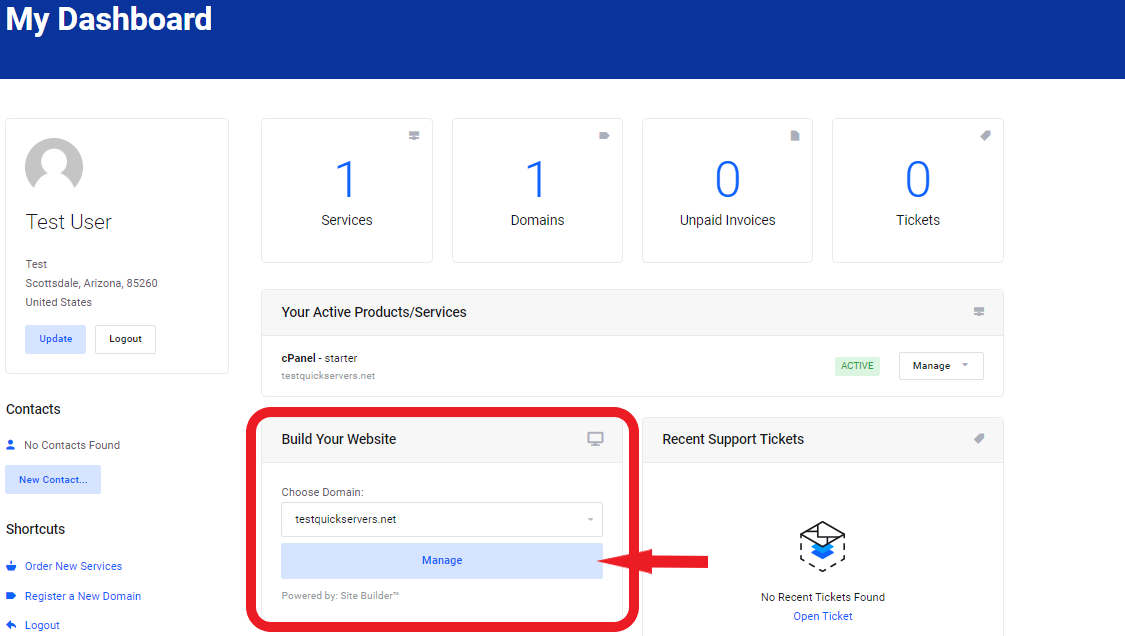
Step 1: Access Your Dashboard
- Log into your website’s dashboard.
- This is where you can control and modify all aspects of your website.
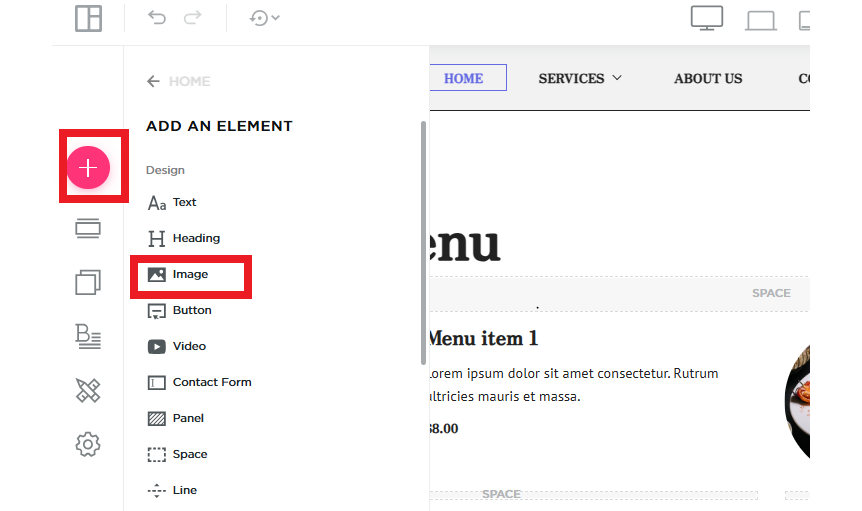
Step 2: Navigate to the "Elements" Section
- Once in the dashboard, look for the “Elements” or “Widgets” section.
- This is where you can access all available elements, including buttons.
Step 3: Search for the Button Element
- In the “Elements” section, find the “Button” option.
- The button element will usually be listed among the basic or content blocks.
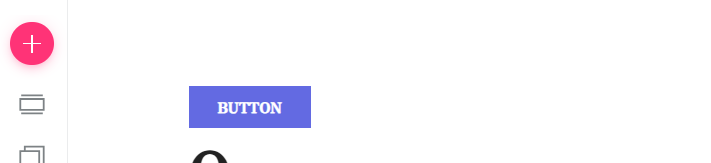
Step 4: Drag and Drop the Button onto Your Page
- Drag the button element from the panel and drop it onto your desired area of the page.
- Position the button in a place that attracts attention, such as near key content or at the end of sections like a call-to-action.
Step 5: Edit the Button Text
- Click on the button to edit the text.
- Change the text to a call-to-action (CTA) that is clear and action-oriented, such as “Sign Up,” “Buy Now,” or “Learn More.”
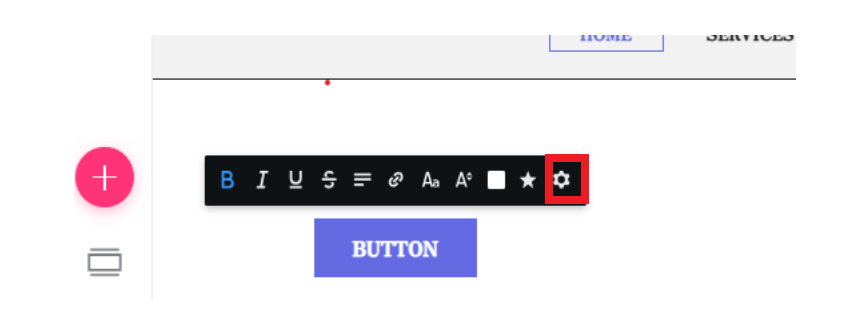
Step 6: Customize the Button’s Size
- Adjust the size of the button by modifying the width and height settings.
- Make sure the button is large enough to be noticed but not too large to disrupt the design of your page.
Step 7: Choose a Button Color
- Select a button color that contrasts with the background and draws attention.
- Ensure that the color you choose aligns with your website’s color scheme but is still noticeable.
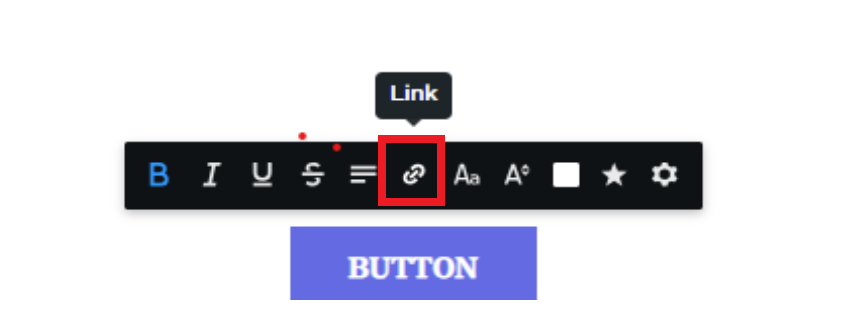
Step 8: Add a Link to the Button
- Click on the button and add the link that it should redirect to.
- This could be a product page, signup form, or any other destination relevant to the action you want users to take.
Step 9: Optimize the Button for Mobile Devices
- Check how the button appears on mobile devices using your website builder's preview mode.
- Ensure the button is large enough for mobile users to tap easily and remains visible and clickable.
Step 10: Test the Button
- After setting up the button, test it to ensure it functions correctly.
- Click the button yourself to confirm it leads to the right page or performs the desired action.
Step 11: Monitor Button Performance
- Once your button is live, use analytics to monitor its click rate and performance.
- If the button isn’t getting enough clicks, experiment with adjustments to the text, color, size, or position.
