How to Build an Interactive Map for Business Locations
An interactive map is an excellent way to enhance the user experience on your website and help visitors find your business locations easily. Whether you have one or multiple business locations, an interactive map can guide potential customers to your stores or offices efficiently. This guide will show you how to build an interactive map using the available features in the QuickServers website builder.
Step 1: Access the Map Element in Your Website Builder
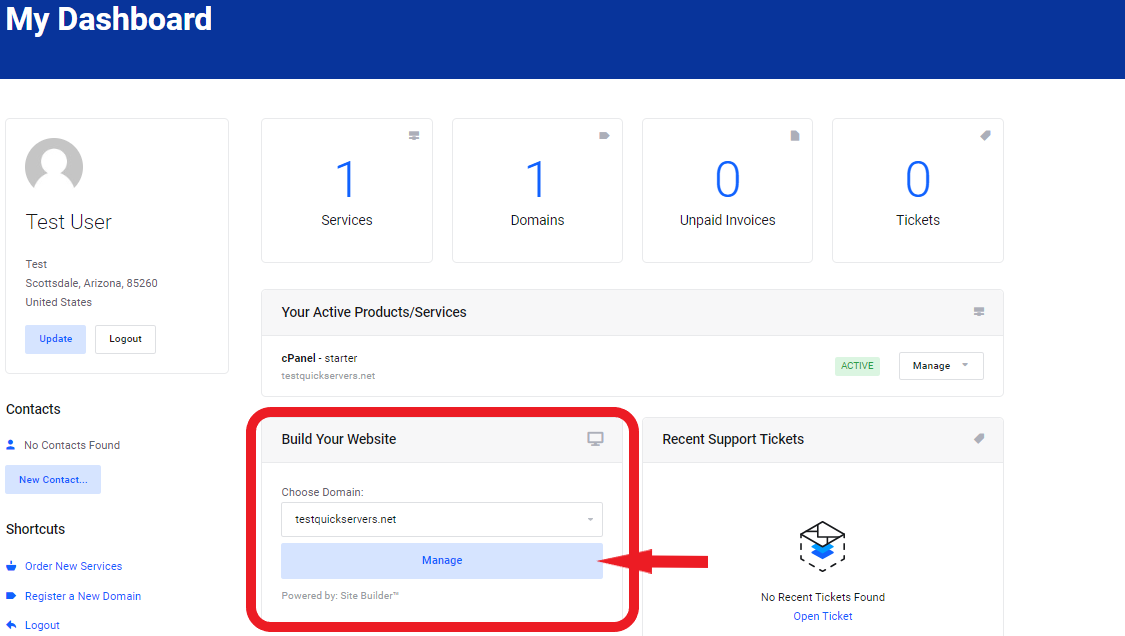
- Log in to your QuickServers account and open your website builder.
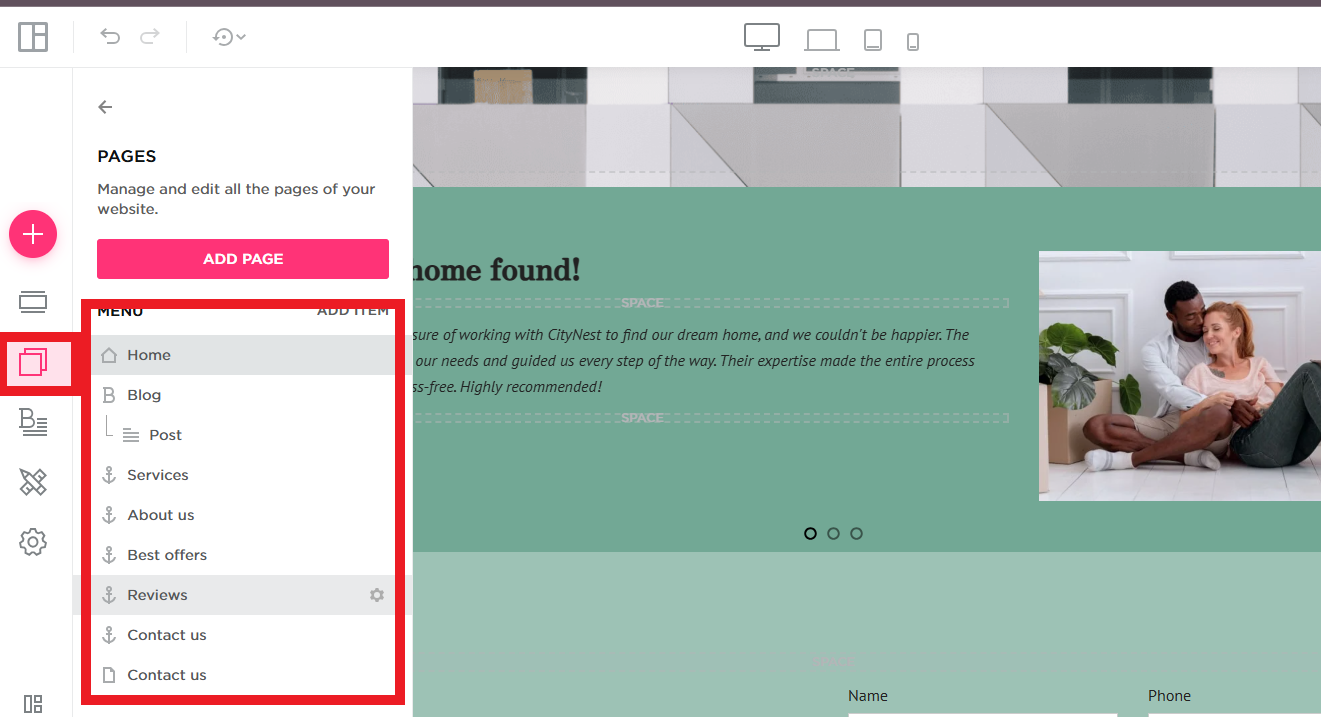
- Navigate to the page where you want to add the interactive map.
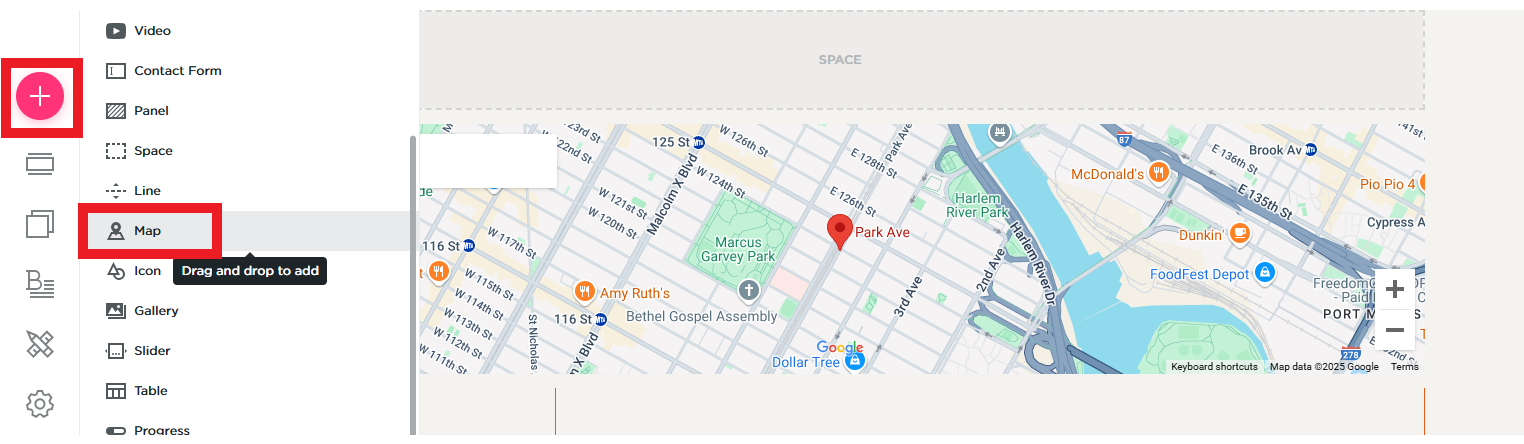
- From the website builder’s elements or widgets panel, locate and select the “Map” element.
Step 2: Add the Map to Your Page
- Drag the “Map” element onto the page where you want to display your business locations.
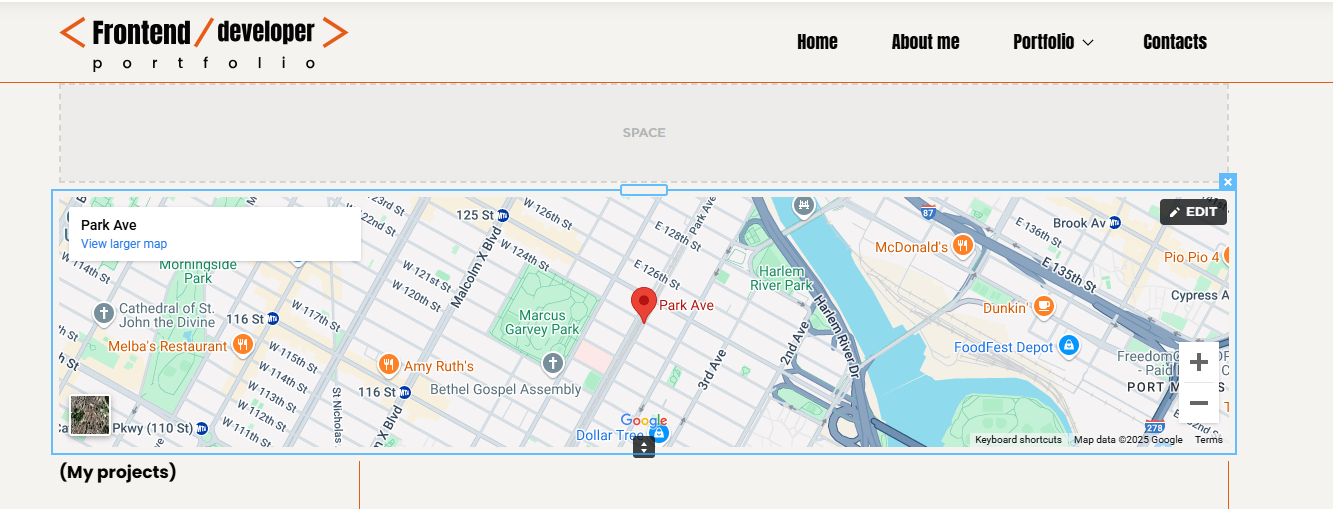
- Adjust the size of the map to ensure it fits well with the rest of your page content.
- Position the map in a prominent place where visitors can easily spot it.
Step 3: Customize the Map to Display Your Business Locations
- Click on the map element to open the settings or customization options.
- Enter the address for your first business location in the map settings.
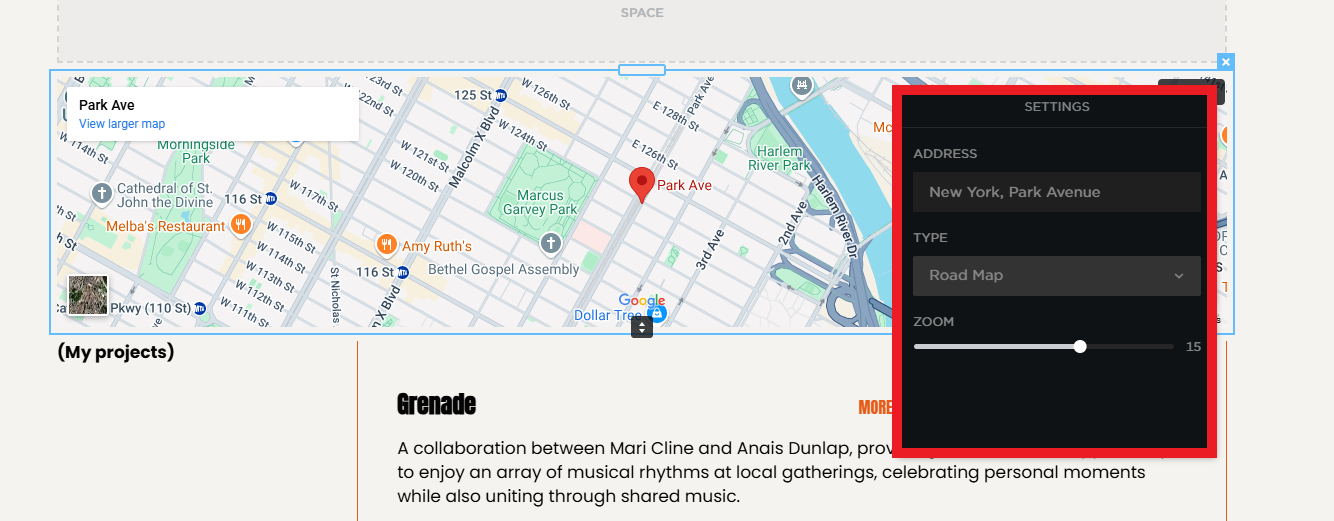
Step 4: Adjust the Map Style and Appearance
- Customize the appearance of the map to match your website’s design and branding.
- You can change the color of the markers to match your brand colors or choose from the default map styles available.
- Modify the map’s zoom level, ensuring users can zoom in and out to view the locations more clearly.
- Adjust the map’s orientation or view if necessary, so your locations are prominently visible.
Step 5: Ensure Mobile Compatibility
- Test the map on mobile devices to ensure that it’s fully responsive and functional.
- Make sure the map resizes appropriately on smaller screens and that the markers and information are easy to read.
- For mobile users, ensure the map has touch-friendly features like pinch-to-zoom.
Step 6: Add Navigation Links for Directions
- Add a button or link next to each map marker for “Get Directions” or “Find Directions.”
- This feature will allow visitors to easily access route directions to your business locations via their preferred navigation platform (Google Maps, Apple Maps, etc.).
Step 7: Test and Optimize the Map
- Test the map on different devices and browsers to ensure it functions properly for all users.
- Check that all locations are marked correctly and that the map's interactive features, such as zoom and pan, work smoothly.
- Optimize the map’s load time to ensure it does not slow down your website’s performance.
An interactive map is a simple yet powerful way to improve the functionality of your website and guide customers to your business locations. By following these steps, you can easily create an informative and user-friendly map that will enhance the user experience and make it easier for visitors to find your services.
