How to Upload and Manage Images and Files in the QuickServers Website Builder
Introduction
Images and files are essential components of any website, helping to convey your message, showcase your products, and engage your audience. The QuickServers Website Builder makes it easy to upload and manage these assets directly from your dashboard. This guide will walk you through the process of uploading, organizing, and optimizing images and files on your website.
1. Uploading Images and Files
-
Step 1: Access the Media Library
- Log in to your QuickServers account and navigate to the website builder. From the dashboard, click on the "Media" or "Files" section, which houses all the images and files you've uploaded.
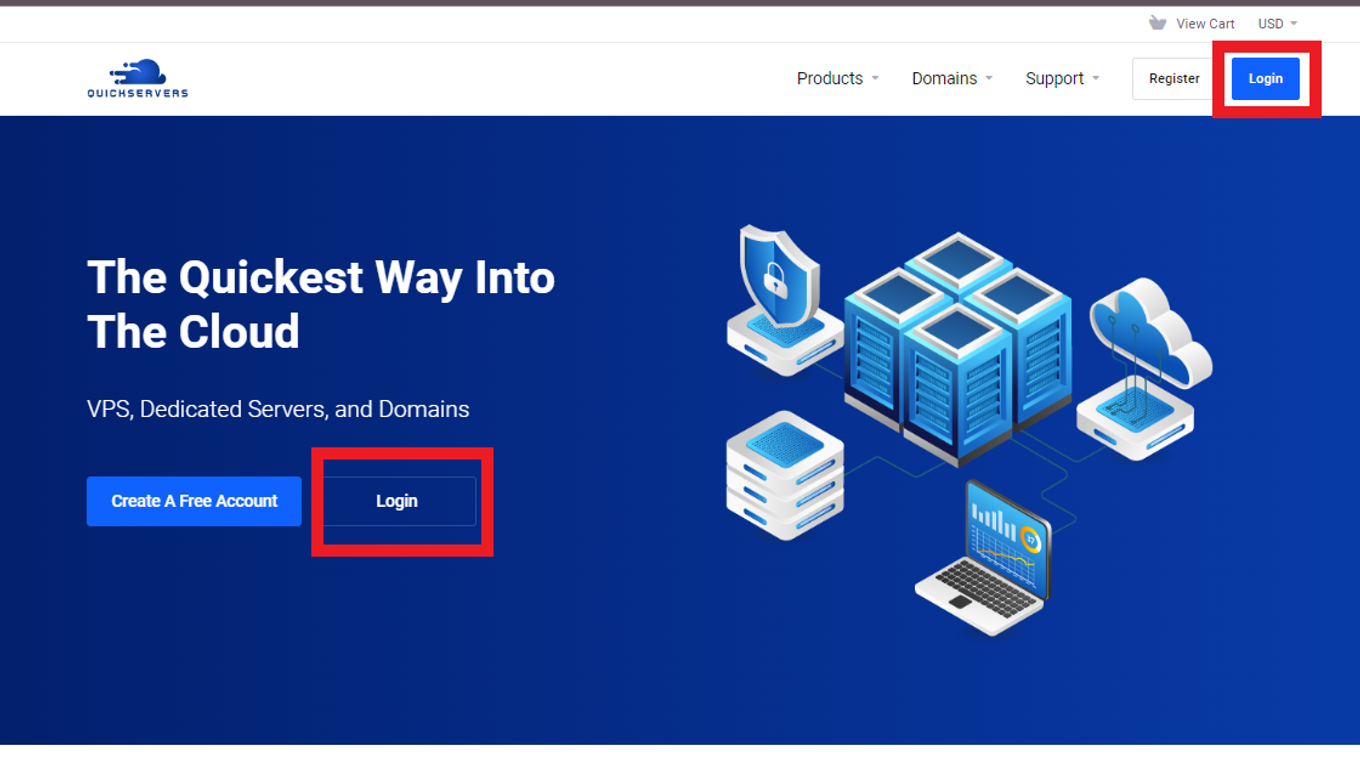
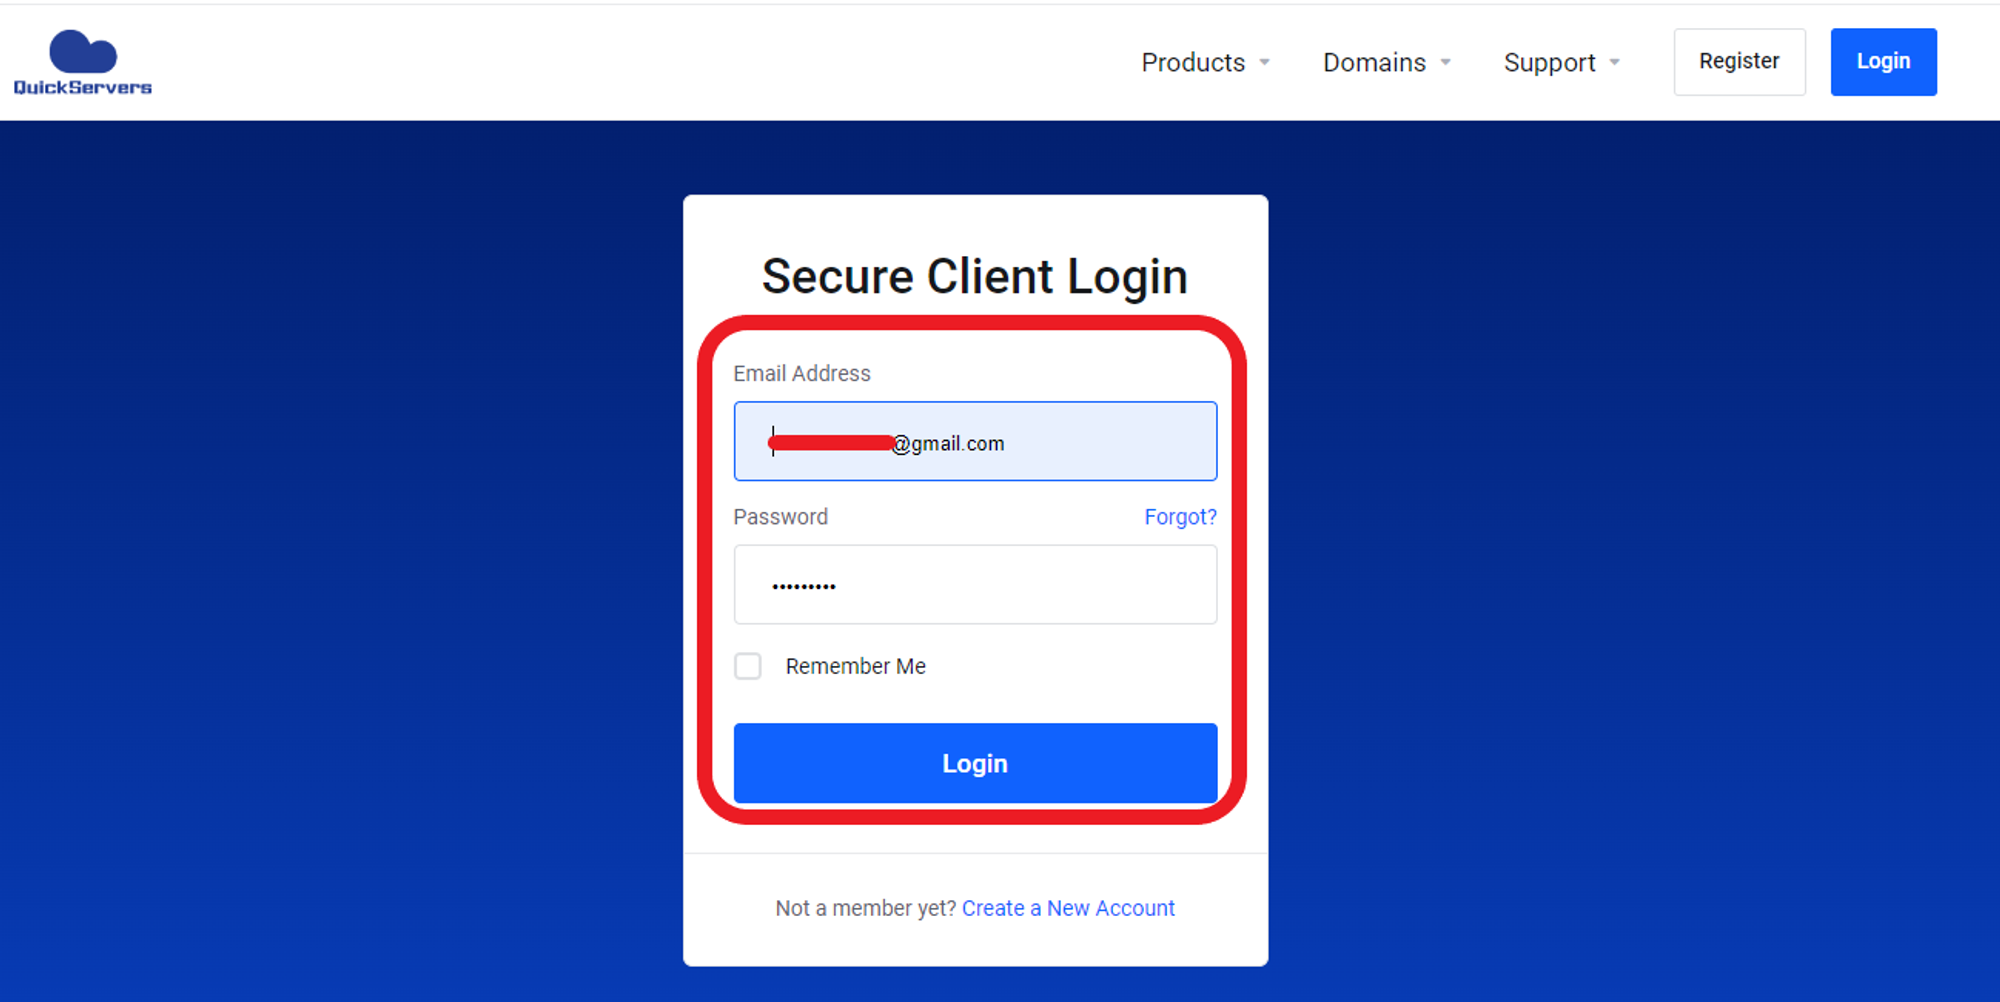
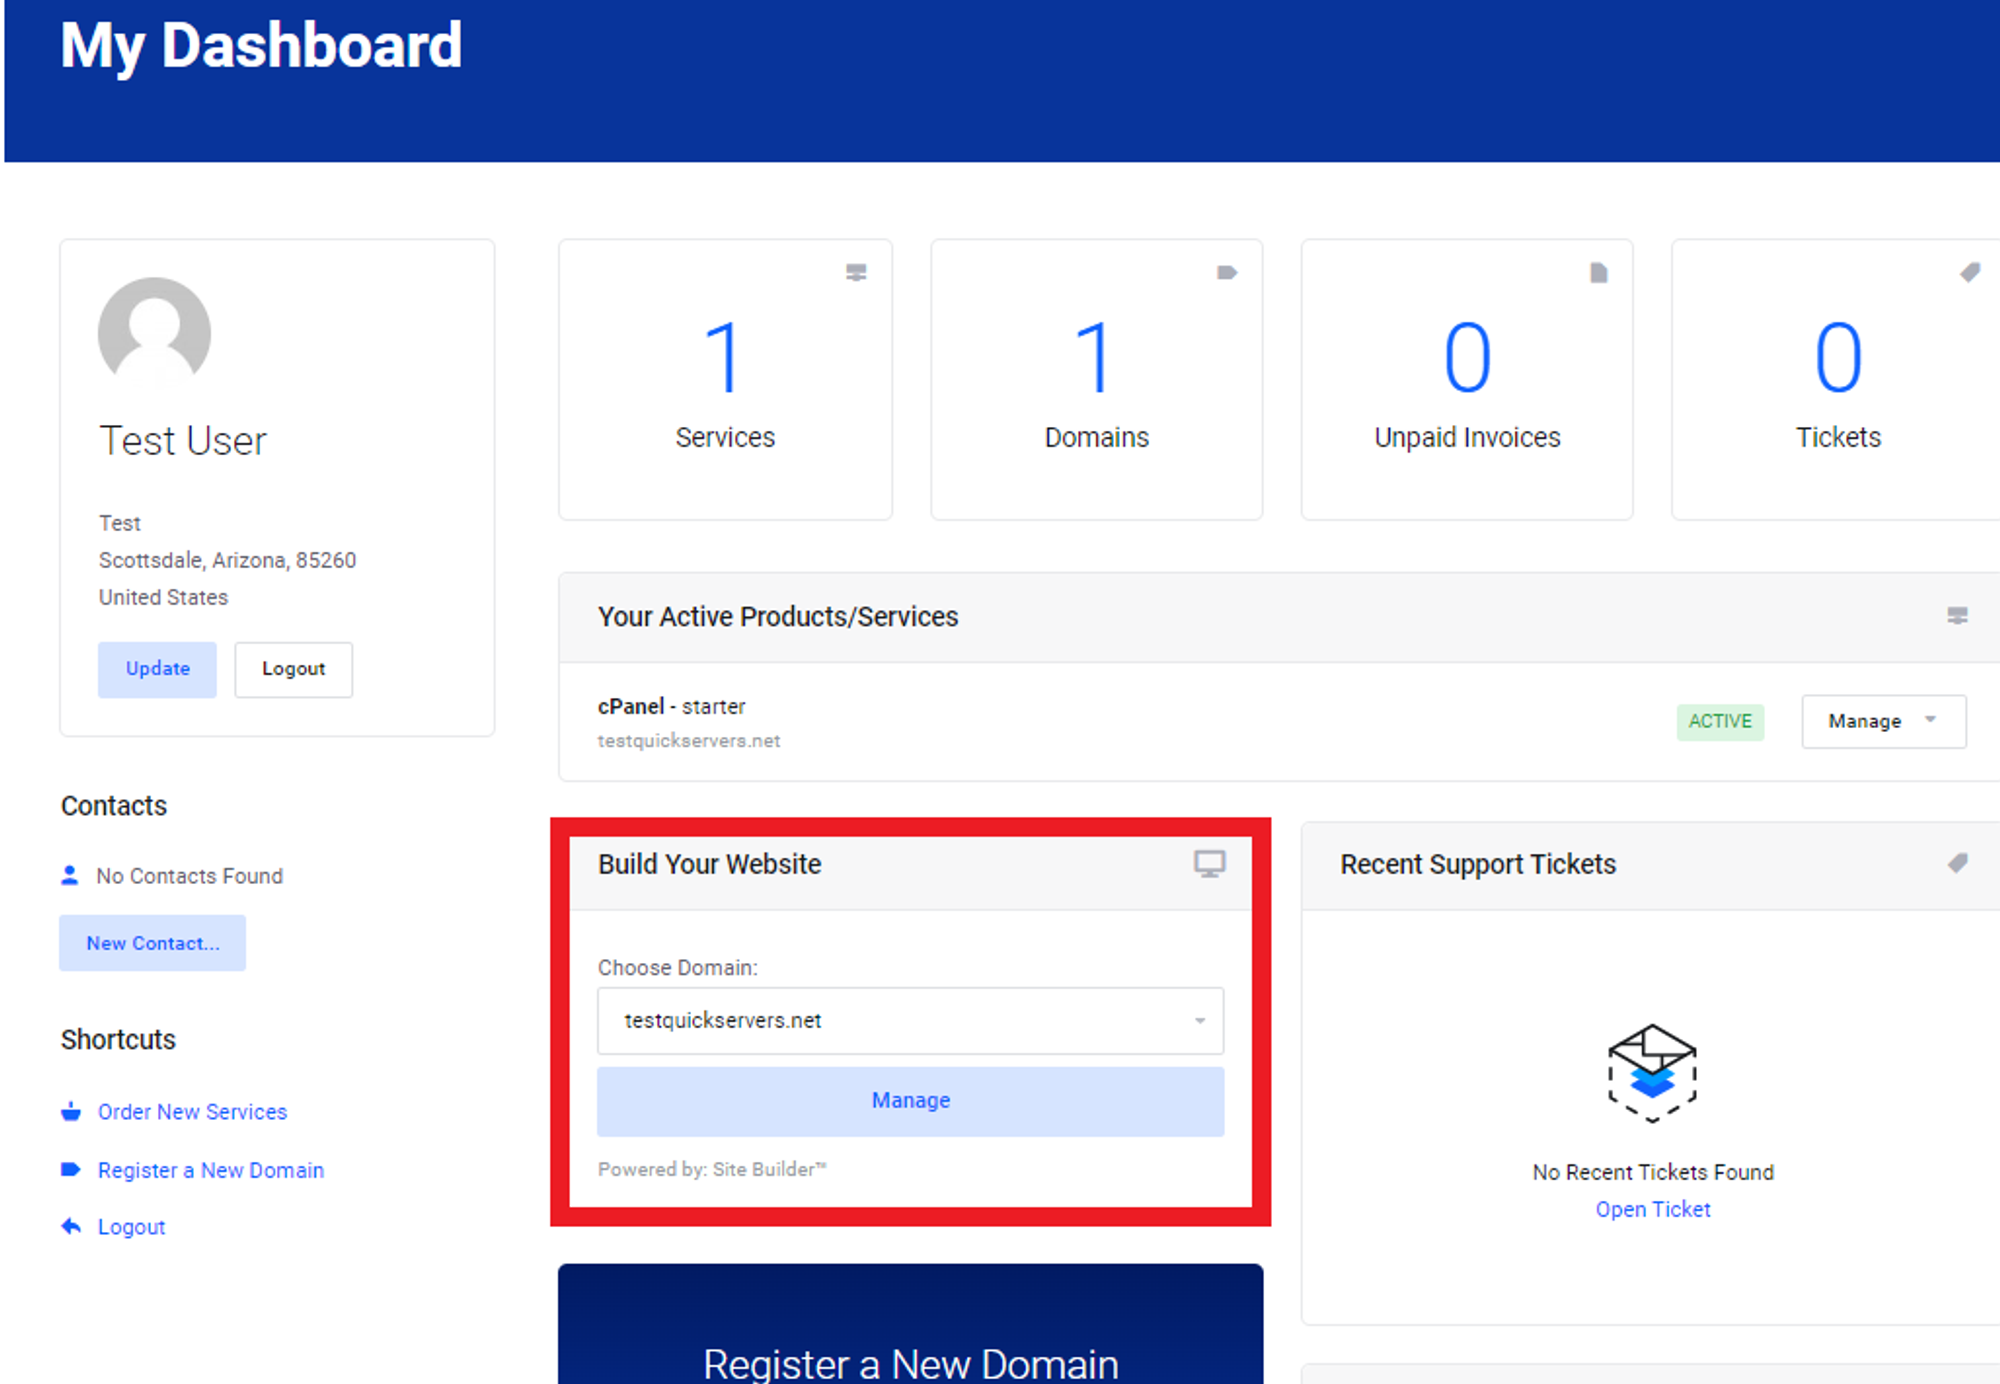
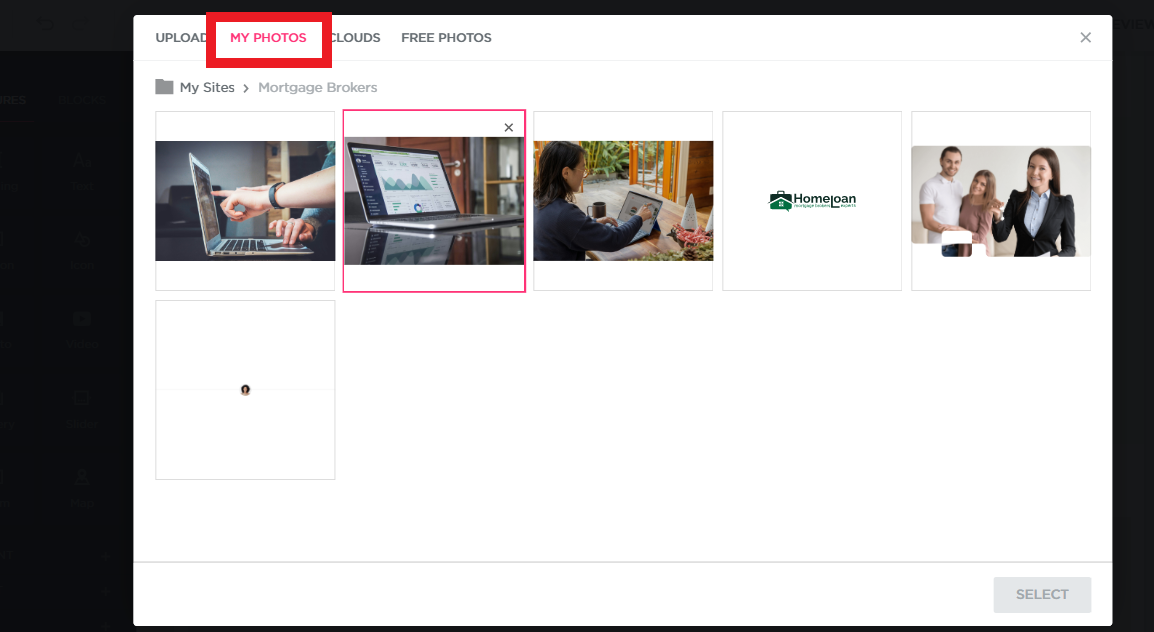
- Log in to your QuickServers account and navigate to the website builder. From the dashboard, click on the "Media" or "Files" section, which houses all the images and files you've uploaded.
-
Step 2: Upload New Images or Files
- Click the “Upload” button, usually located at the top of the media library interface. This will open a dialog box where you can browse your computer for the files you want to upload. Select the images or files you wish to add to your website and click "Open."
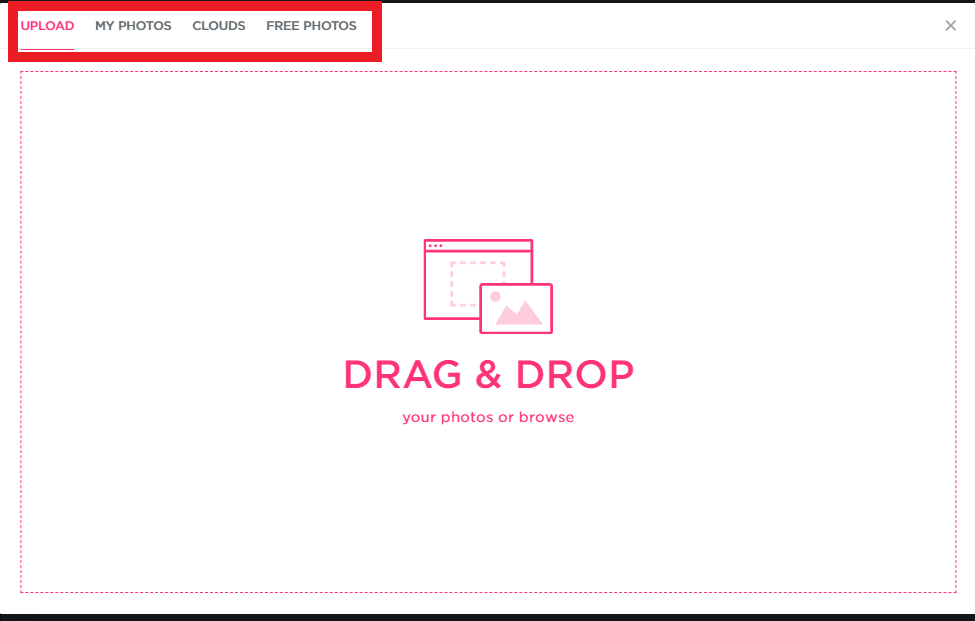
- Click the “Upload” button, usually located at the top of the media library interface. This will open a dialog box where you can browse your computer for the files you want to upload. Select the images or files you wish to add to your website and click "Open."
-
Step 3: Organize Your Uploads
- After uploading, you can organize your images and files into folders or categories. This makes it easier to locate and manage your assets as your website grows.
2. Managing Uploaded Images
-
Step 1: Edit Image Properties
- Once an image is uploaded, you can click on it to access editing options. Here, you can adjust properties such as the image title, alt text (important for SEO), and caption.
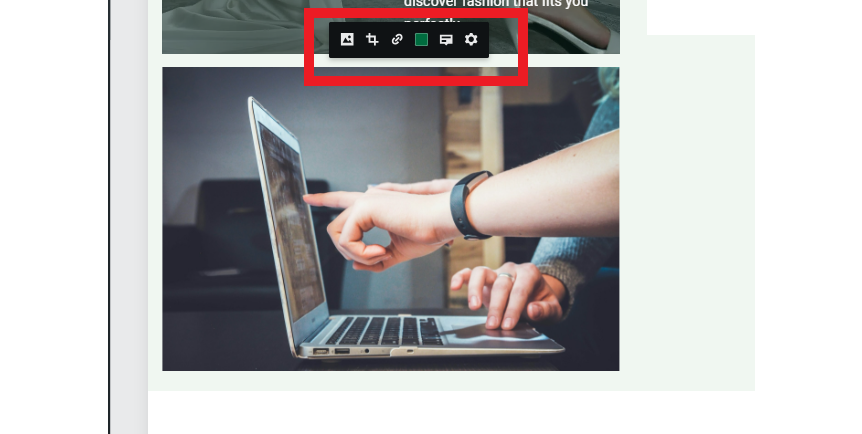
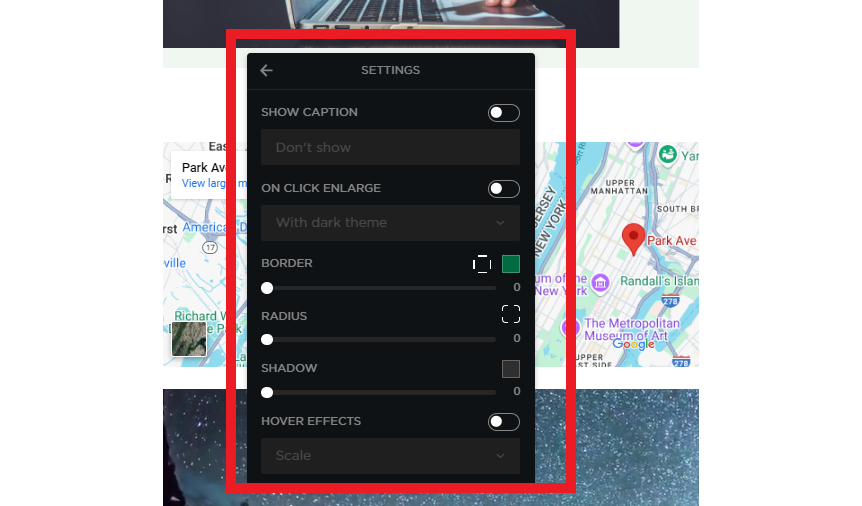
- Once an image is uploaded, you can click on it to access editing options. Here, you can adjust properties such as the image title, alt text (important for SEO), and caption.
Step 2: Resize and Crop Images
- The website builder includes basic editing tools that allow you to resize or crop images directly within the platform. This ensures that your images fit perfectly on your website without the need for external software.

3. Managing Other File Types
-
Step 1: Uploading Documents and PDFs
- In addition to images, you can upload other file types such as PDFs, Word documents, and spreadsheets. These files can be used for downloadable content, such as brochures or whitepapers.
-
Step 2: Organizing Files
- Similar to images, files can be organized into folders. This is particularly useful for websites with a large amount of downloadable content, as it keeps everything neat and easy to navigate.
4. Using Images and Files in Your Website
-
Step 1: Adding Images to Pages
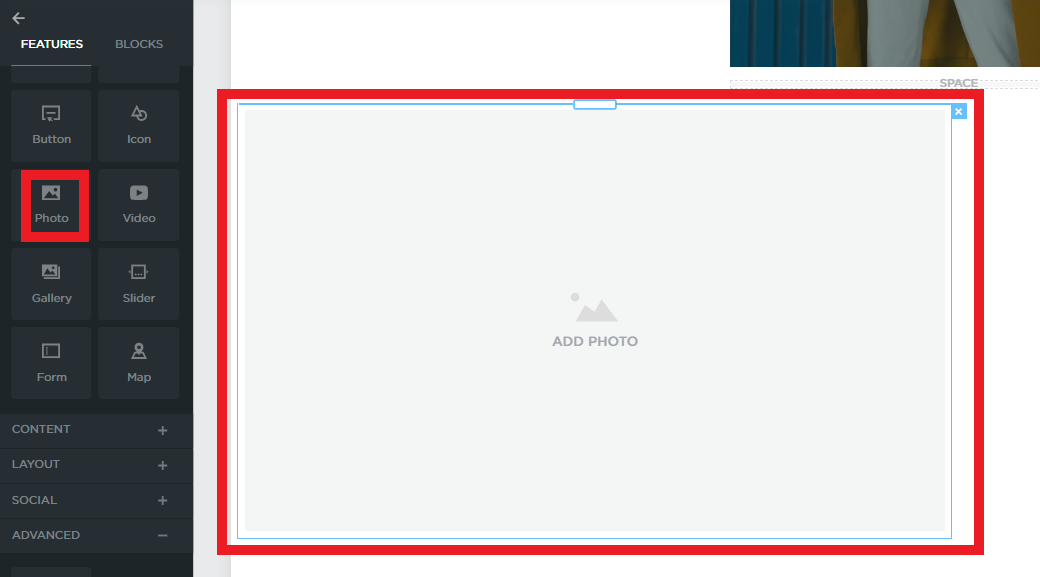
- To add an image to a page, open the page editor and drag the image block onto the desired section of the page. From there, you can select an image from your media library to display.
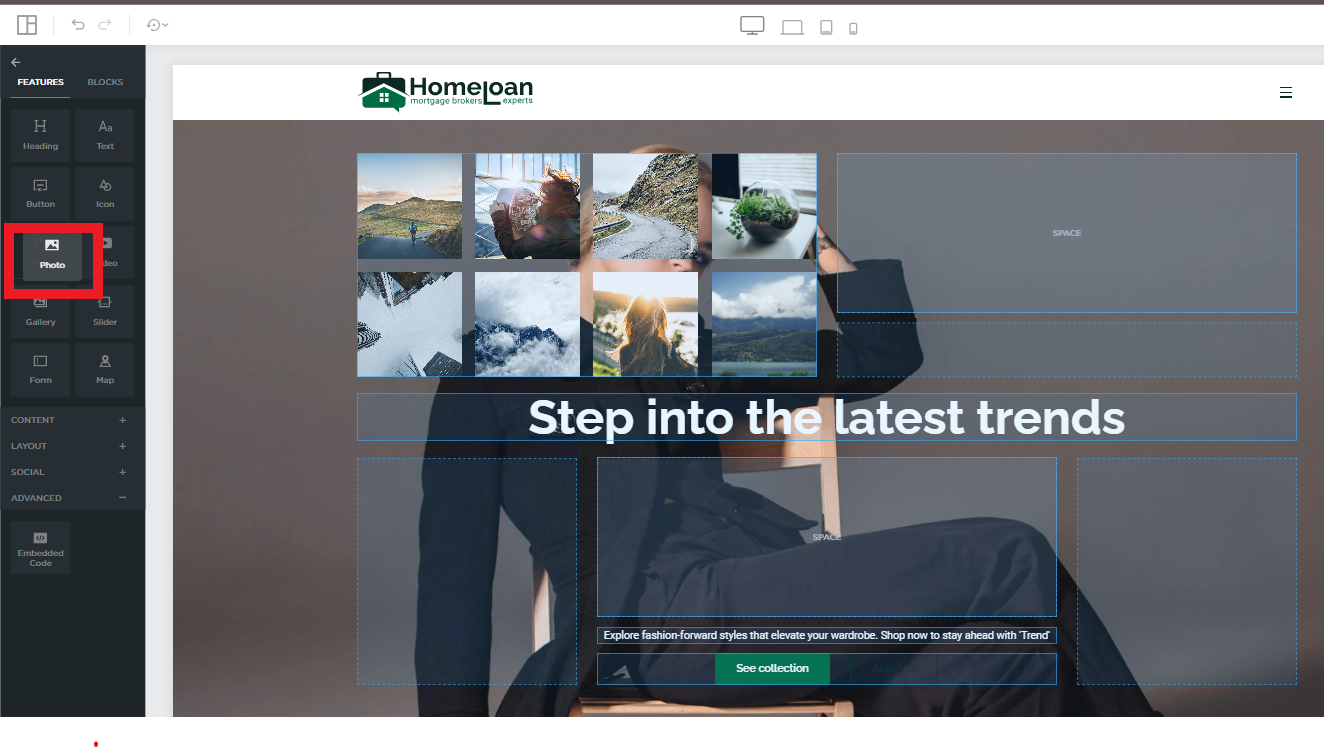
- To add an image to a page, open the page editor and drag the image block onto the desired section of the page. From there, you can select an image from your media library to display.
-
Step 2: Creating Image Galleries
- For portfolios or product showcases, you can create image galleries. Use the gallery widget to display multiple images in a grid or slideshow format. You can easily manage and update the images in the gallery from your media library.
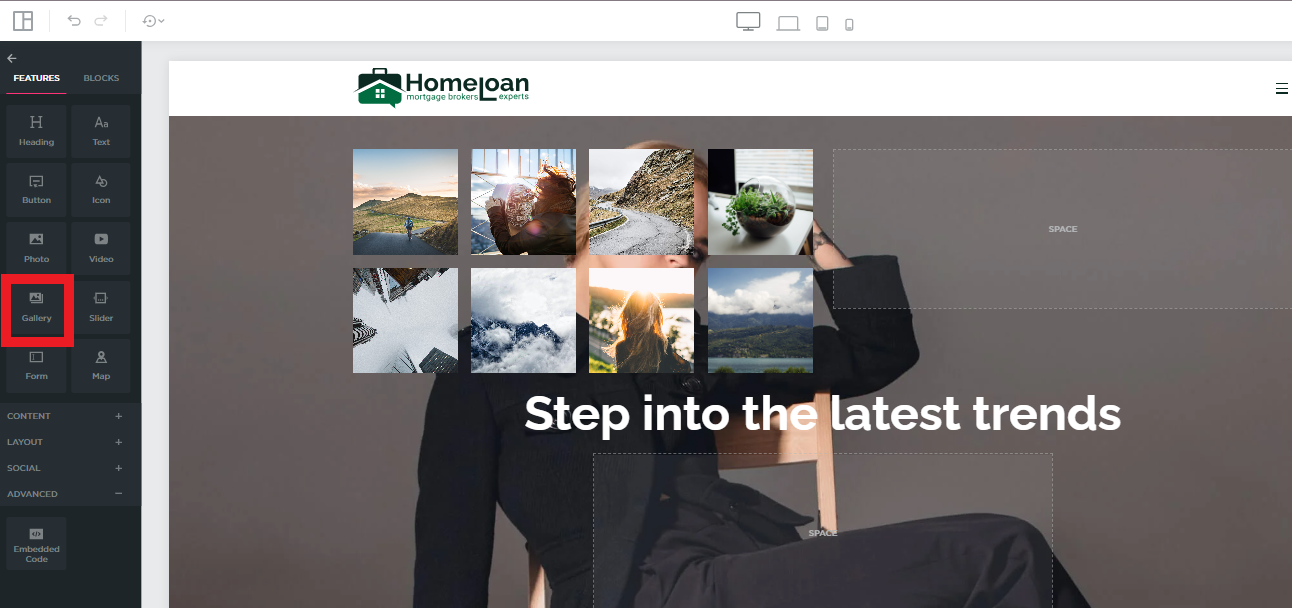
- For portfolios or product showcases, you can create image galleries. Use the gallery widget to display multiple images in a grid or slideshow format. You can easily manage and update the images in the gallery from your media library.
5. Best Practices for Managing Images and Files
-
Organize Consistently
- Maintain a consistent folder structure for your images and files. This makes it easier to find what you need and ensures that your website remains organized as you add more content.
-
Use Descriptive File Names
- When uploading images and files, use descriptive names that reflect their content. This improves your site’s SEO and makes it easier to manage your assets.
-
Regularly Review and Clean Up
- Periodically review your media library to remove outdated or unused images and files. This helps keep your website lean and reduces the risk of clutter.
Conclusion
Uploading and managing images and files in the QuickServers Website Builder is a straightforward process that enhances the visual appeal and functionality of your website. By following the steps outlined in this guide, you can effectively organize, optimize, and utilize your media assets, ensuring your website remains professional and engaging. Regular maintenance and organization will also help you manage your content efficiently as your site grows.

