How to Install and Use Nginx as a Web Server
Nginx is a high-performance web server known for its speed, scalability, and ability to handle concurrent connections efficiently. This step-by-step guide will help you install and configure Nginx on your dedicated server from QuickServers.net.
Step 1: Update Your Server
Before installing any software, ensure your server is up to date to prevent compatibility issues.
-
For Ubuntu/Debian:
sudo apt update && sudo apt upgrade -y -
For CentOS/RHEL:
sudo yum update -y
Step 2: Install Nginx
-
Install Nginx:
-
For Ubuntu/Debian:
sudo apt install nginx -y -
For CentOS/RHEL:
sudo yum install nginx -y
-
-
Start and enable Nginx:
-
For Ubuntu/Debian:
sudo systemctl start nginx sudo systemctl enable nginx -
For CentOS/RHEL:
sudo systemctl start nginx
sudo systemctl enable nginx
-
Step 3: Verify Nginx Installation
-
Check Nginx's status to ensure it's running:
sudo systemctl status nginx -
Open your web browser and visit your server’s IP address (e.g.,
http://your-server-ip). You should see the default Nginx welcome page.
Step 4: Configure Your Website Directory
-
Create a directory for your website:
sudo mkdir -p /var/www/yourdomain.com/html -
Assign ownership to your user:
sudo chown -R $USER:$USER /var/www/yourdomain.com/html -
Set appropriate permissions:
sudo chmod -R 755 /var/www/yourdomain.com -
Create an
index.htmlfile as a test:echo "<h1>Welcome to yourdomain.com</h1>" | sudo tee /var/www/yourdomain.com/html/index.html
Step 5: Configure Nginx Server Blocks
-
Create a new configuration file for your domain:
-
For Ubuntu/Debian:
sudo nano /etc/nginx/sites-available/yourdomain.com -
For CentOS/RHEL:
sudo nano /etc/nginx/conf.d/yourdomain.com.conf
-
-
Add the following configuration (replace
yourdomain.comwith your actual domain name):server { listen 80; server_name yourdomain.com www.yourdomain.com; root /var/www/yourdomain.com/html; index index.html; location / { try_files $uri $uri/ =404; } error_page 404 /404.html; } -
Save and exit the editor.
-
Enable the configuration:
-
For Ubuntu/Debian:
Link the file to thesites-enableddirectory:sudo ln -s /etc/nginx/sites-available/yourdomain.com /etc/nginx/sites-enabled/ sudo nginx -t # Test the configuration -
For CentOS/RHEL, simply test the configuration:
sudo nginx -t
-
-
Reload Nginx to apply the changes:
sudo systemctl reload nginx
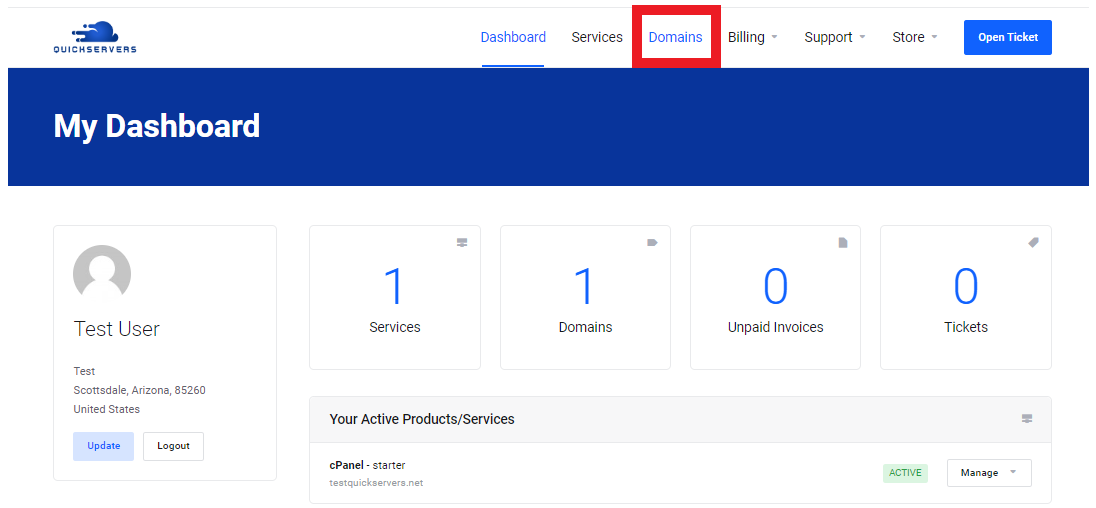
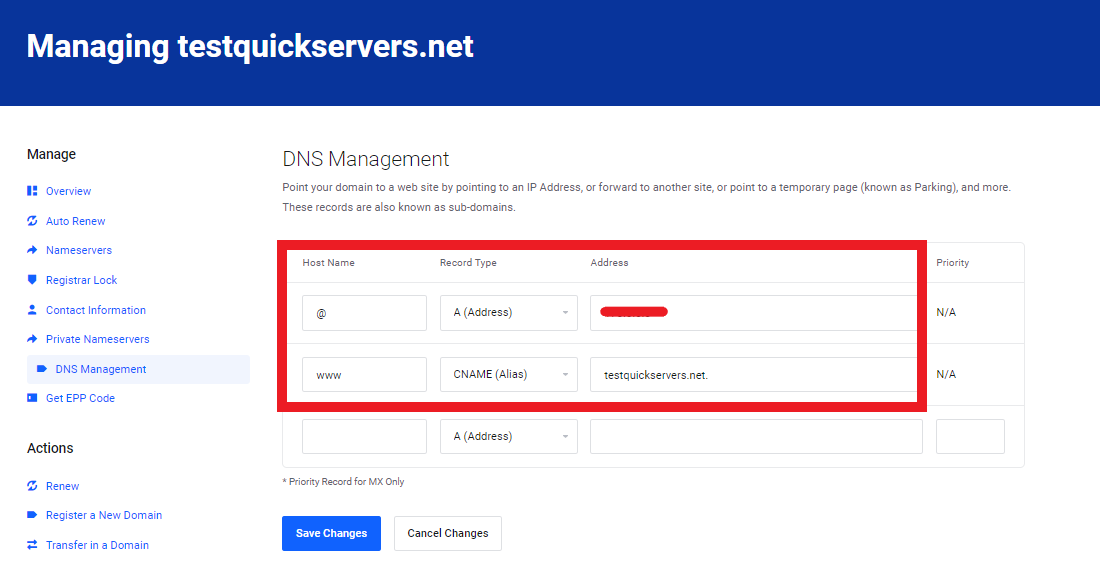
Step 6: Configure DNS Records
- Log in to your domain registrar’s control panel.
- Add an A record for your domain pointing to your server's IP address.
- Allow time for DNS propagation (can take up to 24 hours).

Step 7: Secure Your Site with SSL
-
Install Certbot for free SSL certificates:
-
For Ubuntu/Debian:
sudo apt install certbot python3-certbot-nginx -y -
For CentOS/RHEL:
sudo yum install certbot python3-certbot-nginx -y
-
-
Obtain an SSL certificate:
sudo certbot --nginx -
Verify that HTTPS is working by visiting
https://yourdomain.com.
Step 8: Monitor Nginx Performance
Regularly monitor Nginx's performance to ensure your server operates optimally:
-
Check Nginx access logs:
sudo tail -f /var/log/nginx/access.log -
Check Nginx error logs:
sudo tail -f /var/log/nginx/error.log
By following this guide, you’ll have a fully functional Nginx web server hosting your domain. If you encounter any issues, the QuickServers.net support team is available to assist you.
