How to Configure SSL Certificates for Your Websites
Securing your website with an SSL certificate is crucial for safeguarding data and building user trust. As a QuickServers.net customer, you can obtain SSL certificates directly from us and configure them easily on your dedicated server. Follow this step-by-step guide to configure SSL certificates for your websites.
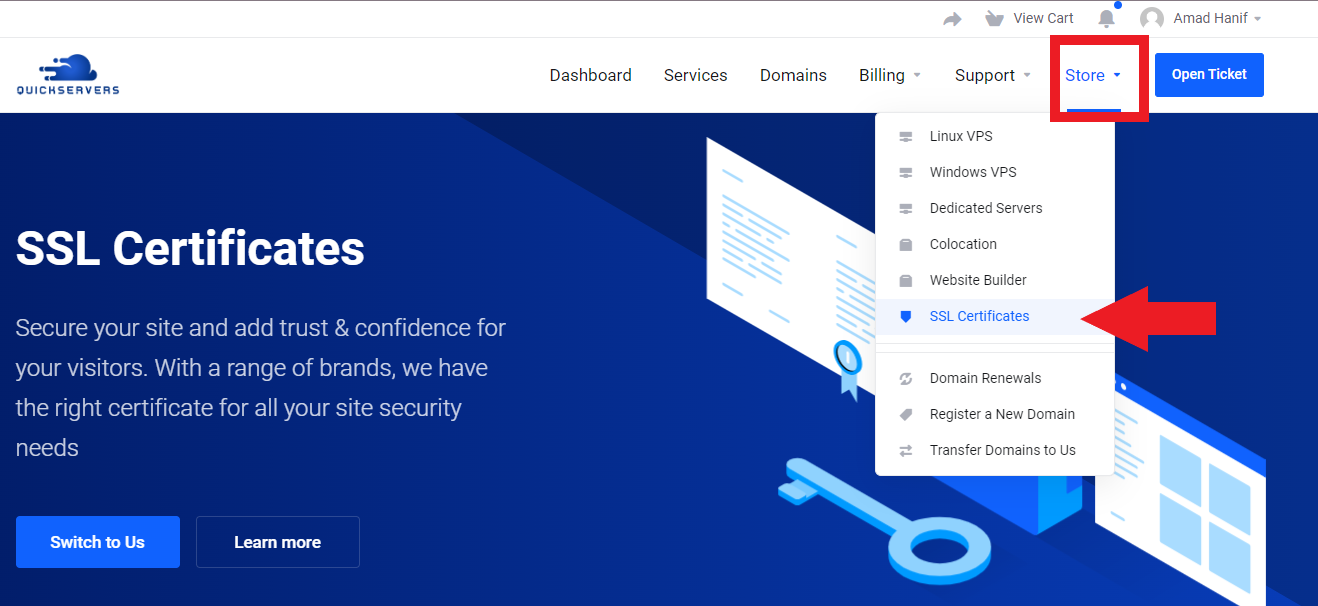
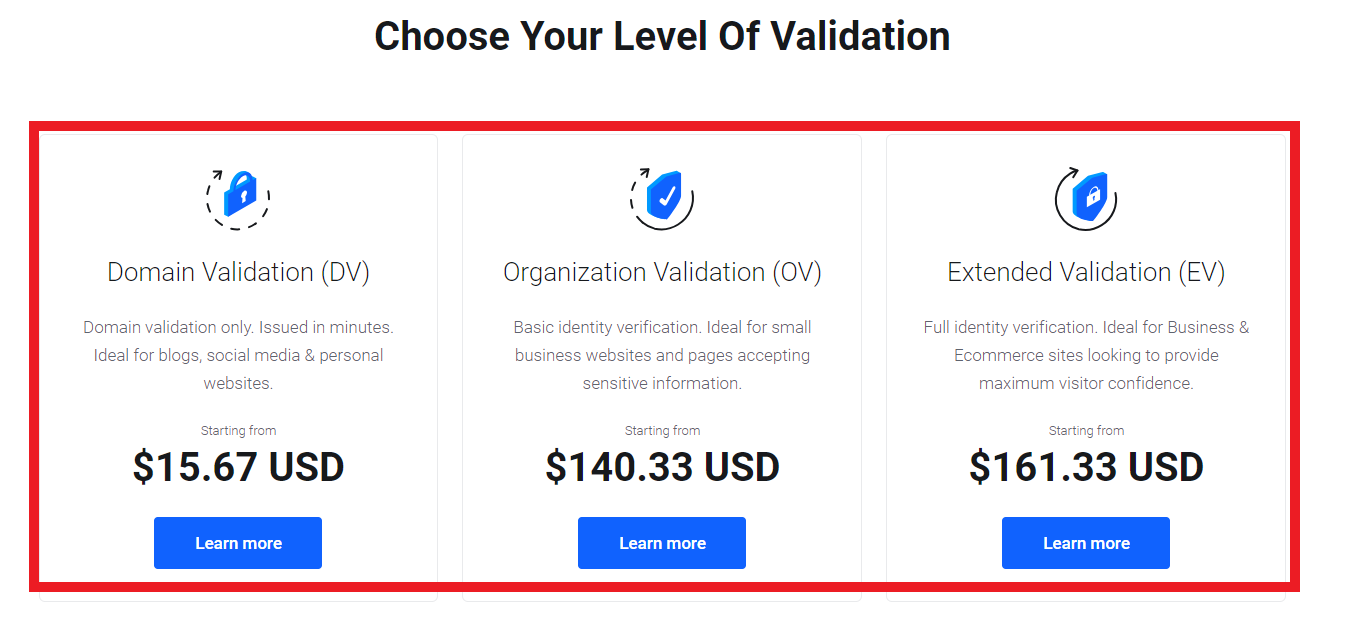
Step 1: Obtain Your SSL Certificate from QuickServers
- Purchase the SSL certificate directly from QuickServers.net.
- Once purchased, download the certificate files from your customer portal. These typically include the SSL certificate file and the CA bundle.
Step 2: Install the SSL Certificate on Your Web Server
- Log in to your server via SSH or the control panel you use to manage the web server.
- Navigate to the directory where your web server stores SSL certificates (e.g.,
/etc/ssl/). - Upload the certificate files obtained from QuickServers.net to this directory.
Step 3: Configure Your Web Server to Use the SSL Certificate
For Apache:
- Locate your virtual host configuration file, usually stored in
/etc/httpd/conf.d/or/etc/apache2/sites-available/. - Update the configuration file to include the paths to the certificate and private key files. Example:
<VirtualHost *:443>
    ServerName example.com
    SSLEngine on
    SSLCertificateFile /etc/ssl/certs/your_certificate.crt
    SSLCertificateKeyFile /etc/ssl/private/your_private_key.key
    SSLCertificateChainFile /etc/ssl/certs/your_ca_bundle.crt
</VirtualHost>
For Nginx:
- Locate your server block file, typically stored in
/etc/nginx/sites-available/. - Add or modify the following lines:
server {
    listen 443 ssl;
    server_name example.com;
    ssl_certificate /etc/ssl/certs/your_certificate.crt;
    ssl_certificate_key /etc/ssl/private/your_private_key.key;
    ssl_trusted_certificate /etc/ssl/certs/your_ca_bundle.crt;
}
Step 4: Test Your SSL Configuration
- Restart your web server to apply the changes. Use the following commands:
- For Apache:
sudo systemctl restart apache2orsudo systemctl restart httpd. - For Nginx:
sudo systemctl restart nginx.
- For Apache:
- Use an online SSL checker (e.g., SSL Labs) to verify that your SSL certificate is installed and configured correctly.
Step 5: Redirect HTTP to HTTPS
- Update your web server configuration to redirect all HTTP traffic to HTTPS.
- For Apache, add the following line to your configuration file:
RewriteEngine On RewriteCond %{HTTPS} off RewriteRule ^(.*)$ https://%{HTTP_HOST}%{REQUEST_URI} [L,R=301] - For Nginx, add this block to your server configuration:
server {
    listen 80;
    server_name example.com;
    return 301 https://$host$request_uri;
}
Step 6: Update Your Website URLs
- Update all internal links and references in your website to use
https://instead ofhttp://. - Ensure that any external services, such as APIs or third-party tools, are updated with the HTTPS URL.
By following these steps, your website will be secured with an SSL certificate from QuickServers.net, ensuring safe and encrypted data transmission.
